Raising Baby Chicks: 95°F Week One, Then Drop 5°F Weekly
Ninety-five degrees under the lamp for week one. Ninety for week two, eighty-five for week three, and five degrees off the target every week after that until the number you're aiming for is just the temperature of the room. That's the entire schedule. Write it on a strip of masking tape and stick it to the side of the brooder before the chicks show up.
The part nobody writes on the tape is the reasoning — and the reasoning is what saves you when the thermometer says 92 but the chicks are stacked three deep in one corner.
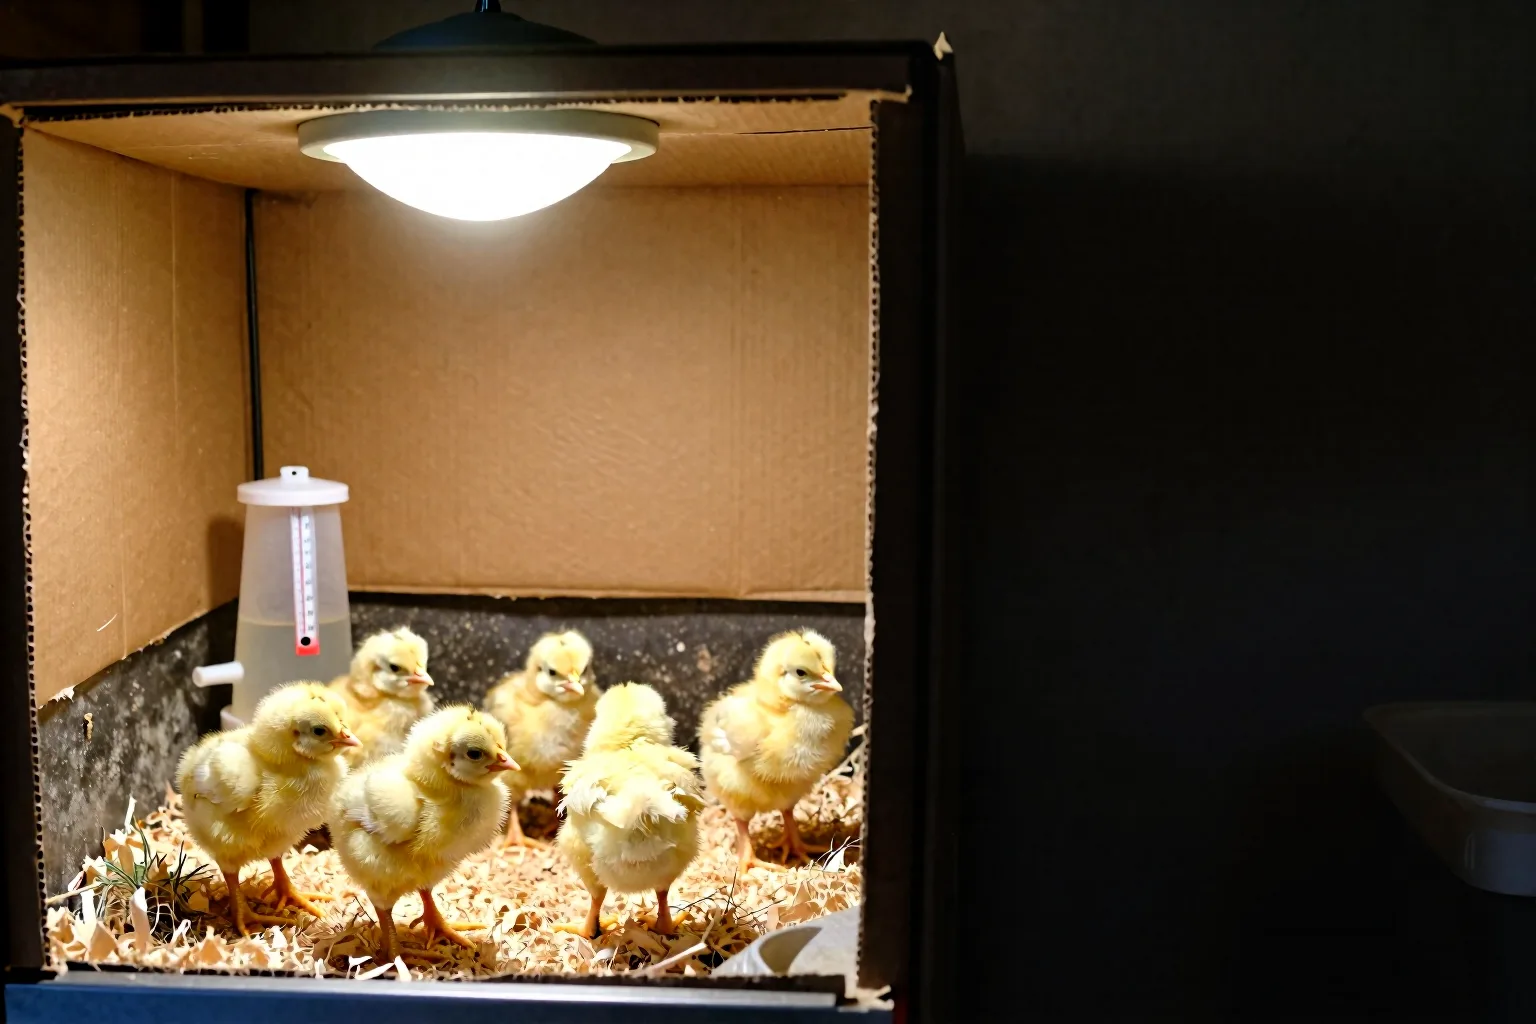
The 95°F Rule and Why It Drops 5°F Every Week
A chick comes out of the shell covered in down, not feathers. Down is a decent insulator, but a newly hatched bird is small, damp-ish, and mostly surface area relative to its mass — a body weighing around an ounce or so sheds heat fast in still air, and faster in moving air. For the first days of life a chick's ability to hold its own core temperature is immature. It can generate some heat, but not enough, and not for long. So it borrows heat from outside itself.
Under a broody hen, that borrowing is intermittent. The chick darts out, pecks at something, gets cold, and dives back under her breast feathers for a top-up. A hen's underside runs well above the target you're setting in a brooder, and the chick only takes what it needs before coming back out. Your heat lamp is a clumsy imitation of that, which is exactly why the layout matters more than the peak number.
The five-degree weekly drop is a stand-in for feather growth. Over roughly five to six weeks, real feathers push in over the down — wings first, then the back, then the last bare patches around the neck and head. Each week of that growth buys the bird a little more independence from an external heat source, and five degrees is a reasonable approximation of how much. It isn't a law of biology. It's a curve that happens to land the chicks at ordinary room temperature right around the time they're feathered enough to hold it themselves.
Here's the bit worth internalising: the gradient matters more than the peak. A brooder that sits at a uniform 95°F wall to wall is a worse brooder than one with a 95°F spot at one end and a 72°F corner at the other. Chicks self-regulate constantly if you let them. Take away the cool end and you've taken away their only tool.
Setting Up the Brooder Before the Chicks Arrive
Run the whole thing for a full day before the box of peeping arrives. You want to find out that your lamp overshoots to 105°F in a closed spare room while the box is still at the post office, not while twelve chicks are sitting under it.
The layout that makes the weekly step-down workable:
- Heat at one end only. Not centred. One end warm, the far end at room temperature, with enough floor between them that a chick can actually walk out of the heat.
- Thermometer at chick height, which means lying on the bedding or clipped an inch or two above it, directly under the heat source. Not taped to the wall at your eye level. Air two feet up can read ten degrees different from air where the birds live.
- Feed and water at the cool end. Water under a lamp goes warm and grows things you don't want. Putting it away from the heat also gives chicks a reason to leave the warm circle regularly, which is how you learn whether they're comfortable doing it.
- Round the corners if your brooder is a square box. Chicks pile into corners when they're cold, and a rounded corner — a strip of cardboard bent across it — gives them nowhere to stack.
- Secure the lamp twice. Clamp plus a chain or wire to something structural. A clamp alone works right up until it doesn't, and a heat lamp on bedding is a genuine fire risk, not a theoretical one. This is the one place I'd spend money and paranoia rather than ingenuity.
Raise or lower the lamp to hit your number rather than swapping bulb wattages — height is a continuous dial, wattage is a coarse one. If you're building the box itself from scratch, our guide to setting up a brooder box covers the container, bedding depth and guard height in more detail than fits here.
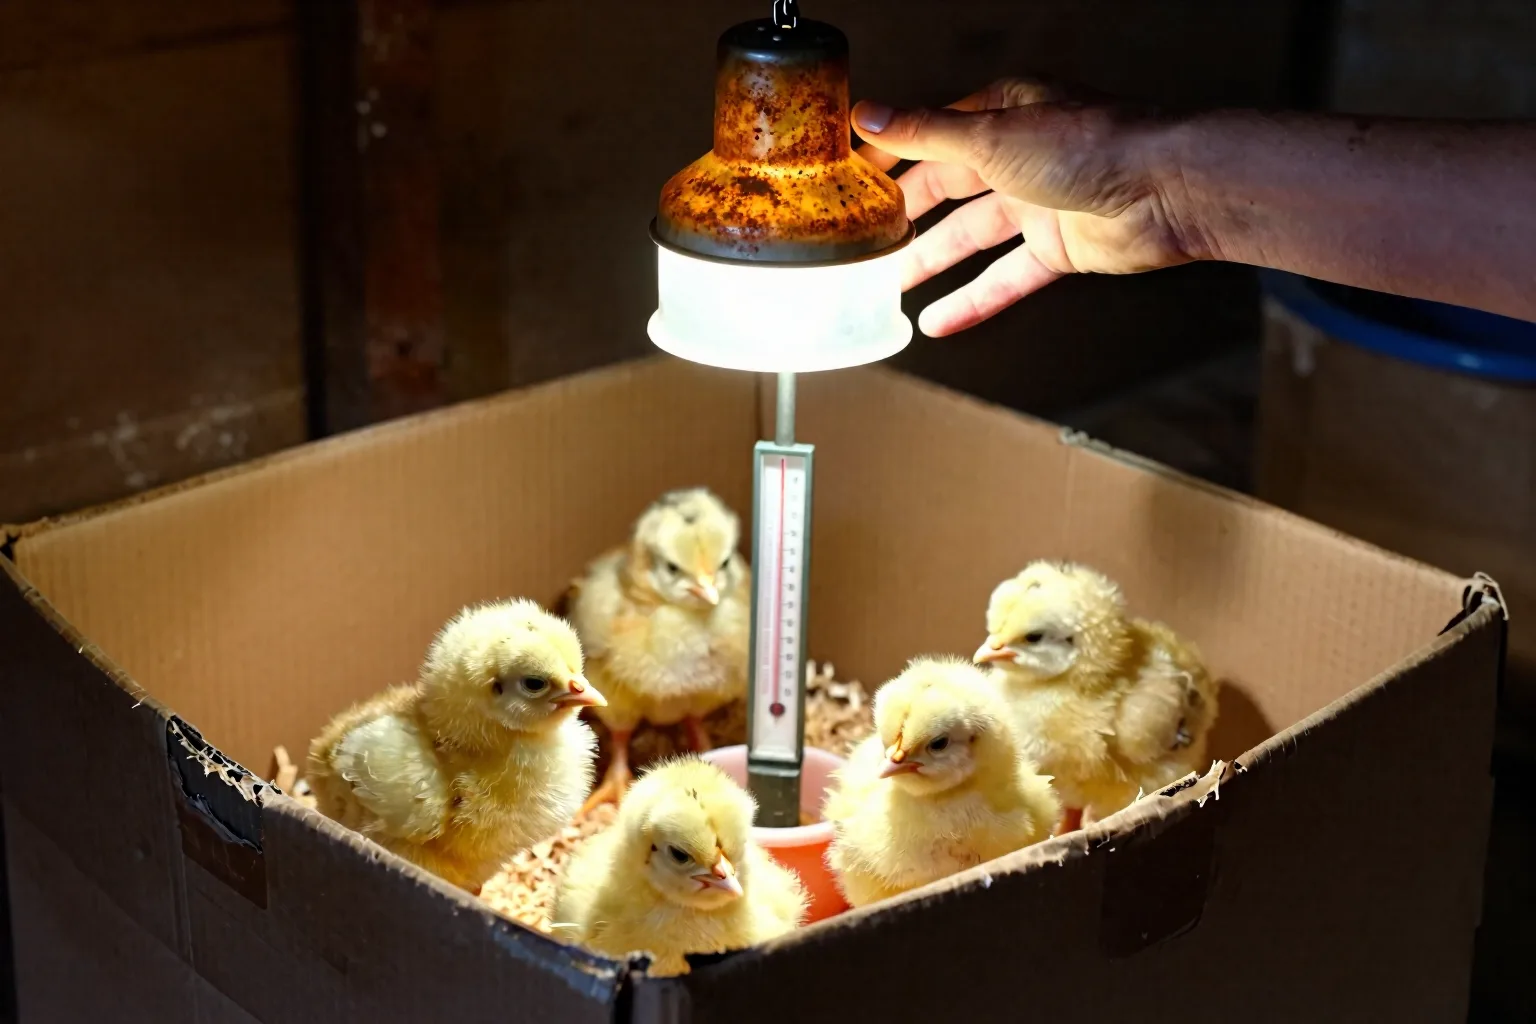
Week One at 95°F: What a Comfortable Chick Actually Looks Like
95°F measured on the bedding, directly beneath the heat source, in the warmest spot. That's the number. Everywhere else in the brooder should be cooler, and you shouldn't try to fix that.
What comfortable looks like: chicks distributed. Some dozing in a loose sprawl at the edge of the warm circle, one or two flat out on their sides with a leg stuck out behind them (this looks alarming the first time and is entirely normal), a few at the feeder, one standing in the middle of nowhere staring at the wall. They move in and out of the heat without urgency. Every twenty minutes the arrangement is different.
The sound is as good a gauge as the sight. Content chicks make a low, rolling, almost conversational trill, punctuated by the occasional single cheep. Cold chicks produce a sharp, insistent, repetitive peep that carries through a closed door and doesn't stop. Once you've heard both you can diagnose the brooder from another room.
First 48 hours, expect a lot of sleeping. A chick that just hatched has absorbed the yolk and doesn't have much stamina. Long naps punctuated by frantic activity is the normal rhythm, not lethargy. What isn't normal is a chick standing alone away from the group, eyes closed, not moving with the others, or a vent pasted shut with dried droppings. Pasted vent is worth checking daily in week one and gently cleaning with warm water; it's often linked to the brooder running too warm or to chilling in transit, so it's a prompt to re-check your temperature as well as the bird.
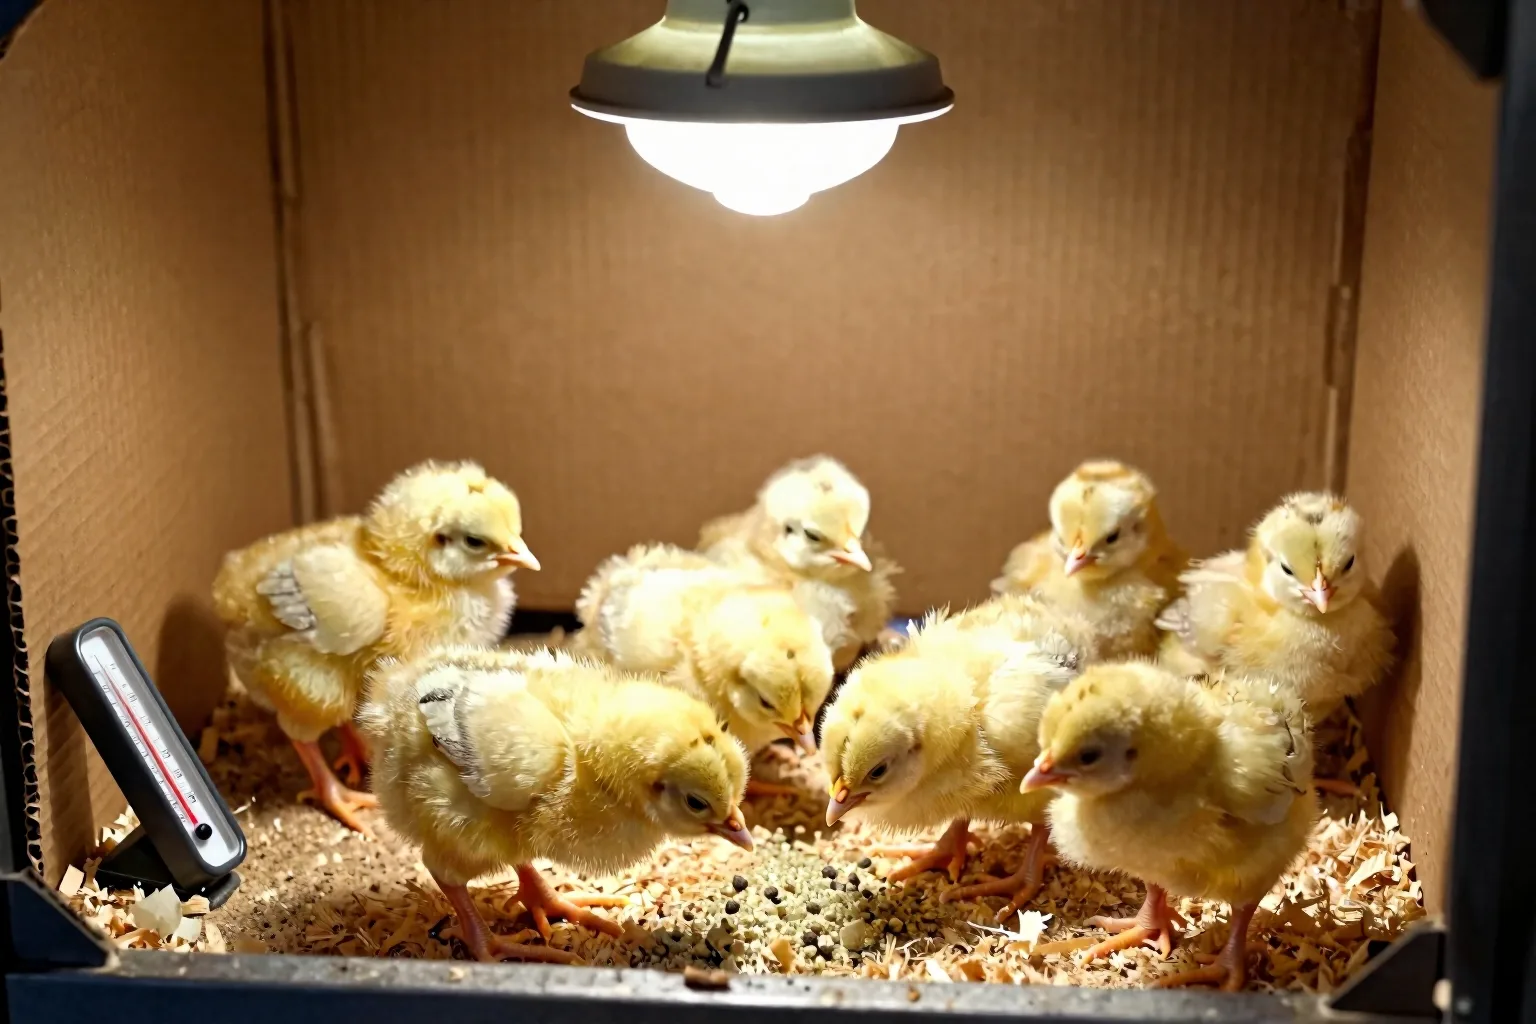
The Weekly Step-Down Schedule, Week by Week
Drop the target once a week, on the same day of the week so you don't lose track. Raise the lamp a couple of inches, wait an hour, then read the thermometer and adjust again. Don't drop it in one jump the moment the week ticks over if the room is having a cold night — a day either way makes no difference.
| Chick age | Target under the heat source | What you should be seeing |
|---|---|---|
| Week 1 (days 1–7) | 95°F | Long naps, short forays out to feed and drink, wing feathers just starting |
| Week 2 | 90°F | Much more active, primary wing feathers visible, real flapping practice |
| Week 3 | 85°F | Roosting attempts on the feeder, tail feathers coming in, spending long stretches away from the heat |
| Week 4 | 80°F | Mostly feathered on the body, awkward-looking half-down half-feather stage |
| Week 5 | 75°F | Using the heat mainly at night, if at all |
| Week 6 | 70°F or ambient | Fully feathered or close to it; heat coming off entirely |
If your house sits at 68–72°F, the schedule quietly ends itself somewhere in week five or six — the target and the room converge and there's nothing left to supply. That's the design working. In an unheated garage in March, the same chicks may still need supplemental heat at week seven, because the target and the ambient never met.
Reading the Chicks Instead of Trusting the Thermometer Alone
When the birds and the thermometer disagree, believe the birds. A cheap dial thermometer can run noticeably off unless you've checked it against something you trust, and even an accurate one only reports the air at one specific point — which tells you nothing about the draft coming under the garage door at 3 a.m.
Too cold
Chicks packed tightly in a mound directly under the heat, climbing over each other to get to the middle, with that shrill continuous peeping. Nobody at the feeder. If you find them piled in a corner away from the lamp instead, suspect a draft pushing them off the heat before you suspect the lamp is too weak — check the draft first, then the heat output.
Too hot
Chicks pressed flat against the outer walls of the brooder, as far from the heat as the box allows, wings held out from their bodies, beaks open, panting. They'll be quiet rather than loud. Water consumption jumps.
Just right
Scattered. Some in, some out, some at the feeder, all changing position constantly.
The correction for too hot is faster than the correction for too cold, so if you're unsure which way you've erred, raise the lamp first and watch for five minutes. Chicks that were overheating redistribute almost immediately. If instead they follow the heat upward and re-pile, you had it the other way and you can drop it back. This shouldn't cost the birds anything, though keep watching for continued panting or pasted vents in the day or two after you put the temperature back where it was.
What Shifts the Schedule: Breed, Climate, Room, and Batch Size
The 95-and-down curve assumes something like six to twelve standard-breed chicks in a room that stays reasonably steady. Change any of those and the curve moves.
Batch size. Chicks are a heat source for each other. Ten chicks in a huddle at night generate and trap real warmth; three do not, and one does not at all. Brooding one or two chicks is genuinely harder than brooding a dozen, and I'd hold each temperature step an extra two or three days for a very small batch rather than stepping down on schedule. This is also the honest argument against ordering three chicks "to keep it simple" — small batches are more work, not less.
Breed and size. Bantams and the lighter Mediterranean breeds carry less mass and feather in at their own pace; give them the benefit of the doubt on the slow side. Heavy dual-purpose breeds tend to feather up sturdily and often coast through the last steps early. Fast-growing meat birds are their own case — they put on body mass quickly and frequently want off the heat sooner than the calendar says.
Where the brooder sits. A heated spare bedroom that holds 70°F all night is a completely different environment from a garage that drops to 40°F by dawn, even if both read 95°F under the lamp at noon. In the garage, the cool end of the brooder may be genuinely too cold, so shrink the footprint, add a lid with a gap for ventilation, and check the birds at night rather than only in the afternoon.
Season. Spring chicks brooded in an unheated space and summer chicks brooded in the same space are running two different schedules. In real heat you may find yourself skipping steps in week three or four because the ambient has already overtaken your target.
Heat Lamp or Radiant Plate: Which One Fits a Dropping Schedule
Both work. They fail differently, and they suit different keepers.
A heat lamp — clamp fixture, red or white bulb — is the cheapest way in and the most adjustable. You dial temperature by changing lamp height, which is close to infinitely fine control, and that's a real advantage across a six-week step-down. The costs are real too: it's a hot bulb near dry bedding, it lights the brooder around the clock, which suppresses the natural rest rhythm, and a red bulb in a dark garage will glow through the night for anyone who has to sleep nearby. If you go this route, secure it as described above and treat that as non-negotiable.
A radiant heat plate is a low, adjustable-height panel the chicks go under, warming them by contact and close radiation rather than heating the whole box. It mimics the hen far more closely: warm underneath, dark, and the chicks come and go. It runs cooler on its surface, it doesn't light the brooder, and it consumes less power. Two trade-offs. First, it doesn't warm the surrounding air much, so in a cold garage the ambient outside the plate can drop further than you'd like and the chicks spend more time underneath. Second, the "temperature" you set is really the plate height, so a thermometer under the plate is less meaningful than watching the birds — with a plate you are reading behaviour whether you like it or not.
My call: if the brooder is indoors, a plate is the better tool and worth the higher upfront outlay. If the brooder is in a cold outbuilding, a lamp's ability to warm actual air still has the edge, and some keepers run a plate for contact heat plus a low-output lamp for ambient. On price, expect a clamp lamp and bulb to be the least expensive entry and a plate to run several times that, with the gap narrowing as more plate brands turn up; check current prices at your local farm store rather than trusting any figure in an article, including this one.
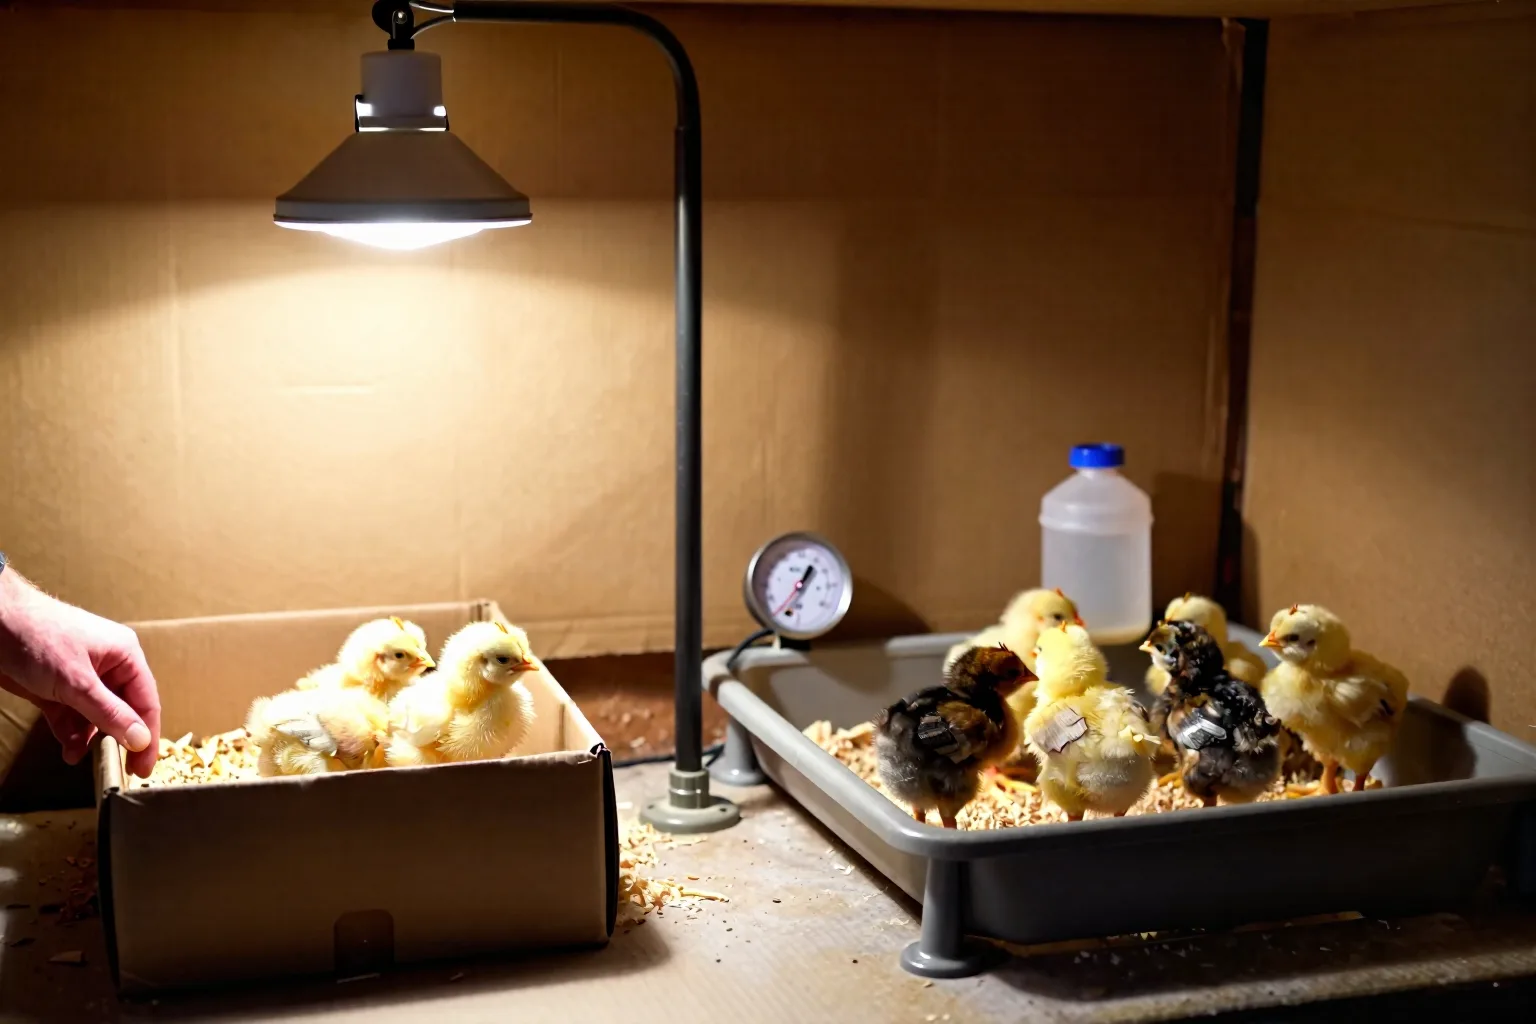
When to Stop Supplemental Heat for Good
Heat comes off when the birds are feathered, not when a date arrives. For most standard breeds that lands somewhere around five to six weeks, but the check is physical: pick a chick up and look at the back of the neck, the head, and under the wings. Real feathers everywhere, no visible fluff patches, and they've stopped looking scruffy. That bird can hold its own temperature at normal spring room temperature.
The sequence I'd follow: reach ambient on the schedule, then leave the heat available but unused for two or three nights — plate at its highest setting, lamp raised well up. If the chicks ignore it, unplug it. If they pile back under it after dark, you've got another few days to go, most likely the ones still finishing their neck feathers.
Then comes the outdoor question, which is a separate decision with its own answer. Fully feathered doesn't mean coop-ready in February. Night temperature in the coop, draft, and how gradually you've acclimated them all matter, and moving chicks from the brooder to the outdoor coop deserves its own walk-through rather than a sentence here. If a bird looks genuinely unwell at any point during brooding — not just cold, but listless, unable to stand, or off feed for a day — that's a call to your vet or your local extension office, not a temperature adjustment.
This week's action: before the chicks arrive, plug in your heat source, put a thermometer flat on the bedding directly underneath it, and leave it running for 24 hours. Note the reading and note the lamp height that produced it. That single measurement is the anchor for the next six weeks, and it takes a day you can spare now instead of an hour of scrambling later.
Worth knowing what comes next on either side: if you're hatching your own rather than ordering chicks, incubation temperature and humidity is the run-up to all of this, and chick starter feed is the other half of week one. Standard poultry extension guidance on brooding covers the same temperature curve if you want a second reference point, and the general biology of thermoregulation explains why the curve exists at all.