Raising Baby Chicks Week by Week: A 6-Week Care Plan
At chick height, 95°F is the week-one number; at the far edge, cooler space matters just as much. Six weeks later, those same chicks may need a square foot each and no brooder heat at all. This week-by-week plan gives you the setup, behavior checks, and move-out test so you’re not following a calendar while the birds are telling you something different.
A chick-height thermometer clipped to the brooder wall, with its sensor just above the bedding, tells you more than a reading near the lid. Keep checking at that level. The chicks live there.
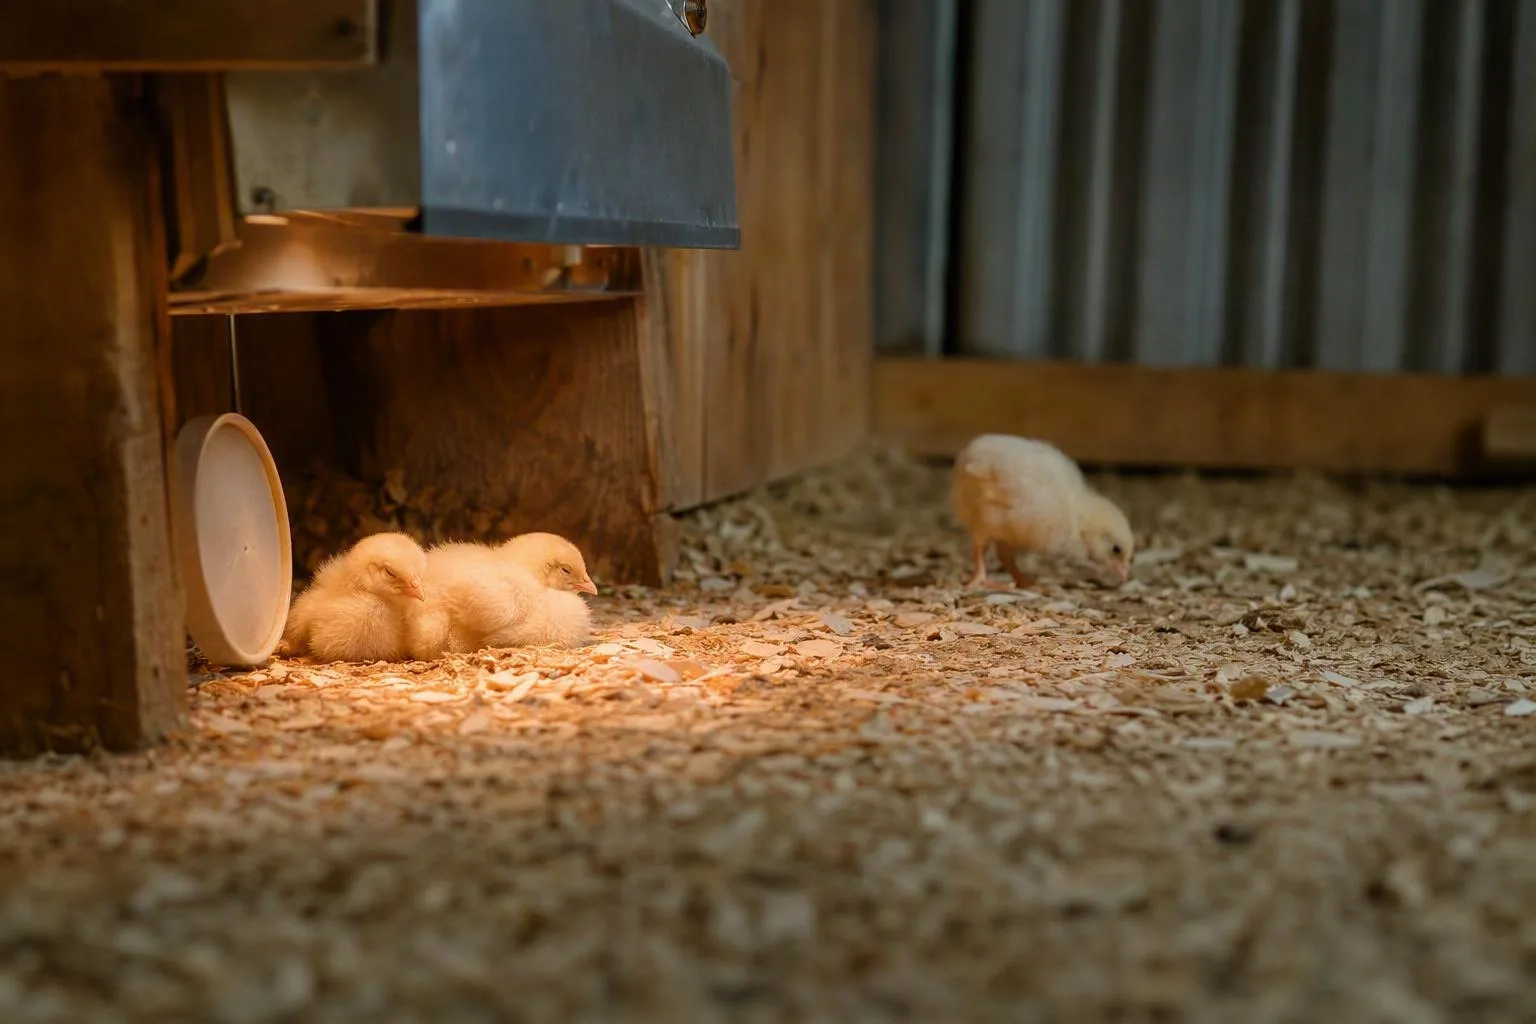
Before the box opens: build a brooder that can grow for six weeks
Have the brooder running before the chicks arrive. Start with about 0.5 square foot of floor space per chick. By weeks 5 and 6, plan on about 1 square foot per chick, with extra room for large breeds or a group that must stay indoors longer.
For eight chicks, that means at least 4 square feet on arrival and about 8 square feet by the final indoor weeks. A 2-by-2-foot starting brooder can work briefly for that group. It isn’t a six-week plan. Arrange a larger pen, a second connected section, or a grow-out space before the chicks begin competing at the feeder.
Use a draft-free enclosure with ventilation above chick level. Draft-free doesn’t mean sealed. Warm, stale air and damp litter can create trouble even when the thermometer shows the right number. Use dry, absorbent bedding. Set out complete chick starter, shallow waterers that won’t tip easily, and a thermometer at chick height.
The heat source should warm one area, not the whole brooder evenly. Chicks can then move closer when they’re cold and toward the cooler edge when they’re warm. Keep loose bedding away from hot surfaces, protect cords, and follow the heater’s clearance instructions.
A useful judgment call is to fix the layout before chasing a one-degree reading. If feed is under the heat and water is at the opposite wall, chicks may spend too much time crossing a cramped, wet floor. Put both within easy reach, but far enough apart that scratched bedding doesn’t fill the water.
For the construction checklist, use the separate reference titled How to set up a chick brooder for 3 to 12 chicks. Feed planning belongs beside it; How much chick starter feed baby chicks eat by age can help you turn a flock size into a shopping list.
Day 1: get every chick drinking, eating, and warm
The first day is about access and observation, not teaching tricks. Work through this sequence as soon as the box opens:
- Preheat the brooder. Check the warm area at chick level. Confirm that a cooler zone remains available and that bedding is dry.
- Place chicks beside water. Touch the tip of each beak to the water surface if needed, then let the chick lift its head and swallow on its own. Don’t squirt water into a beak or hold a chick’s head under water.
- Show them the feed. Put starter in a low tray or feeder. A light tap on the feed with one finger can attract attention without handling every chick repeatedly.
- Watch each chick move. Look for standing, walking, pecking, and a clean vent. A chick that stays limp, cannot stand, or is pushed away from water needs prompt attention.
- Settle the brooder before night. Transport can leave chicks tired and chilled. Keep the enclosure quiet, warm, and dim enough for rest, while checking that no chick is trapped beneath the group.
Short periods of sleep are expected. Intermittent peeping is different from continuous, sharp peeping. If the whole group is noisy and pressed under the heat, check temperature, drafts, and wetness before assuming they’re simply settling in.
Week 1: hold the warm zone near 95°F at chick level
During week one, keep the heated area near 95°F (35°C) where the chicks stand, not at the brooder lid. The target is for the warm zone. It isn’t a command to make every inch of the enclosure that temperature.
Comfortable chicks spread into a loose, active group. They sleep, wake, eat, drink, and move in and out of the warm area. Cold chicks tend to press together beneath the heat and peep persistently. Hot chicks avoid the heat, hold their wings away from their bodies, or pant. Those patterns are more useful than a thermometer reading taken in the wrong place.
Keep complete starter and clean water available throughout the day. Check the litter morning and evening, especially around the drinker. Remove wet patches rather than stirring them into the rest of the bedding. Look at vents for pasted droppings, and scan for a chick that is smaller, inactive, or repeatedly separated from the group.
Keep air moving above the chicks without blowing directly across them. A covered top may stop a curious cat, but it can also trap humid air. Use mesh or another secure, ventilated cover that keeps predators and pets out.
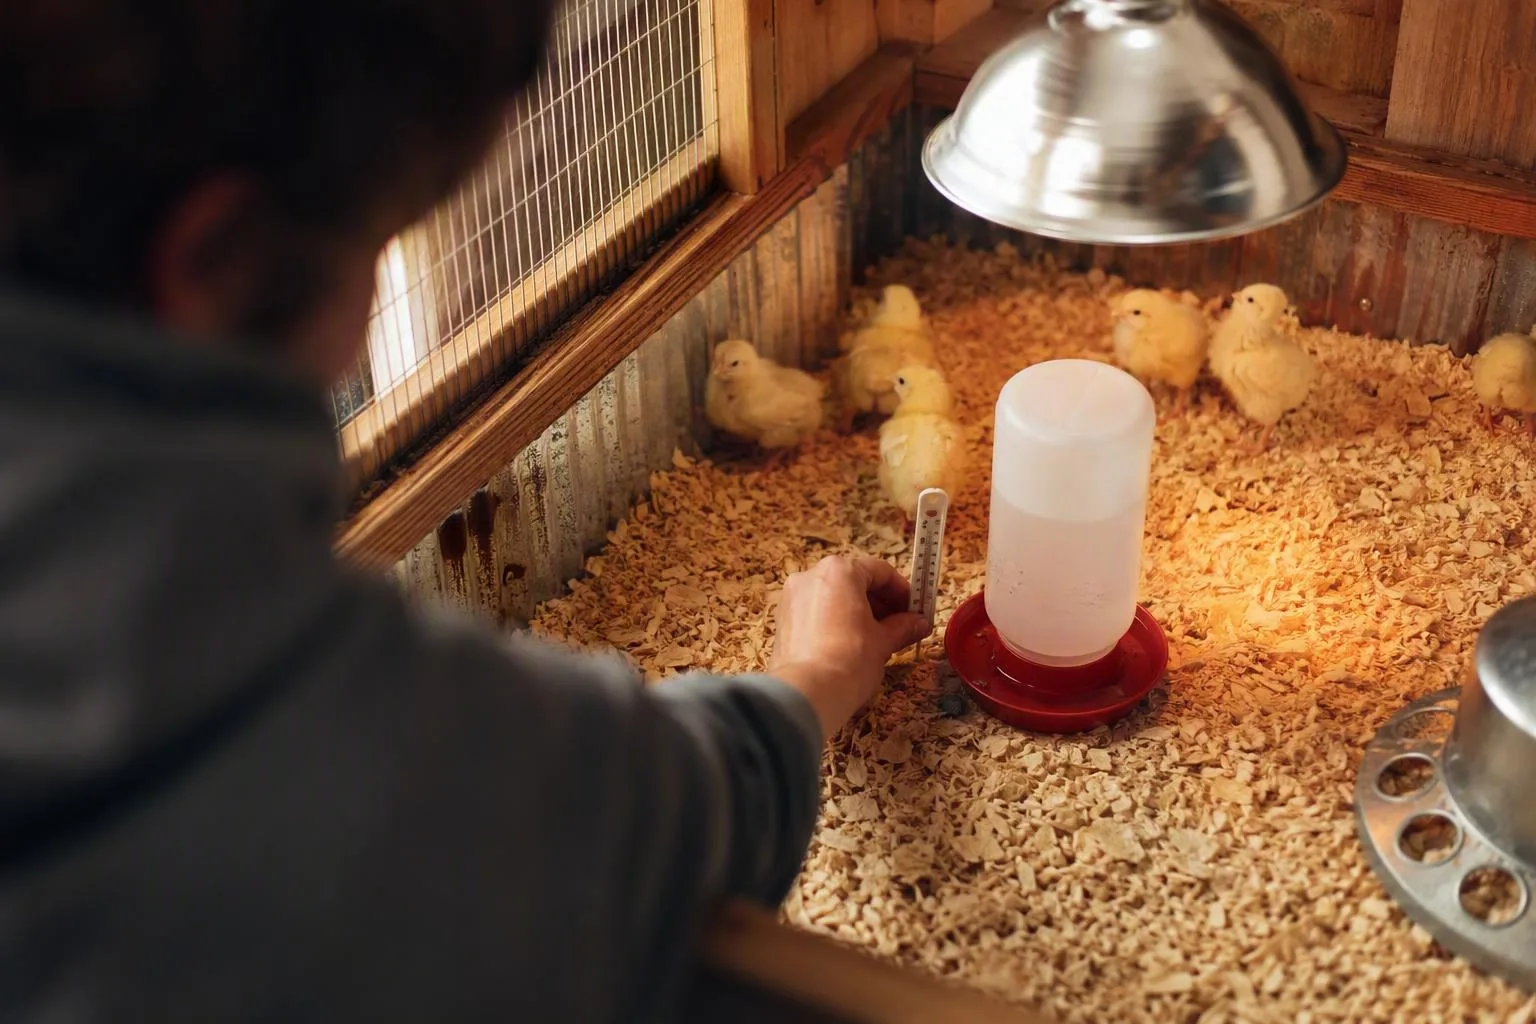
The calendar sets the target; the chicks’ distribution makes the decision. If the group is tightly packed or fleeing the heat, adjust the brooder before adjusting your expectations.
Week 2: reduce heat to roughly 90°F and make room for movement
Take five degrees off the week-one target: aim for roughly 90°F (32°C) in the warm area during week two. Keep the cooler side. A chick that can choose its distance from heat is easier to read and less likely to be trapped by a poor setting.
Feather pins will begin showing as small, stiff points, and the chicks will cover more floor as they move. Place feed and water farther apart within the enlarged brooder so the group has to walk, but not so far that a weak chick cannot find either one. Raise the waterer lip to about the height of a chick’s back. It should remain easy to reach while giving kicked bedding less chance of landing inside.
Check every vent again. If droppings are stuck, soften them with warm water and remove them gently. Do not pull hardened material from the skin. Replace wet bedding immediately and look for the cause: a tipped drinker, a low rim, or too many chicks in too little space.
Constant feeder crowding, chicks sleeping on top of one another, spilled feed, and litter that becomes wet soon after cleaning all point to a floor-plan problem. Expand the enclosure before trying to solve it with more heat.
Week 3: let feathering and behavior set the next heat step
By week three, the warm-zone target has moved down to approximately 85°F (29°C). Treat that as a starting point. If chicks huddle, peep sharply, or avoid the rest of the brooder, check the setting and the enclosure before making another reduction. Panting and heat avoidance call for the opposite response: more distance from the heater and better ventilation above chick level.
Give the group a larger cool area. A low, stable perch just above the floor can be introduced if the chicks can step on and off it without falls or piling. Keep exercise brief and indoors at first, in a warm, dry, enclosed space where you can watch every bird.
Outdoor time at this stage is practice, not a move to the adult coop. Young chicks can explore and still need a controlled return to warmth. Bring them in if they become quiet, wet, tightly grouped, or reluctant to move.
Week 4: expand the floor plan and introduce supervised outings
The next step is another five-degree drop, leaving an approximately 80°F (27°C) warm area if supplemental heat is still needed. By week four, provide at least 0.5 square foot per chick. That is a minimum planning point, not a reason to keep a fast-growing group in a tight pen.
Move the chicks into a larger brooder or grow-out pen before feed and water become contested resources. Put the drinker on a firm surface. Keep the feeder stable and wide enough for the whole group to eat without a dominant chick blocking the opening. Dry litter matters more as the birds produce more waste.
Short outdoor outings need four conditions: dry ground, mild weather, a secure boundary, and direct supervision. Cover the top against hawks. Close gaps that let a chick squeeze through. Avoid standing water and cold, wet grass. Start close to the brooder and bring the group back before they chill. Exploration is useful only while the chicks remain active and dry.
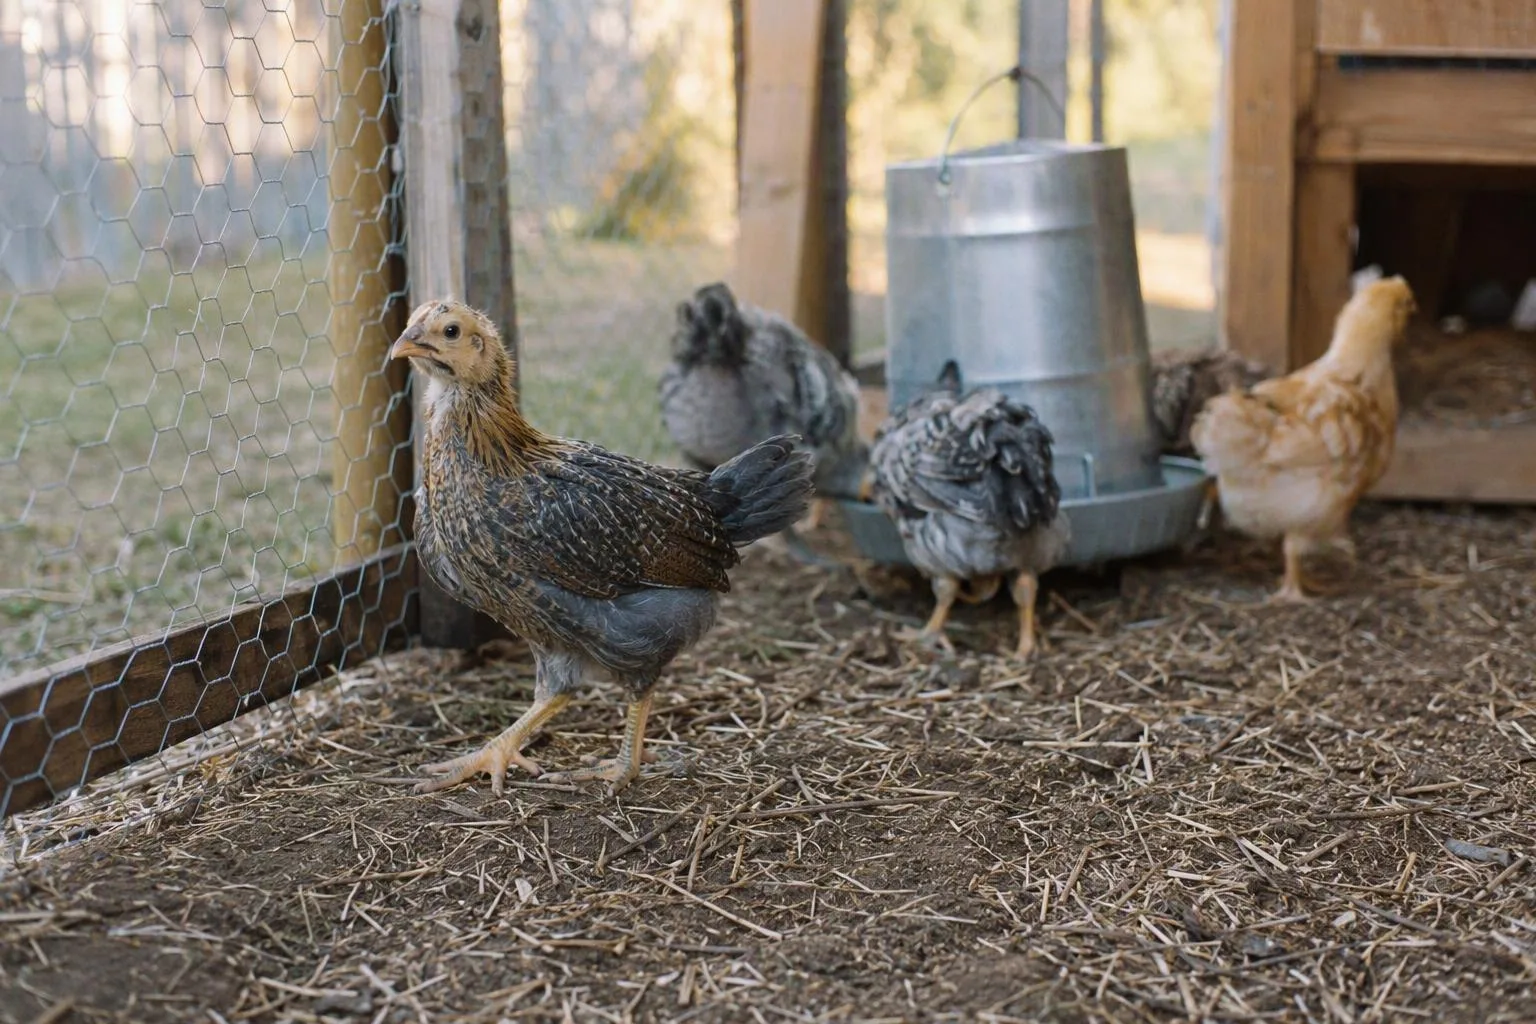
Week 5: prepare for cooler nights instead of rushing the move
At week five, plan around 75°F (24°C) in the warm zone when heat remains necessary. The chicks should be close to fully feathered, but feathering is not the same as being ready for every night your weather can produce.
Extend supervised time in a dry, secure run. Watch what happens when the heat source is less central. Active chicks that eat, drink, and move normally are giving you a better readiness signal than their age alone. Chicks that pile under heat after dusk still need a warmer option.
Treat acclimatization as gradual exposure; a sudden cold snap isn’t useful training. Pause the move during wet weather, a sharp temperature drop, or a night when the grow-out space cannot stay dry and sheltered. Large breeds may need more room before they are ready, and a poorly protected pen can make mild temperatures feel unsafe.
Week 6: use a readiness test before ending brooder care
Subtracting the final five degrees puts the common week-six target near 70°F (21°C) in the warm area, if supplemental heat is still needed. Don’t switch it off just because the calendar says week six. Use this test instead:
- Feathers cover the body, including the back and breast, rather than leaving broad downy patches.
- Chicks stay active, eat and drink normally, and do not spend the night packed beneath the heater.
- They remain dry after outdoor time and recover quickly from ordinary activity.
- The grow-out coop is draft-protected at chick level but ventilated above it.
- Every chick has room to reach feed, water, and a warm or sheltered area without being cornered.
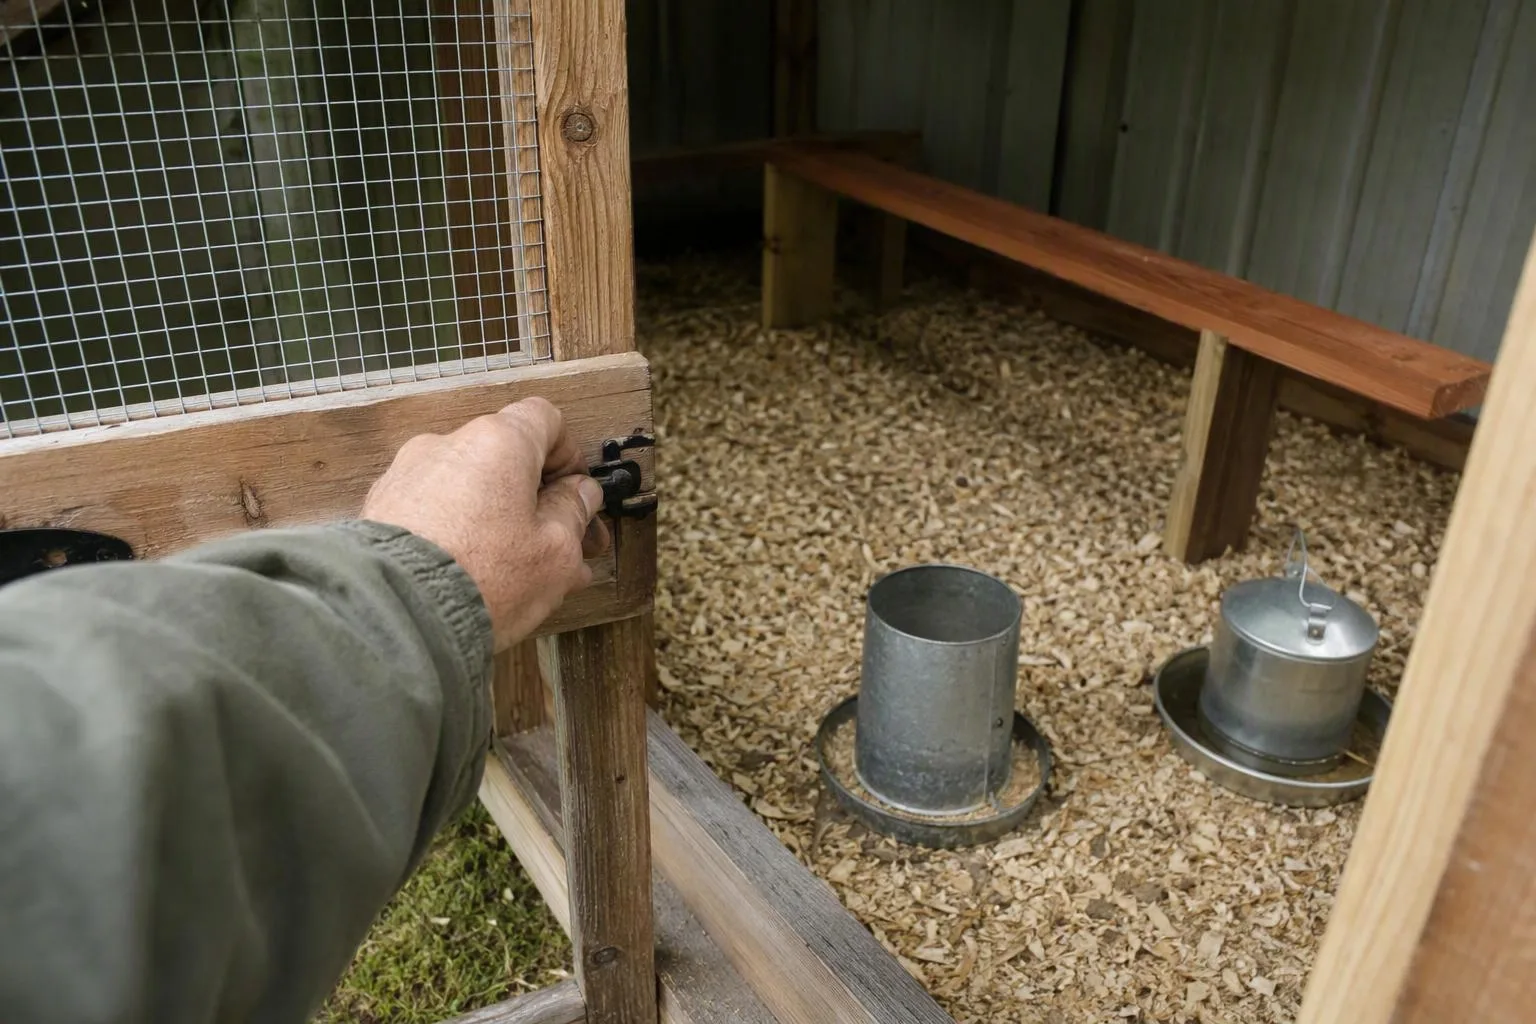
If those conditions hold through mild nights, move the group to a predator-resistant grow-out coop. Keep about 1 square foot per chick as a starting point, and add room for larger breeds or a longer stay. Use a latch that raccoons cannot work easily, mesh small enough to stop local predators, and a roof or overhead net where hawks are active.
Continue the feed on its label’s schedule. That may mean staying on starter for a while longer or changing to the appropriate grower ration. Don’t dilute a complete feed with a large amount of treats while the chicks are still building their diet.
Six weeks is not an automatic introduction date for adult hens. Keep young birds separate while you assess health and let them grow. A see-through barrier followed by brief, supervised contact gives smaller birds somewhere to retreat. For that next stage, use the companion guide How to introduce young pullets to an established hen flock.
If a chick looks wrong, act on the symptom before changing the whole plan
Start with the environment. Check temperature at chick level, bedding moisture, water access, feed access, ventilation, and whether a larger chick is blocking a smaller one. If a simple correction doesn’t produce a clear improvement, stop experimenting and get veterinary advice.
| What you see | Check first | What to do next |
|---|---|---|
| Huddling with loud, repeated peeping | Warm-zone reading, drafts, wet bedding, empty waterer | Correct the environment and watch the group closely. Persistent huddling or a weak chick needs veterinary advice. |
| Panting or avoiding the heater | Heat source, thermometer position, stale or trapped air | Increase access to the cool area and improve high-level ventilation. Don’t force chicks beneath the heat. |
| Quiet, limp, or not eating | Crop access, water access, temperature, injury, and isolation from the group | Provide a calm, appropriately warm space and contact a veterinarian if the chick doesn’t promptly perk up. |
| Pasted vent | Dried droppings blocking the opening and repeated wetness | Soften with warm water, clean gently, dry the chick, and correct the brooder cause. For a careful walkthrough, see How to clean and treat chick pasty butt safely. |
| Persistent diarrhea or blood in droppings | Duration, number of affected chicks, feed changes, and general behavior | Contact a veterinarian. Don’t guess at an antimicrobial, anticoccidial, or dosage from a product meant for another bird. |
| Breathing difficulty | Dust, damp litter, ventilation, and whether more than one chick is affected | Improve air quality and seek prompt veterinary care, especially if breathing remains labored. |
| Inability to stand, repeated collapse, or rapid decline | Immediate access to warmth, water, feed, and signs of injury | Treat this as urgent veterinary territory rather than a brooder-adjustment project. |
Multiple affected chicks, repeated collapse, or breathing problems change the decision. A home fix may be reasonable for a wet vent after the obstruction is cleaned. It is not a safe substitute for diagnosis when the whole group is deteriorating. Follow the product label and a veterinarian’s instructions for any medication.
Your end-of-week-six handoff checklist
Before the move, stand in the grow-out space and check it from a chick’s point of view:
- Measure at least 1 square foot per chick, with more room if the birds are large or the space is temporary.
- Replace damp bedding and confirm that air can leave above bird level without a direct draft across the floor.
- Latch the door, inspect the mesh, and cover the run against the predators found in your yard.
- Add a stable, low roost that cannot tip or trap a chick.
- Place feed and water where every bird can reach them, including the smallest chick.
- Watch the flock closely for the first 48 hours, including after dusk and early the next morning.
For a second opinion on regional practice, check current University extension guidance on chick brooder temperature, floor space, ventilation, and sanitation. Before adding birds to an established flock, also check current state poultry-health or NPIP guidance on biosecurity, vaccination, and bringing new birds into a flock.
Can baby chicks eat treats during their first six weeks?
Keep complete chick starter as the main diet. The cleanest plan is to delay treats until the chicks are settled and eating well. If you offer a tiny amount of grass, insects, or another whole food, provide appropriately sized chick grit as well. Treats should not crowd starter out of the feeder.
Do chicks need grit if they only eat chick starter?
Not as a routine addition when complete starter is all they eat. Offer chick-sized grit once they begin eating treats, grass, insects, or other foods that need mechanical grinding. Keep grit separate from feed so the chicks can choose it.
Can six-week-old chicks go straight in with adult hens?
Not by age alone. Keep the young birds separate while you assess them, then use a see-through barrier and gradual, supervised contact. Adult hens need enough room that a smaller bird can retreat from pecking and still reach food and water.
Can you use a heat plate instead of a heat lamp?
Either type can work if it maintains the needed warm area and leaves a cooler zone. Follow the product’s clearance and electrical instructions. Keep the heat source away from loose bedding and spilled water, and check the chicks’ behavior rather than trusting the device setting by itself.
This week, write a six-row plan on paper: arrival, week one, week two, week three, week four, and the move-out test. Put the temperature target, floor area, and behavior check in each row. Then measure the brooder you actually have. If it cannot expand from 4 to 8 square feet for eight chicks, solve that space problem before the box opens.
For the hardware and layout details, return to How to set up a chick brooder for 3 to 12 chicks. For feed budgeting, pair the plan with How much chick starter feed baby chicks eat by age. That small bit of planning connects the warm first week to the much easier weeks that follow.
Frequently Asked Questions
Can baby chicks eat treats during their first six weeks?
Keep complete chick starter as the main diet. Delay treats until chicks are settled and eating well, offer only tiny amounts, and provide appropriately sized chick grit if they eat anything besides prepared feed.
Do chicks need grit if they only eat chick starter?
No. Complete chick starter is already formulated to be eaten without grit. Offer chick-sized grit when you begin treats, grass, insects, or other whole foods.
Can six-week-old chicks go straight in with adult hens?
Not by age alone. Keep new birds separate while you assess health, then use a see-through barrier and gradual supervised contact so adults cannot corner or injure smaller birds.
Can you use a heat plate instead of a heat lamp?
Either can work when it maintains the required temperature and leaves a cooler area. Follow the product's clearance and electrical instructions, and keep any heat source away from loose bedding and spilled water.