Broody Hen: Let Her Hatch, Move Her, or Break the Brood
At 8 p.m., a hen flattened herself over an empty nest and made it clear she had other plans for the evening. Give her 24 hours before you decide: confirm that she is truly broody, then choose whether your flock has the fertile eggs, space, and time for a hatch.
Your three workable routes are simple. Let her hatch, move her to a safer nest, or break the brood without starving, soaking, or frightening her. The right choice depends less on how determined she looks than on what you can prepare before the next nightfall.
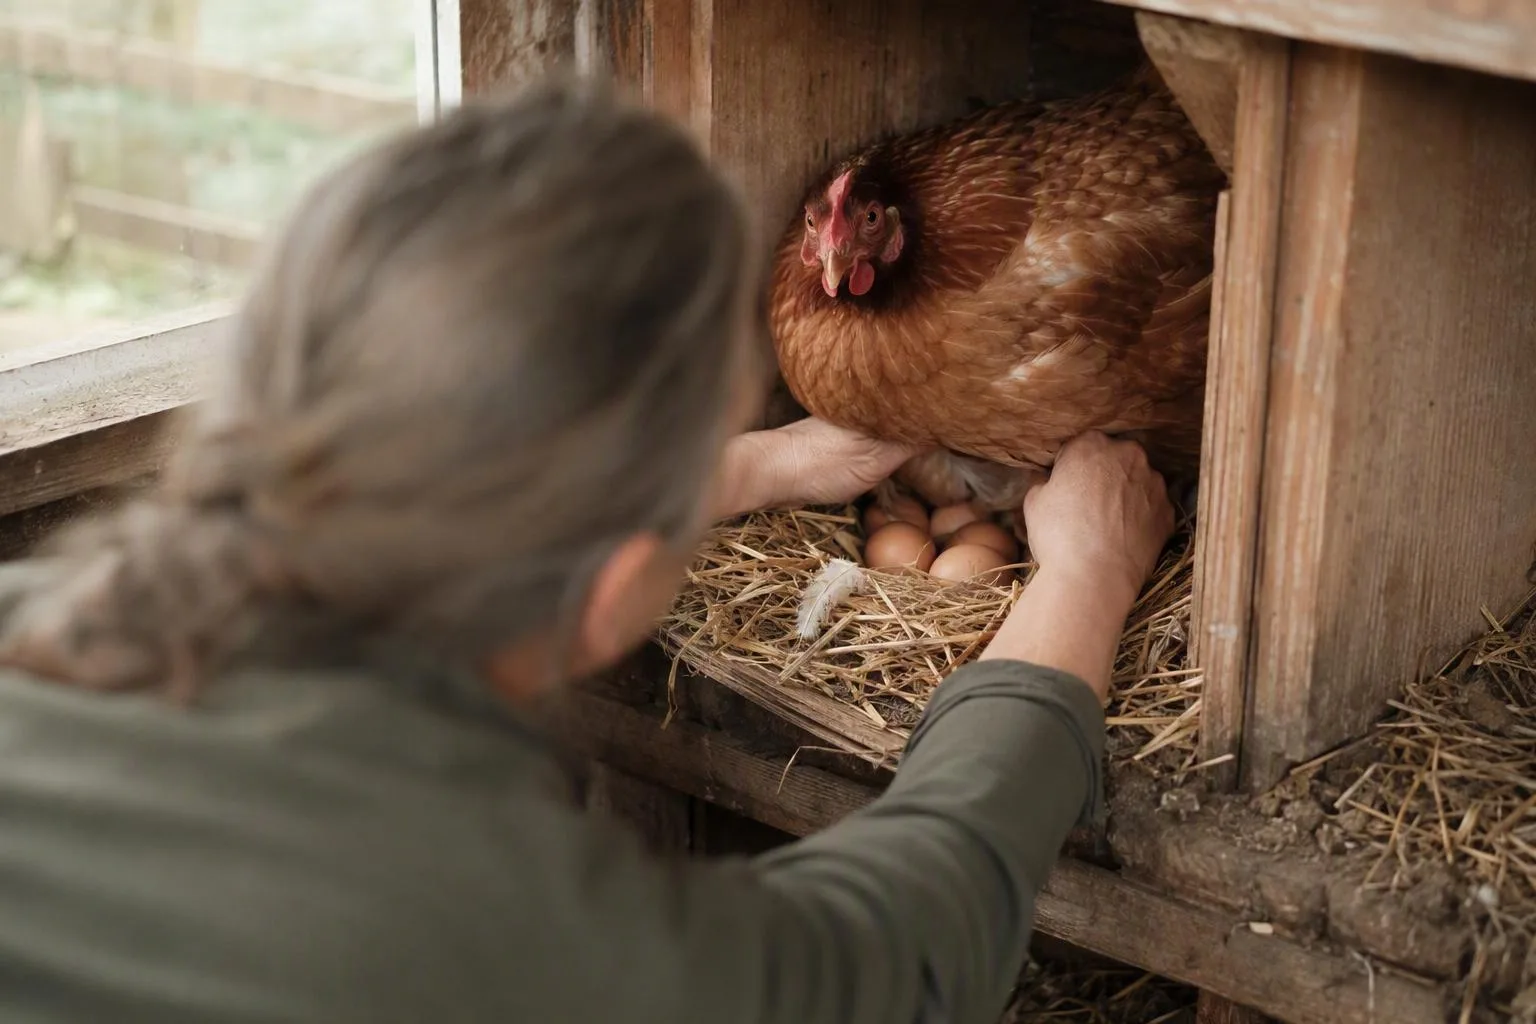
24-hour check: is she truly broody, or is something wrong?
The classic broody hen symptoms come as a cluster. She stays on the nest for most of the day, puffs her feathers when you approach, growls or pecks at your hand, and may develop a bare patch on her breast. That patch lets her body sit closer to the eggs. It also makes the skin look more vulnerable than it usually is.
Give her a full 24-hour watch before you label her broody. Look at her in the morning, around midday, and after dark. A broody hen may leave briefly to eat, drink, defecate, and stretch. A hen that leaves the nest for a short break and returns with purpose is different from one that is simply hiding because she feels ill.
Use a calm check. Put fresh water and feed close enough that she can reach them easily, but don't repeatedly pull her off the nest. Note whether she is bright-eyed, walking normally, and passing normal droppings when she does leave.
- Get veterinary help: she refuses both food and water, is markedly weak, has breathing trouble, has persistent diarrhea, is injured, or carries a heavy parasite load.
- Manage as a broody hen: she is alert between short breaks, defends the nest, settles back over the eggs, and has no obvious injury or systemic illness.
Those red flags are not a brood-breaking problem. A safe pen and a blocked nest won't correct dehydration, respiratory distress, or a serious wound. For a second opinion, compare the signs with veterinary guidance on distinguishing broody behaviour from illness in hens.
Choose the route before you touch the nest: hatch, move, or break
Decide before you lift a single egg. Natural incubation takes about 21 days, and the clock works best when the clutch is chosen and set together. Broodiness itself doesn't make an egg fertile. You need a rooster with access to the flock or another reliable source of fertile eggs.
- Let her hatch if you can house a hen and chicks separately, accept that hatch results aren't guaranteed, and have a backup brooder ready. The reward is a natural mother-and-chick setup. The trade-off is that you lose her eggs while she is committed to the nest and may need to manage a new group of growers.
- Move her if the current nest is shared, exposed, high off the ground, or inside the main traffic of the coop. A separate pen reduces flock disruption. The risk is that a hen may reject the new nest, especially after repeated moves.
- Break the brood if you don't want chicks, have no fertile eggs, or can't provide safe space for them. This avoids a hatch, but it may take several days, and egg production may not resume immediately.
For a medium standard hen, start with about 6–10 standard eggs. Use fewer for a bantam or small hen. The useful test is physical: every egg should fit beneath her body in one layer, with her breast and wing edges covering the clutch when she settles. A crowded edge egg cools more easily and is more likely to be kicked out.
Don't add new eggs every morning. Mark the chosen eggs with pencil and set them on the same evening. That keeps the hatch clustered instead of creating a rolling hatch with eggs at several developmental stages. University extension guidance on broody hen management and natural brooding is worth checking if local conditions or flock rules complicate the decision.
If you let her hatch: plan 4–6 square feet of shelter and 10–16 square feet of run
These footprints are a starting pen for one standard hen and roughly 6–8 chicks during the early weeks. They aren't a replacement for the larger space your growing birds will need later. Think dry sleeping shelter, a small feeding area, and a covered run where chicks can move without vanishing into adult flock traffic.
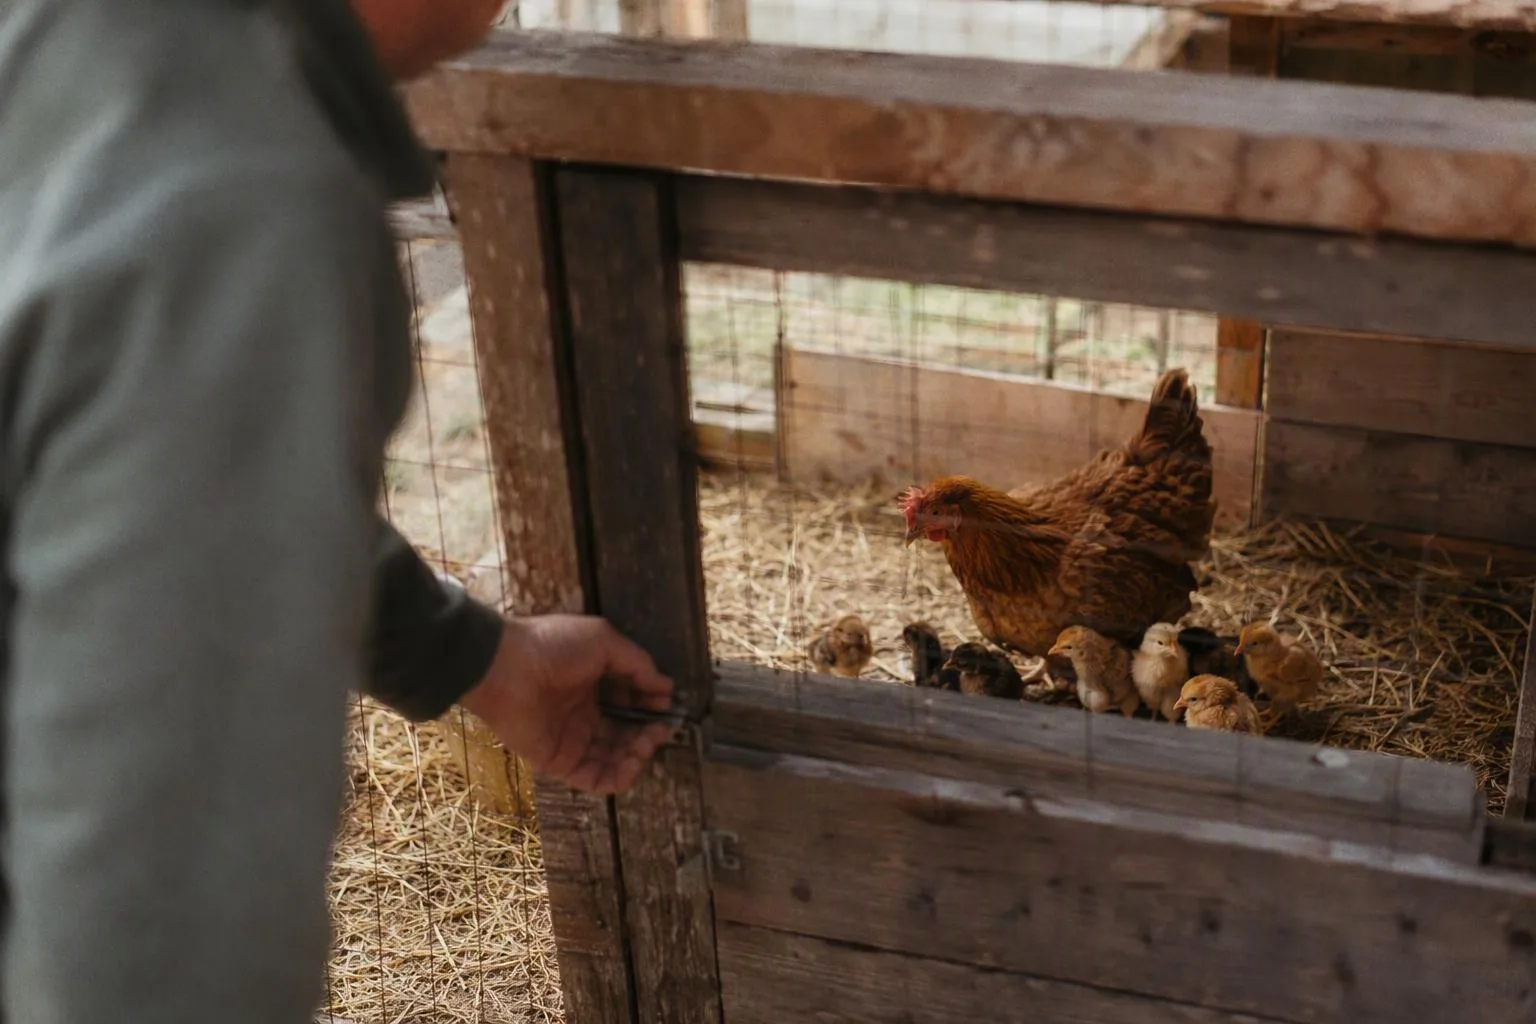
For one standard hen and six to eight chicks, prepare the following before you set the eggs:
- A dry, floor-level shelter of about 4–6 square feet.
- A covered starting run of about 10–16 square feet.
- A low, stable nest with bedding that won't roll eggs toward a doorway.
- Chick starter feed and a shallow drinker that won't let a chick fall in.
- Secure mesh on the roof, sides, and base or buried skirt.
Use 1/2-inch hardware cloth wherever chick-sized gaps or rodents are a concern. Chicken wire is useful as a boundary in some adult-bird situations, but its openings don't make a dependable barrier for small chicks or determined predators. Close the top as carefully as the sides. A hawk doesn't need a door left open.
Separate housing matters for more than predator control. Hens in the main flock may lay extra eggs in the nest, push another hen off, steal chick feed, or injure a small chick during a rush to the feeder. A separate pen lets the mother choose when to call the chicks under her and lets you see who is eating.
Make the pen expandable. Chicks grow out of a neat little broody corner sooner than you expect. My judgment is that a modest, secure pen is better than a large, impressive pen with gaps, a high perch, or a door that doesn't latch cleanly. For the roof, skirt, and latch details, use the principles in Best predator proof chicken coop rather than relying on the hen to defend her brood.
The move itself: after-dark transfer, one clutch, first-light check
Move a confirmed broody hen when the current nest is unsafe, but finish the move before the final incubation stretch. After dark, she is less likely to leave in alarm, and the dim light gives you a short, quiet window to transfer the whole setup.
- Prepare the new floor-level pen first. Add bedding, a shallow nest, food, and water. Close every predator route before you bring the hen over.
- Mark the eggs with pencil. Use one clutch, not a mixture of marked and unmarked eggs from several hens.
- After dark, place one hand over the hen's wings and support her body with the other. Move her and all selected eggs together.
- Set the eggs in a shallow nest. Put the hen down over them, then leave her alone.
- Check at first light. You want to see her settled over the eggs, with no eggs scattered outside the nest and no signs that she is trying to escape.
When I moved a broody hen in my own small backyard setup, I waited until dusk, marked seven eggs, and shifted the hen and eggs into a floor-level crate. She settled by first light. My mistake was leaving one unmarked egg behind; I found it under another hen the next morning, and the staggered timing made the nest harder to manage. Since then, I move one clutch, not a handful of loose eggs.
A high perch, a sloping nest, repeated handling, or a hen that refuses the new location can turn a promising hatch into a scattered clutch. If she won't settle after the first-light check, don't keep moving her from corner to corner. Choose a stable nest or switch to a prepared incubator or brooder plan.
The 21-day hatch clock: set on day 0, candle on days 7 and 14, leave her alone after day 18
Write the setting date on your calendar as day 0. Choose intact eggs of ordinary shape and similar size, then place them together under the hen. A broody hen handles turning herself, so your job is mostly to keep the nest dry, the pen secure, and the clutch undisturbed.
Day 7: This is the first useful candling point. On day 7, candling eggs with a bright candler in a dark room will often show branching veins and a visible dark embryo in a fertile, developing egg. That developmental jump is why day 7 is more useful than checking every day. If an egg is clear, compare it with the others in the same clutch before removing it; a poor angle, a dark shell, or a weak candler can make an early embryo hard to see.
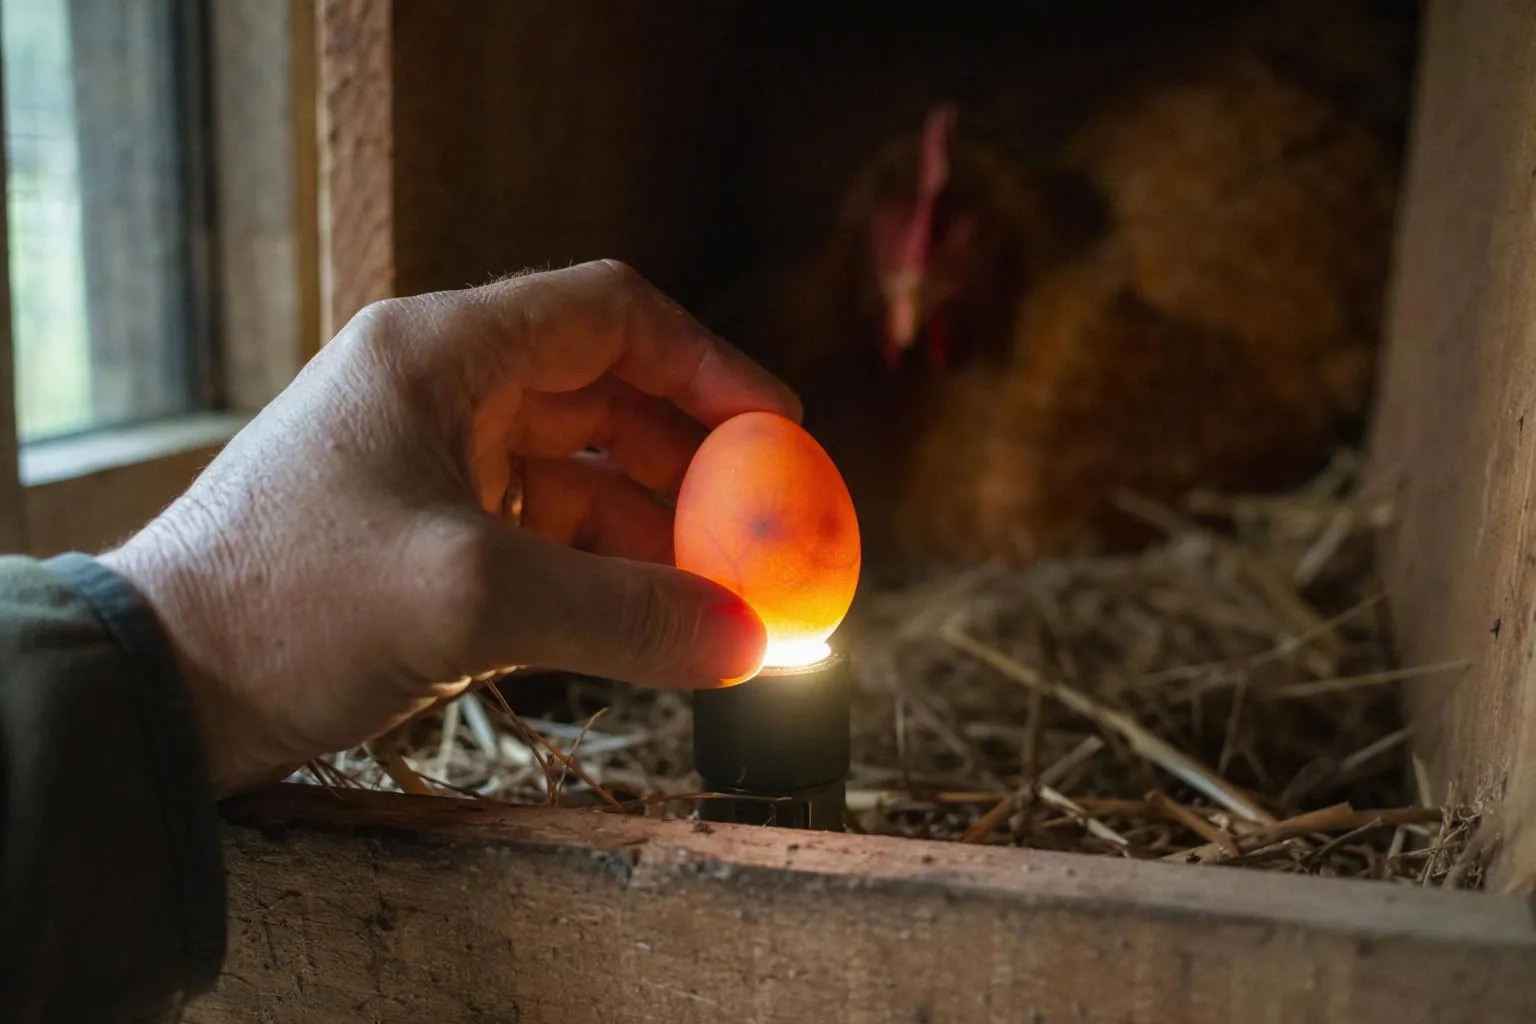
Day 14: Candle again only if you need the information. By this point, the embryo fills more of the shell, and the air cell is easier to size up against the broad end of the egg. You can usually see movement in a developing egg, though a quiet moment isn't proof that development has stopped. Handle eggs briefly, return them to the same position, and let the hen settle.
Day 18 onward: This is my low-interference period. Aim to have any move finished before day 18. Disturbing eggs in the final incubation stretch can chill the nest, break the temperature and humidity stability a pipping chick needs, and desynchronise a hatch that would otherwise stay clustered. Once a chick has pipped, I don't move the hen or peel shell away for convenience.
A chicken hatch commonly lands around day 21, but a healthy egg can be early or late. Don't throw out an intact egg just because day 21 passed. Check whether the hen is still covering it and whether the egg is warm, intact, and free from a bad smell. A cracked, leaking, collapsed, or foul-smelling egg should be removed from the nest rather than left among viable eggs.
Don't help a chick out of its shell on a timer. The shell and membranes can still contain blood vessels, and peeling them back can cause bleeding or leave a weak chick unable to finish the hatch. If an intact egg remains late, assess the clutch and the hen before deciding. If you aren't sure what you are seeing, ask a poultry veterinarian or local extension office rather than cracking the egg open in the nest.
Break the brood without a cold dunk: 2–3 days first, sometimes 5–7
To break a brood, remove the eggs, remove the nesting material, and block the nest box as soon as she leaves. If she can return to the same dark, warm nest each night, the nesting cues stay in place and your effort may drag on.
Use a secure, ventilated breaker pen. A foot-safe mesh floor can remove the deep, insulated nest feeling, but it must not have sharp edges or openings that trap toes. A solid resting area is fine if the pen stays bright, dry, and free of nesting material. Give her constant food and clean water. Protect the pen from direct sun, rain, drafts, and predators.
Recheck after 48–72 hours. Look for ordinary posture, interest in food, normal walking, and a hen that no longer rushes to flatten herself over a nest. Some hens settle after two or three days. A determined hen may need 5–7 days or a repeat of the routine after she returns to the nest.
There is no useful reason to starve her, withhold water, dunk her in cold water, or expose her to harsh weather. Those methods add stress without fixing the nesting cue. Weight loss, dehydration, injury, or marked weakness means the problem has moved beyond a home breaker pen and needs veterinary help.
After hatch or after a break: two different return plans
When she raises chicks
Keep the hen and chicks in their protected pen while the chicks are small. Offer chick starter and a shallow, stable drinker. Watch the water twice a day because bedding and scratching can foul a low drinker quickly. The mother supplies warmth by covering the chicks, but keep a backup brooder ready in case she rejects one, gets injured, or cannot keep the chicks warm in a sudden cold spell.
If you need artificial heat, set it at chick level around 90–95°F in week one, then reduce it by roughly 5°F per week as the chicks feather. Huddling and loud, persistent peeping suggest the chicks are too cool. Chicks spread far from the heat and pant when they are too warm. Those observations matter more than a thermostat number placed too high or too low in the pen.
Plan adult-level space before the hen weans them. Mother hens may stop covering chicks anywhere from about 4–8 weeks, and the youngsters still need protection from adult flock aggression after they no longer sleep under her. Read brooder temperature for chicks before hatch day, and use raising baby chicks with their mother as your next housing checklist.
When she returns alone
A broken hen should be eating, drinking, walking actively, and sleeping normally before you release her. Return her during daylight so you can watch the first interactions. If the flock drives her from feed or water, give her another protected period rather than assuming a quick release has worked.
Can two broody hens share a nest?
Separate nests and pens are safer. Two hens may add eggs to one clutch, shift eggs between nests, or fight over the same space. Sharing can work in a large, closely watched setup, but you need a way to separate them quickly if one hen blocks the other or chicks get caught between adults.
Can you put day-old chicks under a broody hen instead of eggs?
Sometimes. The hen should have been firmly broody for several nights, and the introduction is best made after dark. Put the chicks under her, check at dawn for acceptance, and keep a prepared artificial brooder available. A hen that pecks a chick, walks away, or refuses to settle is giving you a clear reason to intervene.
Does a broody hen stop laying eggs?
Plan on no eggs from her while she is firmly broody. Laying may not restart immediately after a break or after she weans chicks, so treat her return to production as individual rather than promised. A broody hen is not failing at her job; she is spending her resources on incubation instead of laying.
Your next action this week: watch the hen for 24 hours, write down which route fits your flock, and prepare the correct pen before you move her or set eggs. If you choose hatch, have your backup brooder and chick feed ready before day 0. If you choose to break her, remove the nest cues on the next safe opportunity and check her condition twice daily.
Frequently Asked Questions
Can two broody hens share a nest?
It is safer to give them separate nests and pens because hens may add eggs to one clutch, shift eggs, or fight over the nest. Sharing is only workable with close supervision and enough space to separate them quickly.
Can you put day-old chicks under a broody hen instead of eggs?
Sometimes, if she has been firmly broody for several nights. Introduce the chicks after dark, check at dawn for acceptance, and keep a prepared artificial brooder available in case she rejects one.
Does a broody hen stop laying eggs?
Usually, yes. Broodiness commonly pauses laying, and production may not resume immediately after breaking or weaning, so plan for an individual recovery timeline rather than instant eggs.