Raising Baby Chicks With Their Mother: A 6-Week Guide
At dawn, a hen may step from a 12-square-foot family pen with six chicks tucked beneath her breast. The chicks spill out for water, peck at starter, then vanish under her again. By week six, the question isn't whether their mother can keep them close; it's whether each young bird can eat, drink, move, and sleep safely beside her.
Raising baby chicks with their mother usually means less artificial heat, but it doesn't mean less supervision. Your hen provides the warm, moving shelter. You still provide dry ground, safe boundaries, feed, water, and a backup plan.
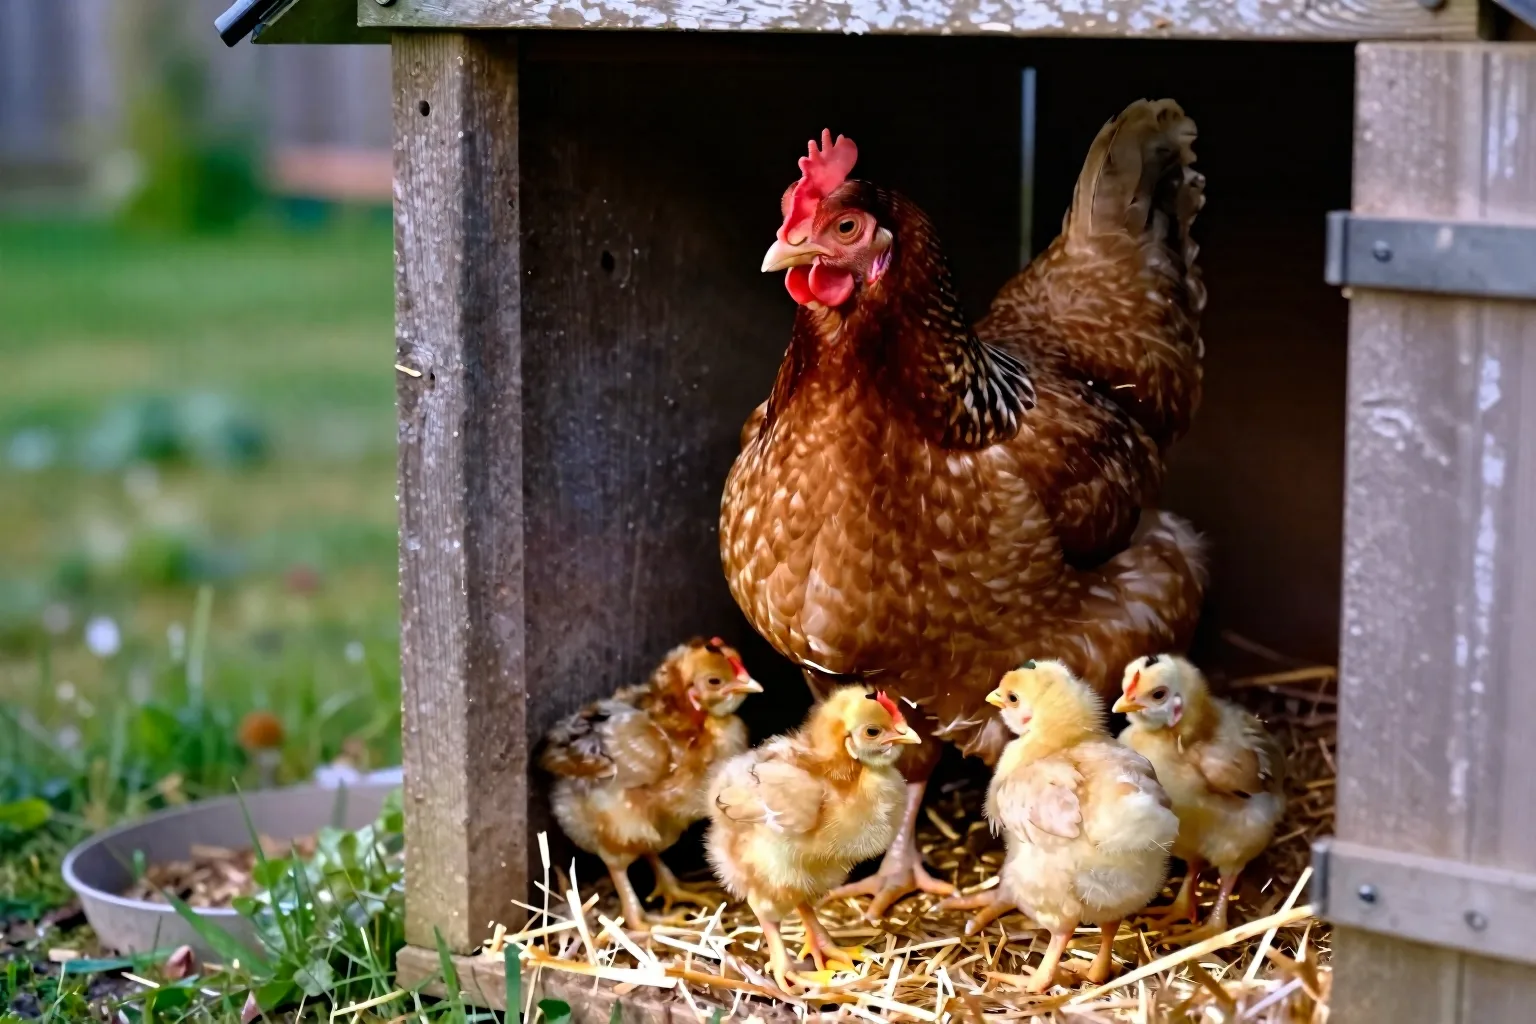
Is your hen ready to raise chicks?
A hen is ready when she is genuinely broody, not merely spending extra time in a nest. Look for the same pattern over a full day: she stays put, fluffs her feathers, gives a low warning cluck, and returns quickly when lifted. A hen that abandons the nest for long stretches or shows no interest in gathering chicks is a poor candidate.
- For a first managed brood, plan on 4-8 chicks.
- Keep the group small enough that you can see every chick at feeding time.
- Use an incubator and tested brooder if the hen is unreliable, injured, very small, or being bullied.
My practical starting point is four to eight chicks because the group is large enough to follow the hen but still easy to count. Breed size, pen design, and weather can change that judgment.
Build the family pen and backup brooder before hatch day
Give the hen and chicks their own covered family pen before the first chick arrives. A starting footprint in the 12-16 square foot range suits one hen and a small clutch, provided you expand it as the chicks begin to crowd the feeder or spill out of the sheltered corner.
- Use 1/2-inch hardware cloth on openings, with a firmly attached covered top.
- Lay dry bedding over a solid, well-drained floor. Remove wet patches rather than covering them with fresh litter.
- Set a chick-safe drinker and low feeder where the hen cannot block them. Add a low threshold rather than a tall step.
Build the pen so the hen can turn around and the chicks can get under her without being trapped behind equipment. A second opening or removable panel makes expansion easier than rebuilding the enclosure in week two.
Test the backup brooder before you need it. If the hen cannot warm a chick, a week-one target of 90-95°F at chick level is a reasonable starting point, with the chick able to move away from the heat. Keep Brooder temperature by week: safe setup and heat-lamp alternatives as your written fallback, not as a substitute for watching the birds.
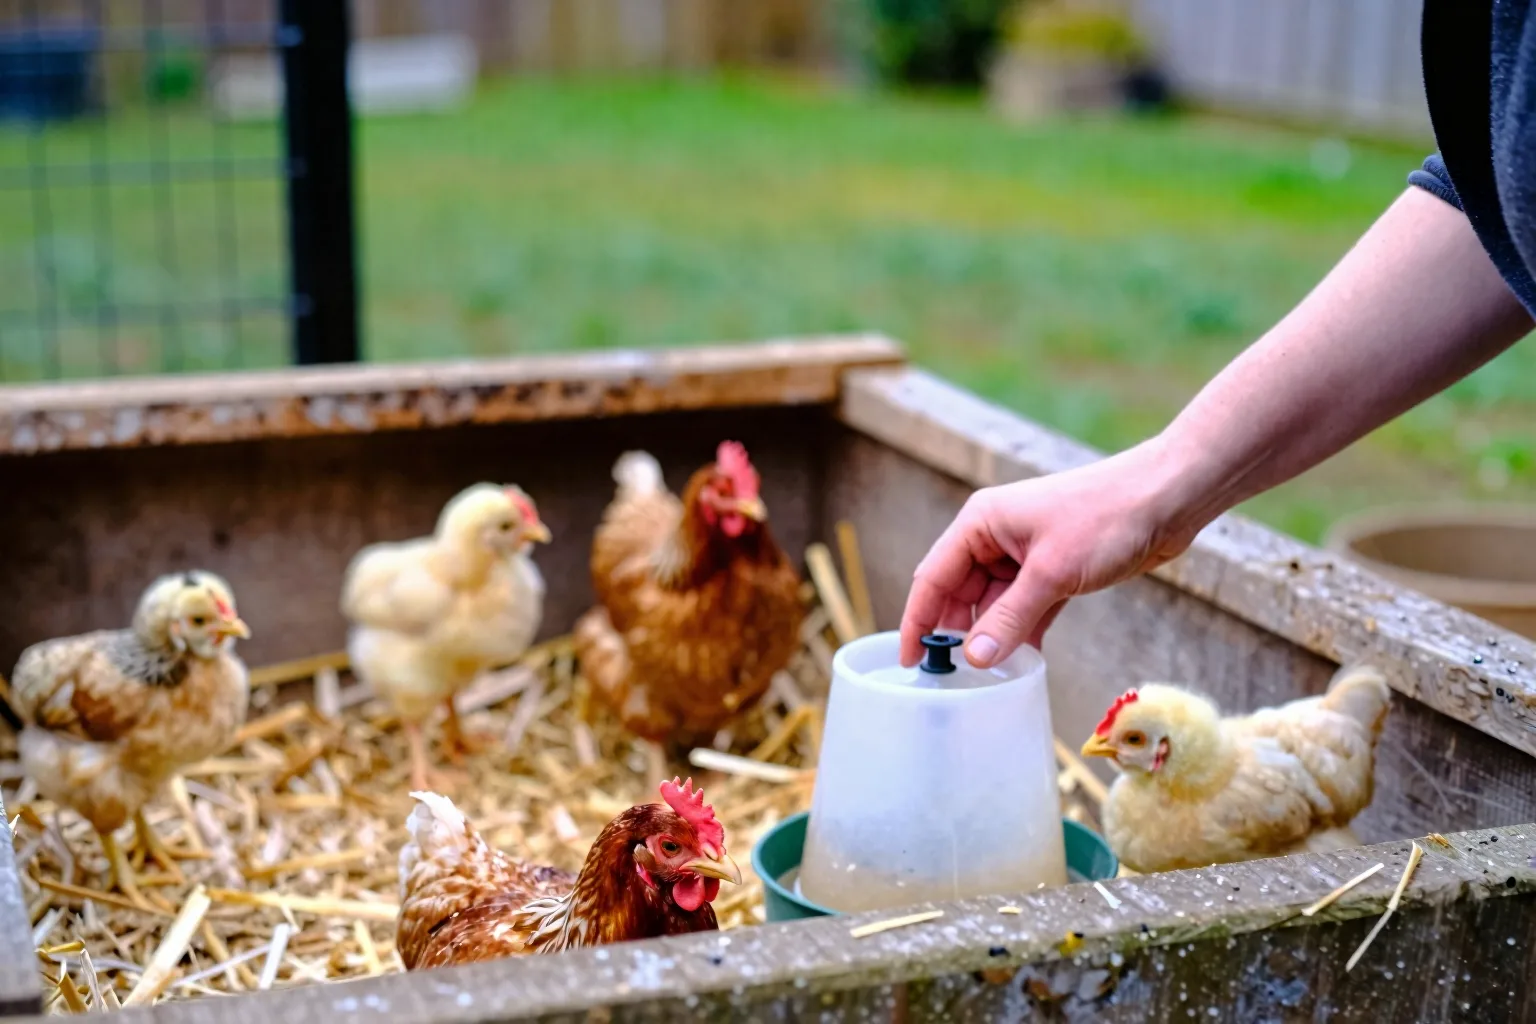
The first 24 hours: confirm acceptance, warmth, and access
For a natural hatch, let the hen settle with the chicks, then move the family into the prepared pen. Keep them apart from adult birds at first. A separate space lets you see whether every chick is warm, mobile, and reaching the resources.
For foster chicks, introduce them only after dark or in very low light, when the hen is settled. Place each chick beneath her breast rather than leaving it several inches away. Acceptance is not guaranteed. Keep the backup brooder ready and avoid adding a large group at once.
Make a quiet dawn check. Rejection can show as a chick left outside the hen's reach, repeated sharp peeping, pecking, or a hen walking away while the chick follows. Check that every chick can reach shallow water and starter feed. A single blocked chick can become chilled and weak while the rest of the group appears normal.
Week 1: let her provide warmth while you control the environment
In week one, normal trips are brief. Chicks come out to drink, eat, and explore, then tuck themselves under the hen for long quiet periods. You may hear short bursts of calling as they regroup.
Read the chicks rather than chasing a room-temperature number. Loud, persistent peeping deserves a check. Huddling tightly suggests that warmth or shelter is inadequate; panting suggests the group cannot get far enough from heat. Wet bedding, a draft at floor level, or a hen that refuses to settle can turn a good pen into a poor brooder.
A healthy, attentive hen is usually the chicks' most responsive heat source because she adjusts her body position as they move. My read is that freezing nights, cold rain, weak chicks, and small-bodied breeds reduce your margin enough to justify a tested backup plan. Delay outdoor access when the shelter is damp or the forecast makes drying impossible.
Lock the family pen securely at night. A hen's warning call does not replace a roof, latch, and predator-resistant mesh.
Week 2: enlarge the pen before you enlarge the risk
Week two is when a tight pen starts causing management problems. Expand when the chicks crowd one another around feed, the hen blocks a route, litter stays wet, or active chicks repeatedly spill out of the warm area.
Give them more floor space inside the covered boundary before opening the whole yard. Low thresholds help small legs cross between areas. Small-mesh openings stop a chick from slipping into a gap it cannot leave, and a dry sheltered corner gives the hen somewhere to gather them.
Space is not just comfort. It is your ability to count birds, find wet litter, and notice a chick that is falling behind.
Week 3: test the boundary, not the chicks
For the first outing, choose dry, calm weather and a protected run. Start with 10-15 minutes while you watch the hen's calls and the chicks' response. If the hen cannot gather them promptly, or the chicks become wet, cold, or scattered, return them to the family pen.
Extend outings only when the ground is dry and the chicks can get beneath the hen quickly. Postpone access during cold rain, strong wind, or conditions that leave no dry retreat.
A covered run is a better first test than open free-ranging. Use a roof or netting against hawks, and skirt or bury the lower mesh where digging predators can reach it. Free-ranging can add forage, but it does not replace a secure night shelter.
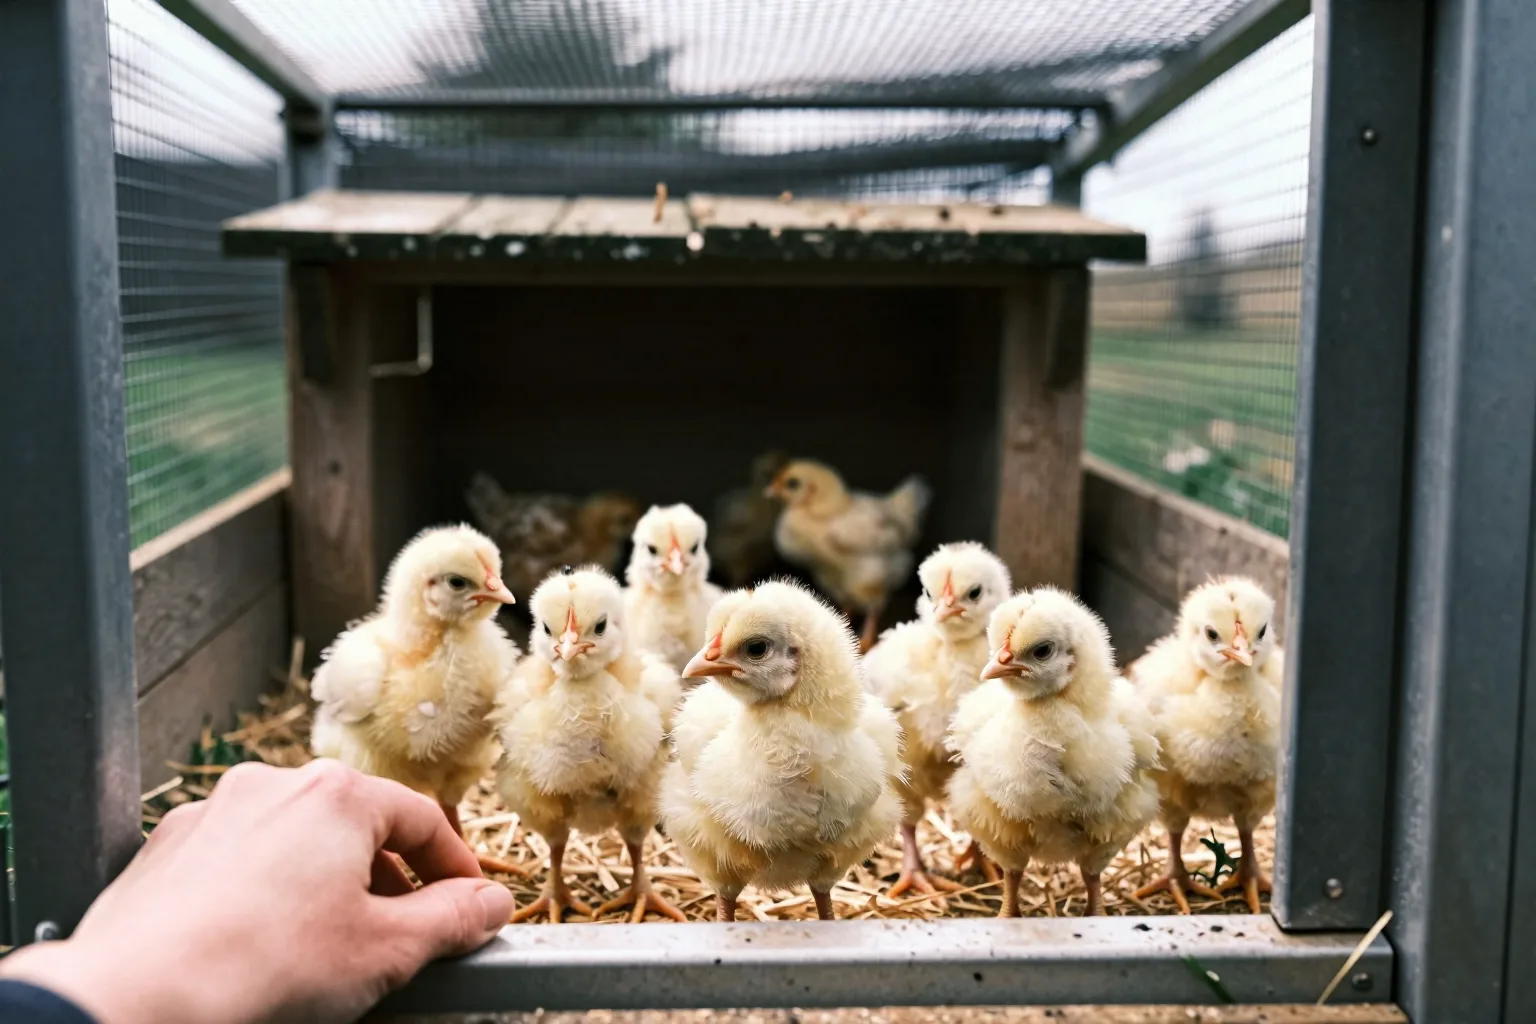
Week 4: add low roosts, dry dust, and room to feather out
By week four, pin feathers may be obvious and the chicks may look half-feathered rather than finished. Add a stable, low roost that is easy to leave, plus a safe ramp if the coop floor is raised. Keep the dust-bathing area dry and shallow enough that a chick cannot be buried by loose material.
Inspect the pen at dusk. Make sure the hen has not settled in a doorway and trapped chicks away from feed or water. Remove damp litter around drinkers, especially if the family group is using a small enclosure.
Four weeks is a transition point, not an automatic move-out date. Weather, feather coverage, and the hen's ability to shelter the whole group matter more than the calendar alone.
Week 5: shift from brooding to normal flock routines
In week five, let the family use the ordinary coop and run during the day if the chicks are active, dry, and secure there. Keep sleeping arrangements predator-safe. The hen may begin spending less time crouched over the chicks and more time walking, scratching, and roosting.
That natural weaning does not mean adult birds will share resources politely. Keep separate feed and water points, or use a wire partition and an adjacent pen before supervised contact. Do not rely on the hen's authority to protect chicks from every adult bird.
For the next flock addition, use How to introduce new chickens to an established flock as the separate integration plan. Young birds need an escape route, not just a larger doorway.
Week 6: decide whether they are ready for full flock access
At six weeks, use a checklist, not a deadline. Full or near-full feathering is useful, but it must match your local weather. Before full access, check that each chick can:
- eat and drink without being pushed away;
- walk, turn, and retreat confidently;
- roost safely or settle in a dry sheltered spot;
- reach the coop without a high jump or narrow bottleneck; and
- move through the flock without repeated pecking.
Delay integration if a chick is poorly feathered, chilled, injured, or losing every contest at the feeder. If a trial goes badly, reverse it: return the chicks to the adjacent pen, add another resource point, and try a shorter supervised session later.
Breed size, climate, adult-flock temperament, and available space can shift the answer by days or weeks. A large, calm flock in a roomy run gives you more options than a cramped run with one aggressive adult.
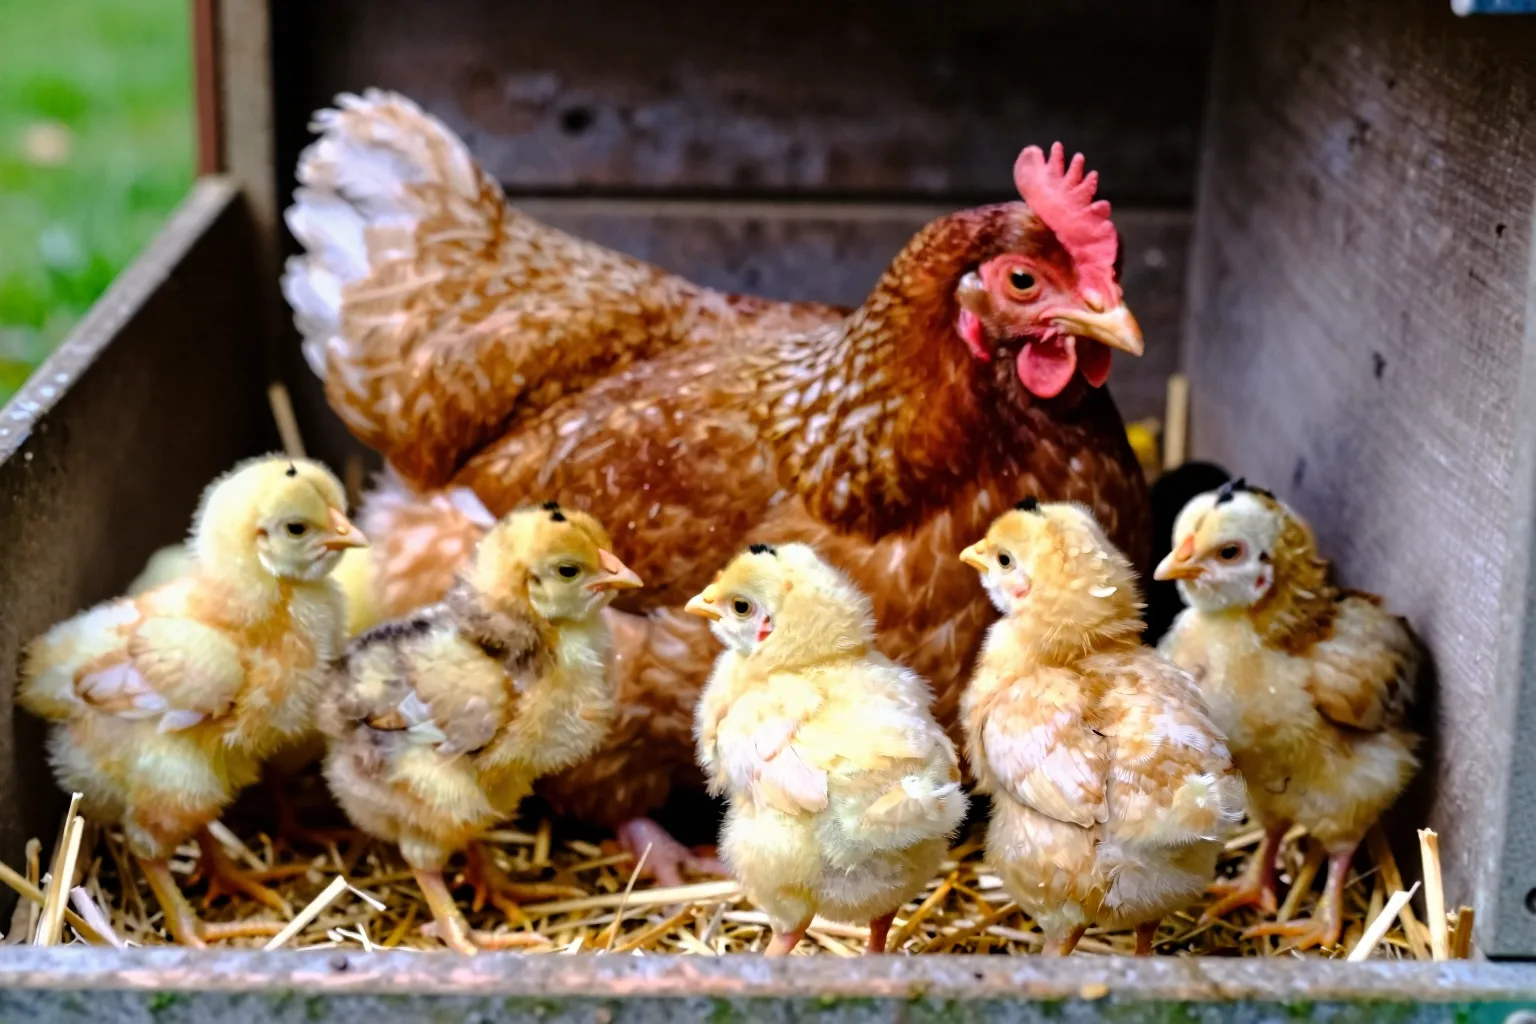
The six-week feed and water plan
Offer a complete chick starter free-choice from the first day through the transition out of the family setup. Choose a product whose label commonly lists 18-20% protein, and follow that label if it specifies medicated ingredients, restrictions, or a changeover point.
- Do not make layer feed the chicks' main ration. Its calcium target is intended for laying birds, not growing chicks.
- Chick-sized insoluble grit becomes useful once they eat treats, grass, or other material that needs grinding. Starter alone does not require treat grit.
- For six or more chicks, two drinkers reduce the chance that one hen or a stronger chick controls the only water point.
For planning, allow 1-2 kg of starter per chick through six weeks. Actual use moves with breed, forage, waste, and how much the hen eats. Check current local feed prices before building a budget. Keep What to feed baby chicks: starter feed, grit, treats, and layer feed beside the feed bin as a fuller ration guide.
Troubleshooting: when the mother hen cannot finish the job
A mother hen can be attentive and still miss one weak chick. Use this quick check before deciding whether to intervene.
| What you see | First check | Action |
|---|---|---|
| One chick is alone and peeping | Warmth, acceptance, and access | Place it under the hen; use the backup brooder if it is repeatedly left out. |
| Pecking or active exclusion | Injury and whether the hen is rejecting it | Separate the chick promptly and keep it warm and secure. |
| Chicks cannot reach feed or water | Blocked routes or crowding | Add a second point or divide the pen. |
| Wet vent or persistent diarrhea | Soiling, hydration, and general alertness | Isolate the affected bird and seek veterinary guidance. |
| Limping, breathing difficulty, or several birds becoming ill | Injury, exposure, or a flock-level problem | Get prompt help from a poultry veterinarian or local extension office. |
Move a compromised chick to a warmed, secure brooder rather than leaving it to lose repeated warmth contests. Isolate birds with suspected illness, wash hands and equipment between groups, and do not guess at medication or dosage. Follow the product label and ask a veterinarian about treatment, withdrawal periods, or whether the whole group needs assessment. Government backyard flock biosecurity guidance is a useful reference for separating sick birds and limiting spread.
The useful rule is simple: the hen controls the chicks' body temperature; you control everything around her.
Three edge cases worth deciding early
Can you put day-old chicks under a broody hen that did not hatch them?
Sometimes. Use a genuinely broody hen, introduce the chicks in low light, keep the family confined, and watch at first light for pecking, rejection, or blocked warmth. Do not leave foster chicks unattended until the hen has shown consistent acceptance.
Can one hen raise chicks from two hatch dates?
A close hatch window is easier to manage than a wide age spread, in my practical read. Older chicks may follow the hen while younger ones are still dependent on frequent warmth. If the age gap is large, a separate brooder may be the safer choice because it lets you control warmth and food access directly.
Can a broody hen raise chicks during cold weather?
It can be possible in a dry, draft-free, predator-secure shelter. In my judgment, freezing nights, cold rain, weak chicks, and small-bodied breeds leave too little margin for an untested setup. Keep backup heat ready and postpone outdoor access when conditions are poor.
This week, assemble the family pen, place the feeder and drinker, and run the backup brooder for a full test before your next hatch. Then check your planned footprint against How much space do backyard chickens need in a coop and run?
Frequently Asked Questions
Can you put day-old chicks under a broody hen that did not hatch them?
Sometimes, but acceptance is not guaranteed. Use a genuinely broody hen, introduce the chicks in low light, keep the family group confined, and watch closely at first light for pecking, rejection, or chicks being kept from warmth.
Can one hen raise chicks from two different hatch dates?
A close hatch window gives the hen the best chance of accepting both groups. A large age gap can leave younger chicks chilled or rejected after the hen begins following the older chicks, so a separate brooder may be safer.
Can a broody hen raise chicks during cold weather?
It can be possible in a dry, draft-free, predator-secure shelter, but cold rain, freezing nights, weak chicks, and small-bodied breeds reduce the margin. Prepare a safe backup heat source and delay outdoor access when conditions are poor.