Raising Baby Chicks Indoors: A 4-Week Setup Guide for Your Home
Three chicks need about 1.5 square feet of usable brooder floor when they arrive, but they’ll need about 3 square feet by week four. For 12 chicks, that change is from 6 square feet to 12. Raising baby chicks indoors works best when you plan for the larger, dustier version of the flock before the shipping box arrives.
Your goal isn’t to heat the whole room. It’s to provide one warm zone, a cooler place to retreat, dry bedding, clean water, complete starter feed, and a setup you can inspect twice a day.
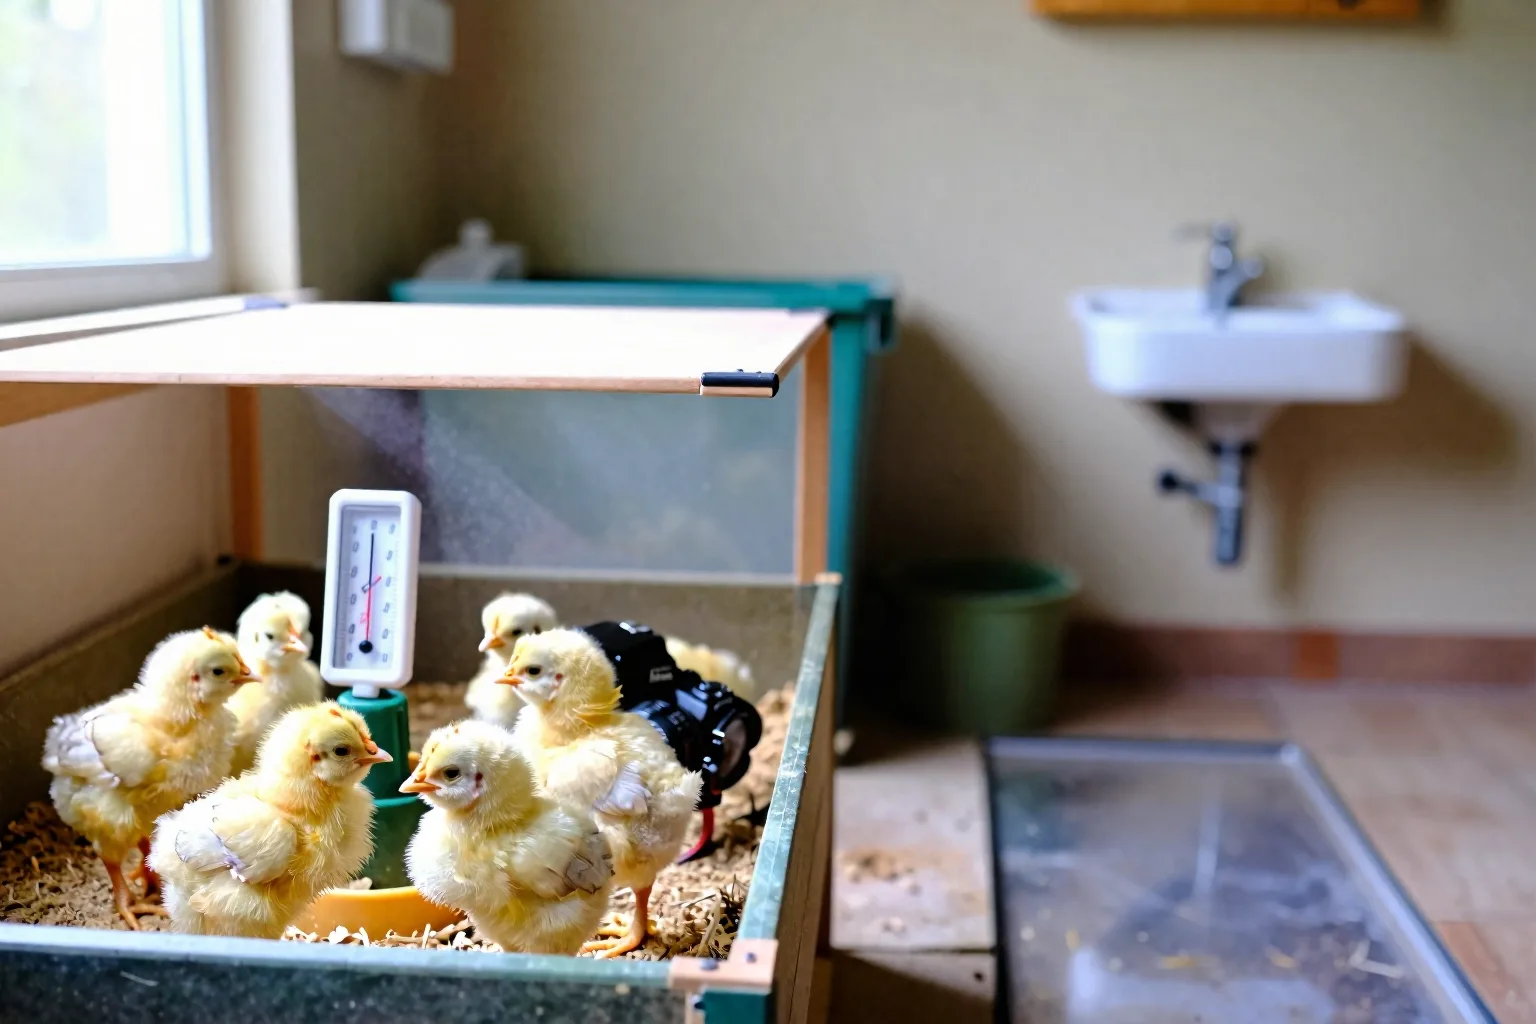
Before the box arrives, choose the room—not the prettiest corner
Choose a mudroom, utility room, enclosed porch, or spare bathroom with a washable floor and a safe outlet. Avoid the kitchen and any room used for food preparation. Chicks create dust, bedding crumbs, damp patches, and odour before they look untidy enough to warn you.
Draft-free doesn’t mean sealed. Fresh air must move above the brooder, while the chicks’ floor stays out of a direct stream from a door, fan, or heating vent. Put pets and young children behind a physical barrier, not just a verbal rule. You’ll need access morning and evening for water, feed, bedding, and a quick look at every bird.
Room plan: brooder beside a safe outlet → cord protection along the wall → clear cleaning path → pet and child barrier at the doorway.
| Chicks | Arrival floor area | Week-four floor area |
|---|---|---|
| 3 | 1.5 sq ft | 3 sq ft |
| 6 | 3 sq ft | 6 sq ft |
| 12 | 6 sq ft | 12 sq ft |
Measure usable floor, not the whole container. A corner blocked by a feeder, drinker, or heat plate doesn’t give your birds much room to walk. If you can’t reach the far edge without stepping over the brooder, choose a different room or make a larger cleaning opening.
A costed shopping list for 3, 6, or 12 chicks
Build the setup around the week-four footprint. A small cardboard box may be fine for a short arrival period, but it’s a poor long-term plan for a dozen fast-growing chicks. The figures below are planning bands for U.S. retail shopping, not current quotes. Check local feed stores and current listings before you buy.
| Item | 3–6 chicks | 12 chicks | Planning band |
|---|---|---|---|
| Enclosure | One expandable brooder | Large enclosure or linked panels | $0–$50 |
| Heat source | One correctly sized source | One larger source or a setup approved for the footprint | $25–$90 |
| Thermometer | One chick-level thermometer | One, plus a spare if practical | $8–$20 |
| Feeder and drinker | One of each with clear access | Two of each | $10–$35 |
| Starter feed and bedding | Initial supply only | Larger initial supply | $15–$40 |
Those bands are a budgeting model. The low end assumes reused, clean equipment; the high end allows for new purpose-built items. They aren’t a four-week feed total. Feed use depends on chick number, breed, waste, bag size, and local price. For a rebuildable feed estimate, use How much chick starter feed do baby chicks eat each week? as your next worksheet.
For 12 chicks, two feeding and two watering stations are worth planning from the start. One station may technically hold enough feed, but a smaller or timid chick can still lose access when the others crowd it. Protect cords from chewing and bedding. Your power-loss plan should be either a second safe heat arrangement or a warm, secure place where the chicks can be moved temporarily. Never improvise with a candle, stove, or unguarded heater.
Heat source choice: lamp, plate, or panel?
Choose by heat pattern and safety, not by wattage alone. A lamp can cover a broad area and make a strong warm spot, but its bulb, fixture, cord, and bedding need firm containment. A radiant heat plate gives chicks a smaller sheltered area to duck under. A panel can provide a broader radiant surface, depending on its design. Follow the instructions for the model you buy.
In the warm zone, measure the air at chick height. Keep a cooler escape area outside that zone. A useful side view is:
heat source → warm zone → open floor → cool escape
Use these as starting targets, then let chick behaviour challenge the thermometer:
| Week | Warm-zone starting target | What you’re checking |
|---|---|---|
| 1 | 90–95°F | Chicks can warm up without being trapped there |
| 2 | 85–90°F | More active birds still have a comfortable retreat |
| 3 | 80–85°F | Feathering birds are spread out, not panting |
| 4 | 75–80°F | The group uses warmth but doesn’t depend on one tight spot |
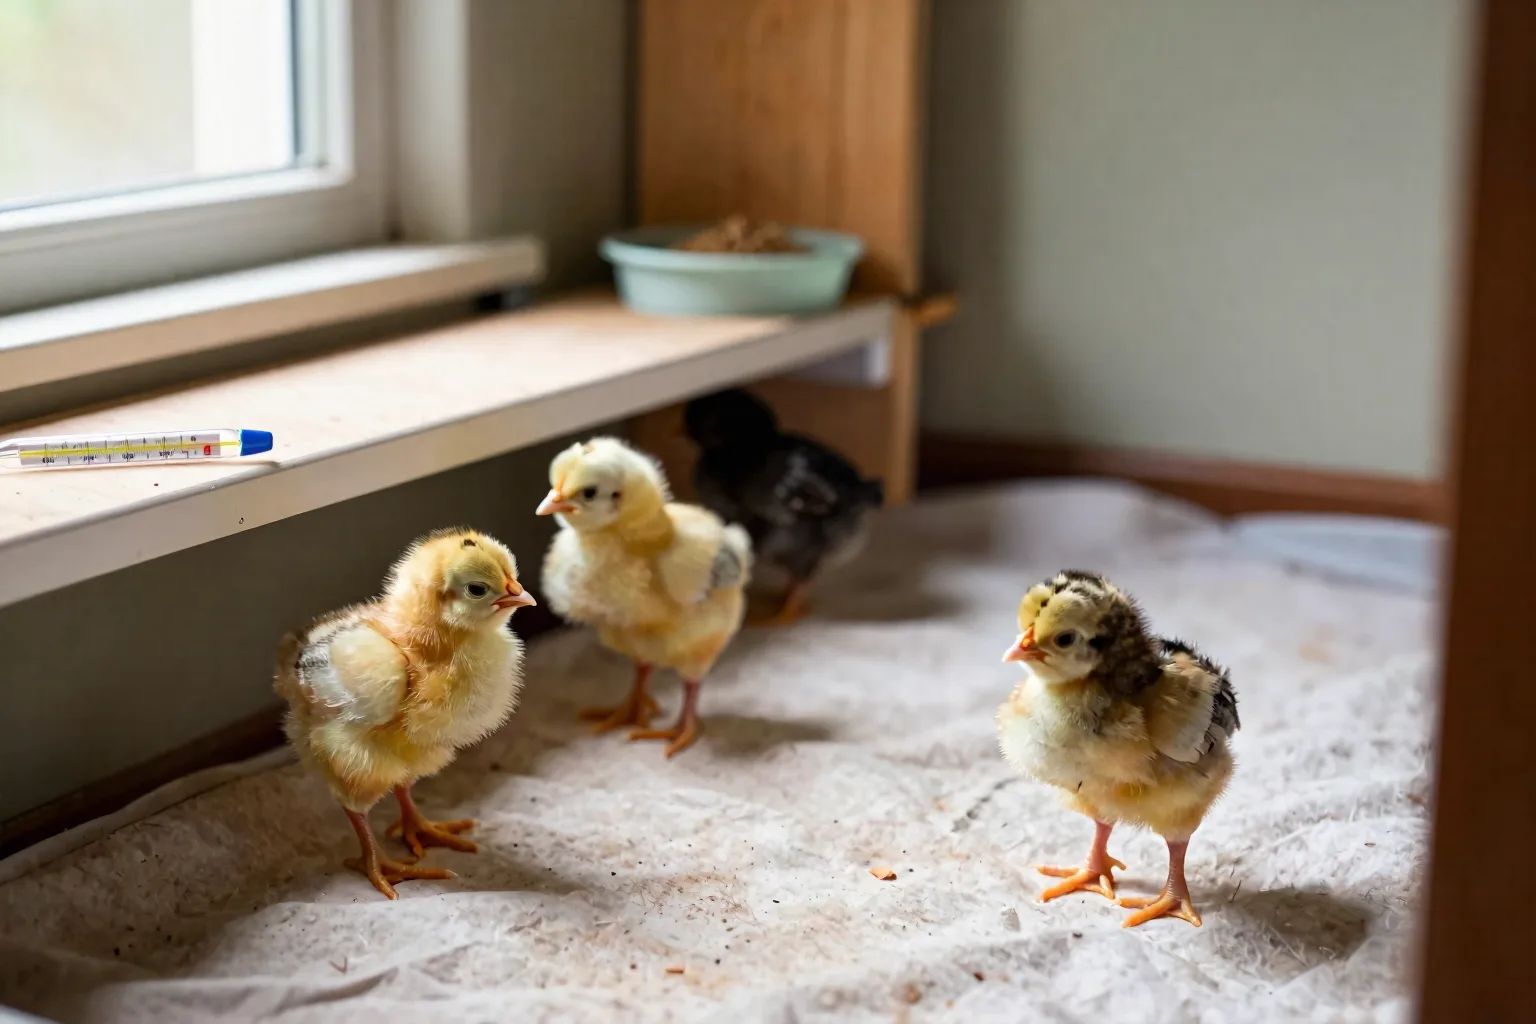
Wattage cannot set the temperature by itself. Bulb height, room temperature, enclosure material, drafts, and the shape of the heat source all change how much warmth reaches the floor. Put the thermometer near the warm edge, where a chick’s back would be, rather than touching the bulb, plate, wall, or bedding.
A tight, noisy pile means check for cold or a draft first. Chicks spread far away, pant, or hold their wings slightly out mean check for excess heat. Quiet sleep in a loose group is different from constant huddling. The calendar tells you when to reassess; the birds tell you whether the adjustment worked.
The first 24 hours: water first, then a quiet baseline
- Preheat and test. Run the heat source for at least an hour before pickup. Check the warm zone and make sure the cooler side remains available.
- Show each chick the water. Touch the tip of the beak to the water surface, then let the chick lift its head. Don’t dunk its face. Set the drinker on a stable, slightly raised base so shavings don’t fill it.
- Offer complete chick starter. Keep treats, loose grains, and kitchen scraps out of the first-day routine. Starter feed and clean water make the baseline easier to read.
- Record the starting point. Write down the chick count, arrival time, warm-zone reading, and any bird that is weak, injured, or unable to reach feed and water.
Look for alertness, steady standing, normal breathing, and clean vents. Persistent weakness, breathing difficulty, inability to stand, or a pasted vent that worsens needs a poultry veterinarian rather than repeated home adjustments.
Week 1: measure at chick height and clean before problems start
Keep about 0.5 square foot per chick during the first week. Use dry pine shavings or another clean, absorbent bedding intended for small animals. If the chicks struggle to recognise feed, place textured paper towels over the shavings briefly. Remove slippery newspaper, which can contribute to poor footing, and avoid cedar bedding.
Use a simple rhythm. In the morning, check the chick-level temperature, water, feed access, wet patches, dirty vents, and crowding. In the evening, repeat the same check and remove damp bedding before it spreads. A tipped drinker can turn a clean brooder into a cold, wet floor in a short time.
Ventilate above the enclosure without blowing directly across it. The heat should warm one zone, not trap every chick beneath it. If the entire floor is equally warm, a chick has nowhere to go when it gets too hot.
Week 2 is an expansion job, not just a thermostat change
When the group is comfortable, lower the warm-zone starting target toward 85–90°F and expand floor space toward 0.5–0.75 square foot per chick. For six chicks, that means roughly 3–4.5 square feet. Raise or adjust a heat plate according to its own instructions rather than lifting it by guesswork.
Watch the feeding line. Queueing, climbing over one another, or a chick being pushed away is a space-and-access problem, not a personality test. Add a second station or spread the stations farther apart. Normal sleep comes in loose, quiet groups. Persistent huddling, loud peeping, or one chick repeatedly being left outside the group calls for a temperature and health check.
Keep week-two chicks protected from cold drafts, wet weather, and adult hens. Beginning to feather is progress, not proof that the outdoor move is ready.
Week 3: control dust and give growing chicks something to do
Move the warm-zone starting target toward 80–85°F and increase space toward 0.75–1 square foot per chick. Three chicks may need 2.25–3 square feet at this stage; 12 may need 9–12. Make the expansion before the birds begin fighting over the usable centre.
Dry bedding controls dust better than damp bedding does. For cleanup, lift out soiled patches and damp-wipe nearby surfaces instead of dry sweeping around the chicks. Keep the brooder away from HVAC return vents, which can pull dust through the house. A stable perch about 2–4 inches high gives the birds a safe outlet for climbing without creating a fall hazard.
Keep chick starter and clean water as the foundation. A partly feathered chick can still chill quickly outdoors, especially in wind or rain.
At four weeks, use a readiness checklist before moving outdoors
Four weeks is a planning milestone, not an automatic move-out date. Check body feathering, overnight weather, dryness, wind protection, secure latches, and predator-resistant mesh. If one of those fails, delay the move or improve the housing.
For the next home, a practical starting plan is about 4 square feet of coop floor and 8–10 square feet of run space per bird. That gives you this working footprint:
| Birds | Coop floor | Run space |
|---|---|---|
| 3 | 12 sq ft | 24–30 sq ft |
| 6 | 24 sq ft | 48–60 sq ft |
| 12 | 48 sq ft | 96–120 sq ft |
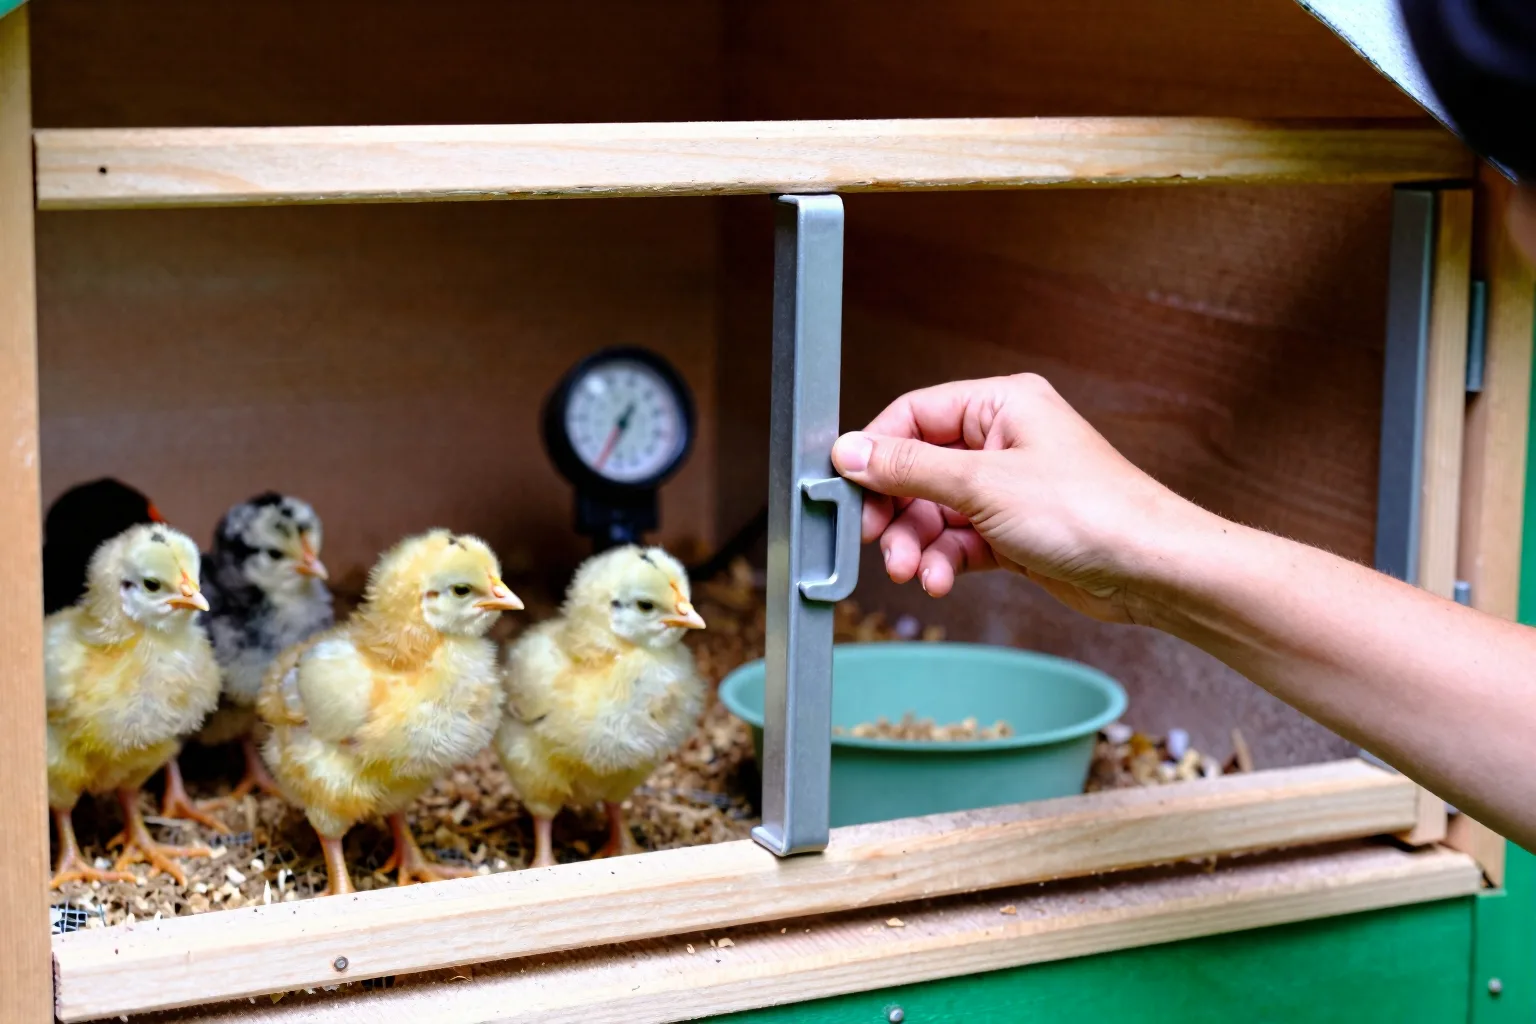
A secure outdoor move is a checklist, not a birthday. Start with supervised daytime access to a dry, covered pen. Return the chicks indoors overnight until their feathering, weather, and housing make that unnecessary. Check every latch and lower opening before you leave them alone. Don’t place four-week-old chicks unsupervised with adult hens; size, pecking order, and competition at the feeder can all work against them.
For more detail on the weather and feathering decision, use When can chicks go outside? A feathering and weather checklist. Once the young birds are ready for the flock, the next problem is social rather than thermal: How to introduce young pullets to an existing flock.
Use the chicks’ behaviour as your live alarm
Keep this table beside the brooder. Correct the simplest environmental problem first, then watch for a response. If the bird itself remains abnormal, stop troubleshooting the equipment and seek help.
| What you see | First safe check | Correction or next step |
|---|---|---|
| Tight huddle or constant peeping | Measure at chick height and check for a draft | Correct the warm zone or block the draft while keeping an escape area |
| Chicks far from heat, panting, or holding wings out | Check for an oversized hot zone | Lower or reduce the heat and open more cool floor |
| Wet bedding or sharp odour | Find a tipped drinker or damp corner | Remove wet material, stabilise the drinker, and improve high-level airflow |
| Pasted vent | Look at the vent without pulling the crust | Soften it with warm water, clean gently, dry the chick, and seek veterinary help if it returns or worsens |
| Feather pecking | Check usable floor space and access to feed and water | Expand the brooder, add stations, and protect any injured bird |
| Poor feed or water access | Watch the group for five minutes | Lower or raise equipment as needed and add a second station |
| Persistent lethargy or abnormal breathing | Separate observation from flock-wide equipment checks | Contact a poultry veterinarian promptly |
| Bloody droppings or inability to stand | Treat it as a health warning, not a temperature experiment | Seek prompt veterinary guidance |
Don’t reach for improvised antibiotics, dewormers, or human medicines. Product classes, withdrawal rules, and legal use vary, and an invented dosage can waste time or harm a chick. Keep CDC guidance on handwashing and Salmonella prevention around backyard poultry available for household hygiene, and use local poultry veterinarian or extension guidance on chick illness and medication labels when a bird is unwell.
This week, tape the week-four floor area on your chosen room’s floor, run the heat source for an hour, and write a morning-and-evening check schedule. That small rehearsal will show you whether the room, cord path, cleaning route, and future space actually work before the chicks arrive.