Chicken Manure Compost: How to Use It Without Burning Plants
Four cues decide whether chicken manure compost belongs in your garden today: it should be cool throughout, smell earthy, crumble in your hand, and show no recognizable manure or bedding. For an untested backyard batch, spread just 1/4 inch first—about 16 US gallons per 100 square feet—instead of tipping a shovel beside each plant. That thin layer is how you feed the soil without asking young roots to absorb a concentrated dose.
Fresh waste, half-aged coop litter, and finished chicken manure compost may all look brown. They are not interchangeable.
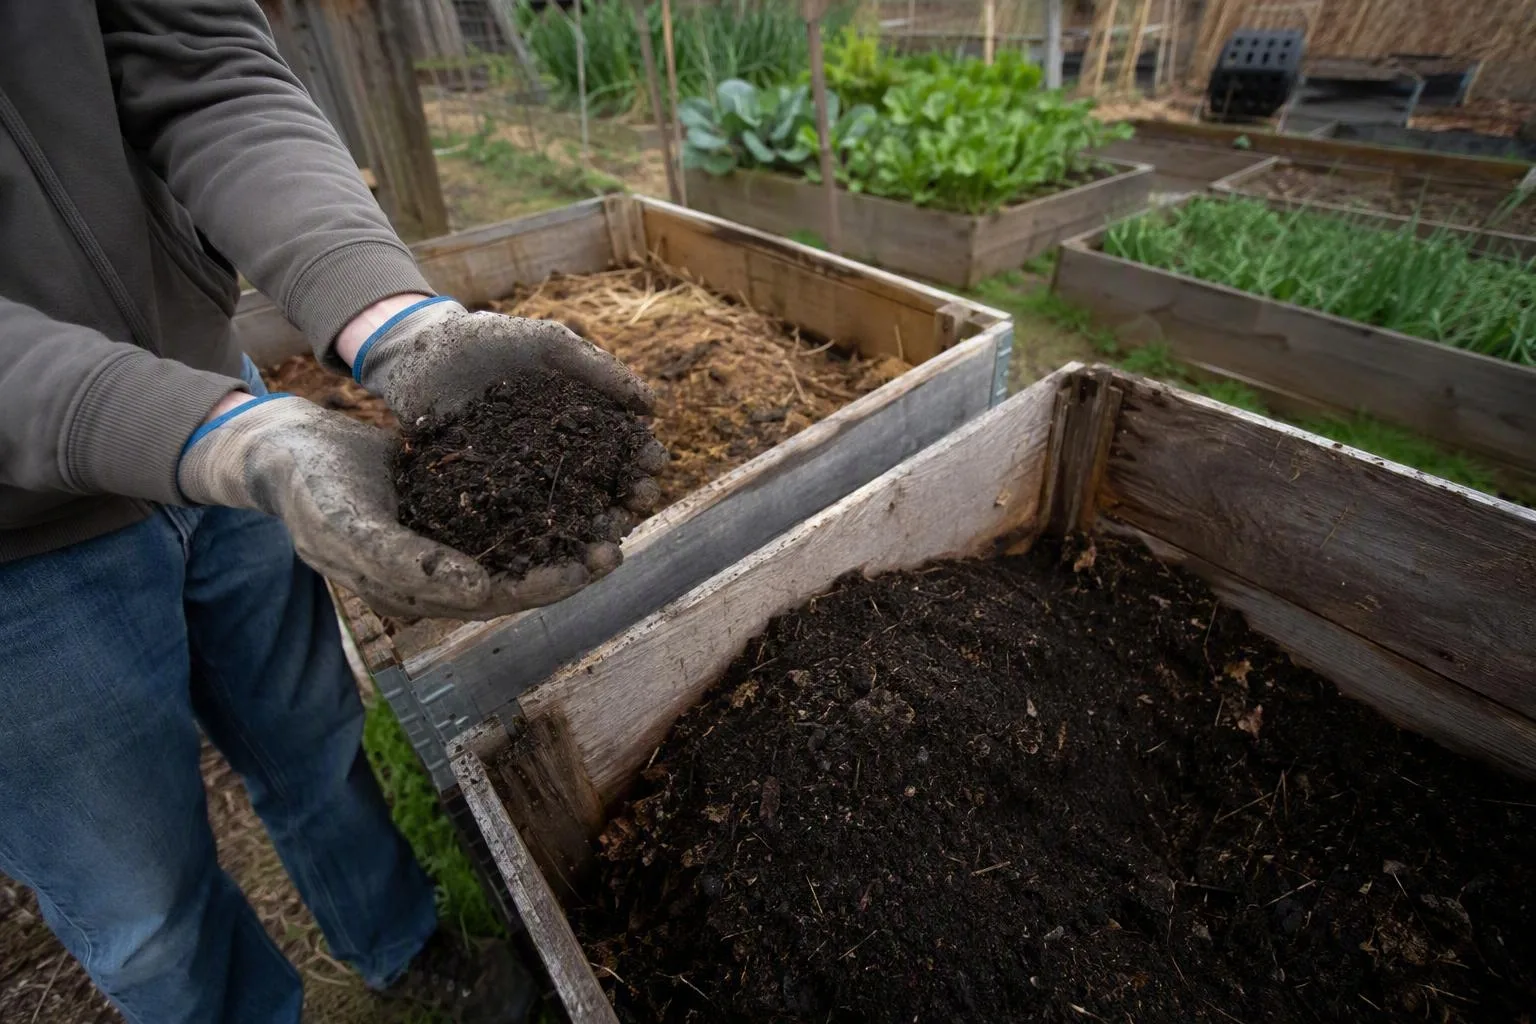
The pile is ready only when heat, smell, and texture all agree
Fresh coop waste is a mix of droppings, damp bedding, feathers, and spilled feed. It may smell sharp or ammoniacal, and its nutrients are still concentrated in small pockets. Put those pockets against a seedling or shallow-rooted crop and you can damage roots before the plant has time to grow away from them.
Partly aged litter is more deceptive. A layer that has sat under the roost for months may be dark on top while the middle remains wet, warm, or stringy. Pine shavings and straw can hide recognizable manure for a long time. Sitting in the coop is aging. It is not the same as a monitored composting process.
Run a readiness gate, not a color test
- Temperature: the center and edges feel cool after the pile has rested. A surface that feels cool proves very little.
- Smell: you get an earthy, soil-like smell rather than ammonia, sourness, or a sharp barn odor.
- Texture: the material breaks into crumbs instead of forming wet clumps or greasy mats.
- Identity: you cannot readily recognize fresh droppings, wet bedding, or a hot inner layer.
A documented compost process should include temperature checks, turning records, and a curing period. A commonly cited pathogen-reduction benchmark is a monitored, turned hot-composting process—check your local Cooperative Extension or the applicable federal standard for the current figures. Do not copy a remembered temperature or turning count from an old garden post and assume it still matches the rule you need to follow.
After active heating stops, I give a small home pile roughly 4-8 weeks to cure. That resting period lets the remaining microbial activity settle and gives you time to catch a returning ammonia smell. If I never monitored the pile at all, I use 6-12 months as a cautious aging window, not as proof that pathogens are gone. Calendar age cannot show what happened inside the pile.
A long-stem compost thermometer makes this check less subjective. Push it into the center, then into two outer areas. Write down the date, weather, readings, and each turn. If the middle is warm but the outer material is cool, turn the outside into the center. If the pile is dusty and refuses to heat, add water a little at a time until it feels like a wrung-out sponge. If it is wet and sour, mix in dry shavings or straw and open air channels with a fork.
In my own small backyard setup, I once treated a dark, shavings-heavy pile as ready because it no longer steamed. After I worked some into a spare bed, watering brought back a sharp smell. I raked the visible material out, mixed the pile with dry bedding, and left that bed unplanted while the compost finished. The useful lesson was simple: no visible steam is not the same as finished compost.
Measure the dose by square feet: start with 1/4 inch, not a shovelful
For an untested backyard batch that passes the readiness check, start with 1/4 inch across the bed. If the soil test is sensible, the compost is consistently mature, and the bed has not received repeated manure applications, you can consider moving toward 1/2 inch. I would not begin at the upper end on a small bed with no compost analysis.
| Finished compost depth | Approximate amount per 100 square feet | My use for an unknown batch |
|---|---|---|
| 1/4 inch | About 16 US gallons | Starting rate |
| 1/2 inch | About 31 US gallons | Upper trial rate after checking soil and maturity |
The volume comes from area multiplied by depth. A 1/4-inch layer over 100 square feet is about 2.1 cubic feet, or roughly 16 gallons. A 1/2-inch layer is twice that depth, so it is about 31 gallons. For a 4-by-8-foot bed, which has 32 square feet, that works out to roughly 5 gallons at 1/4 inch or 10 gallons at 1/2 inch.
- Clear weeds and rake the soil level. Measure the bed rather than guessing from the size of your bucket.
- Scatter the compost in several small loads. A thin, even layer is safer than a few rich piles.
- Keep concentrated material away from seed rows, crowns, and stems. Roots can grow toward compost, but a stem should not sit in a manure-rich pocket.
- Incorporate it into the top 4-6 inches before planting. Mixing distributes nutrients and reduces the chance that one root zone receives the whole dose.
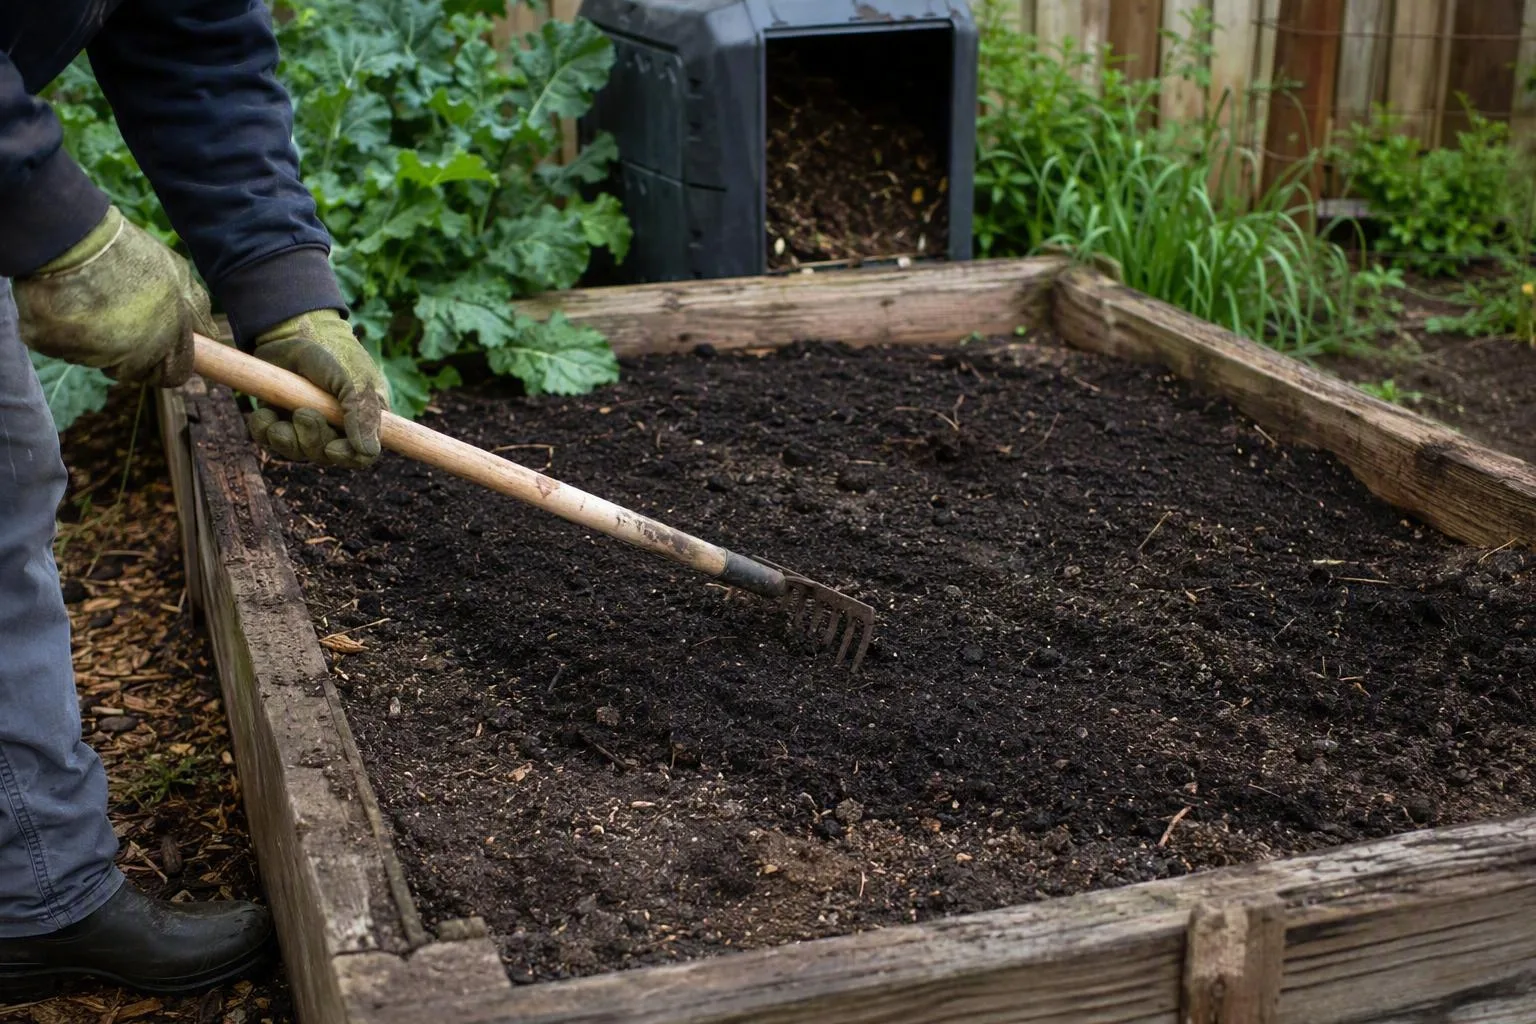
Use a soil test for nitrogen, phosphorus, potassium, pH, and soluble salts when the bed has a history of manure or compost. A pale plant is not automatically asking for more nitrogen. Poor roots, unsuitable pH, waterlogged soil, and salt injury can all make foliage look weak. Adding more chicken manure compost before testing can turn a small deficiency into an overloaded bed.
Repeated manure-based amendments can also push phosphorus or soluble salts upward when the crop removes less than you add. That is why I treat a soil test as an application tool, not a paperwork exercise. It tells you whether the next handful solves a shortage or adds to the problem.
Do not use chicken manure compost as seed-starting mix or as the main ingredient in a container. Seeds and young roots have little room to escape a salt or ammonia pocket, and compost texture can change as it finishes. Start seedlings in a known potting mix. Use mature compost later as a limited amendment rather than the whole root environment.
Fall beds, spring beds, and harvest dates: when it belongs in the soil
Timing controls two different risks. Waiting can reduce plant-burn risk as a pile finishes, but a waiting period by itself does not validate pathogen reduction. Choose the timing based on maturity, crop contact with soil, weather, and whether anyone will eat the crop.
Fall, empty bed: this is my preferred place for mature compost. You can spread a thin layer over bare soil and lightly incorporate it before winter. Do not use fall rain as a substitute for composting. On a slope or near a drain, nutrients and fine particles can move away from the bed.
Spring, uncertain maturity: if the pile is cool but you are not confident about its process, use it on an empty bed and wait 1-2 weeks before planting. That interval gives you a chance to notice renewed heat, ammonia, or poor soil texture. It is a plant-response buffer, not a food-safety certificate.
Established plants: use only compost that is fully finished. Spread it as a shallow ring around the root zone, leaving space around stems. Keep it off leaves, fruit, and crowns. Never use the hot inner layer of a working pile as mulch around an edible crop.
Raw chicken manure is a separate case. If your crop plan follows organic rules, open the current USDA National Organic Program standards and check the required preharvest interval for the crop. The relevant distinction is whether the edible portion contacts soil or stays above it. Do not replace that check with a remembered day count, and do not assume that a home pile with no temperature or turning record qualifies as a documented composting process.
Compare your log with local Cooperative Extension guidance if you are unsure. I also avoid spreading any manure compost before heavy rain, onto frozen or saturated ground, or where runoff can reach a storm drain, ditch, pond, or neighboring property. Wait for a workable soil surface and a calm weather window.
If leaves crisp or seeds fail, stop feeding the bed and test it
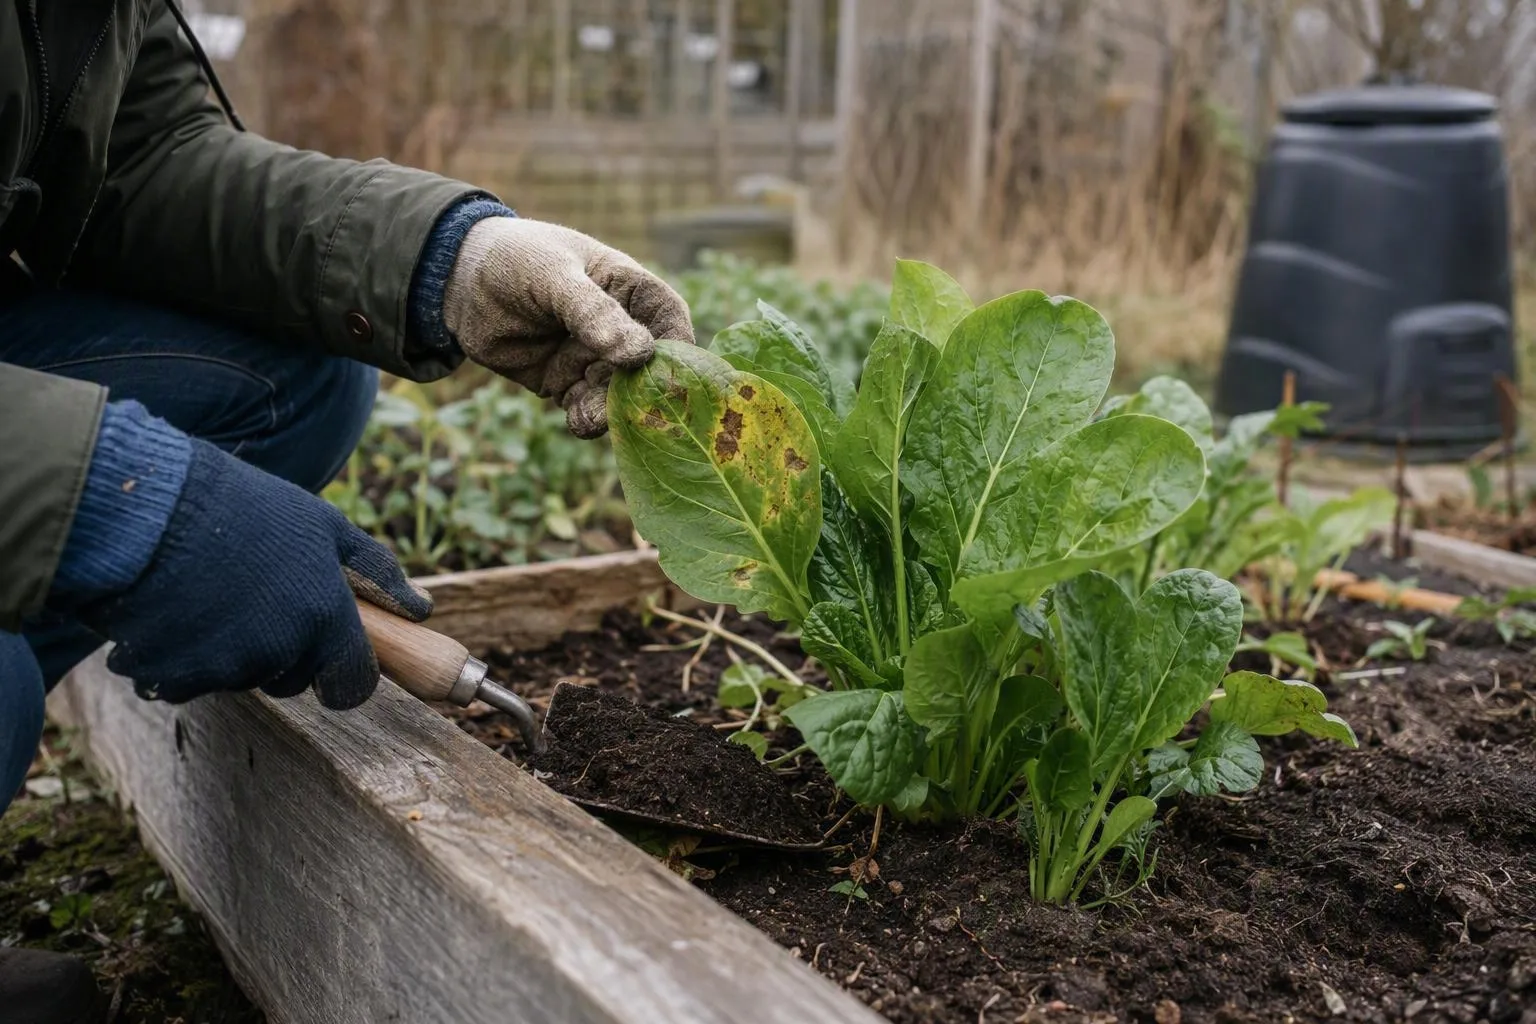
One damaged leaf does not diagnose compost injury. Look for a pattern that begins after application and appears across plants in the amended area. Pull back any concentrated material first, then test rather than adding another amendment to correct a guess.
| What you see | Likely mechanism to check first | First response |
|---|---|---|
| Brown leaf tips or edges | Soluble salts, ammonia, dry roots, or concentrated compost | Stop additions; remove visible pockets and inspect moisture and roots. |
| White crust on soil | Salts left behind as water evaporates | Get a soluble-salts or EC test before applying more water or fertilizer. |
| Ammonia or sour smell | Active decomposition and immature material | Rake it out, return it to the pile with dry carbon, and let it cure. |
| Poor germination in amended rows | Heat, ammonia, salts, or a dense compost band | Replant in clean soil or mix after the cause has been addressed. |
| Very dark leaves with weak fruiting | More available nitrogen than the crop can use | Stop manure amendments and test nitrogen, phosphorus, and pH. |
Flush salts only in a well-drained in-ground bed where runoff can be controlled. Apply water slowly enough to move through the root zone, not across the surface. Repeatedly adding plain water is not a cure for heavy clay, a saturated raised bed, or a small container. Water may spread the problem sideways or leave roots without oxygen.
For an in-ground bed, rake off visible clumps, test the soil, and leave sensitive crops out until the results and new growth look normal. For a raised bed, remove the worst concentrated layer if you can, then replace it with clean soil or a known compost blend. On a lawn, rake up clumps before they scorch grass and keep material off pavement. In a container, replacing the mix is usually more reliable than trying to wash an unknown salt load through a small pot.
How do I compost chicken manure with pine shavings or straw?
Yes, bedding can supply the carbon that balances nitrogen-rich droppings. The pile still needs moisture, air, active heating, turning, and curing. Bedding that merely sat in the coop is not automatically finished compost. Good chicken coop ventilation helps keep bedding drier and easier to handle, but it does not compost the material for you. If scraps are going into the coop, check what not to feed chickens before using the bedding as a kitchen-waste bucket.
Can I spread chicken manure compost on a lawn?
Use only cool, screened compost with an earthy smell. I would keep the layer thin, roughly 1/8-1/4 inch, and sweep it off pavement and drainage paths. A soil test is worthwhile because a lawn may already have enough phosphorus. Water gently only when the soil drains and the runoff route is controlled.
Can chicken manure compost go around fruit trees and berry bushes?
Finished compost can be used as a shallow surface amendment around the root zone. Keep it away from trunks, leaves, and fruit, and do not use fresh or warm material. The active composting layer should stay in the pile rather than becoming mulch beside edible produce.
This week, measure one bed, calculate its 1/4-inch starting volume, and mark a small test area before treating everything. Record the pile’s smell, texture, temperature checks, and turns. That simple log gives you a better decision than color alone—and it tells you what to change before your next batch of coop bedding.
Frequently Asked Questions
How do I compost chicken manure with pine shavings or straw?
Yes, bedding supplies carbon, but explain the pile's moisture, aeration, heat, turning, and curing requirements; bedding that has merely sat in the coop is not automatically finished compost.
Can I spread chicken manure compost on a lawn?
Use only cool, screened, earthy-smelling compost. Apply a thin layer, roughly 1/8–1/4 inch, keep it off pavement and drainage paths, and use a soil test because lawns can already have adequate phosphorus.
Can chicken manure compost go around fruit trees and berry bushes?
Finished compost can be used as a shallow surface amendment, but keep it off trunks, leaves, and fruit, avoid fresh or warm material, and do not use the composting layer itself as edible-crop mulch.