Chicken Coop Requirements for 3–12 Hens: A Practical Checklist
Four square feet per hen inside and 8–10 square feet in the run are useful starting points for a small backyard flock. For three hens, that means 9–12 square feet of clear indoor floor and 24–30 square feet outside—not a tiny box with a few decorative inches left after the nest boxes go in.
In my own six-hen backyard setup, I planned from the outside wall measurements. That was the mistake. Once the roost supports, nest boxes, feeder, and waterer were installed, the birds had less open floor than I expected, and a wet spell made the doorway the busiest spot in the coop. I moved the service gear away from the roost and rebuilt the cleanout access. The flock used the space more calmly after that.
Use this checklist before you buy a prebuilt coop or cut lumber. The figures are practical planning targets. Your climate, breed, and whether your birds stay in the run will decide where you land inside each range.
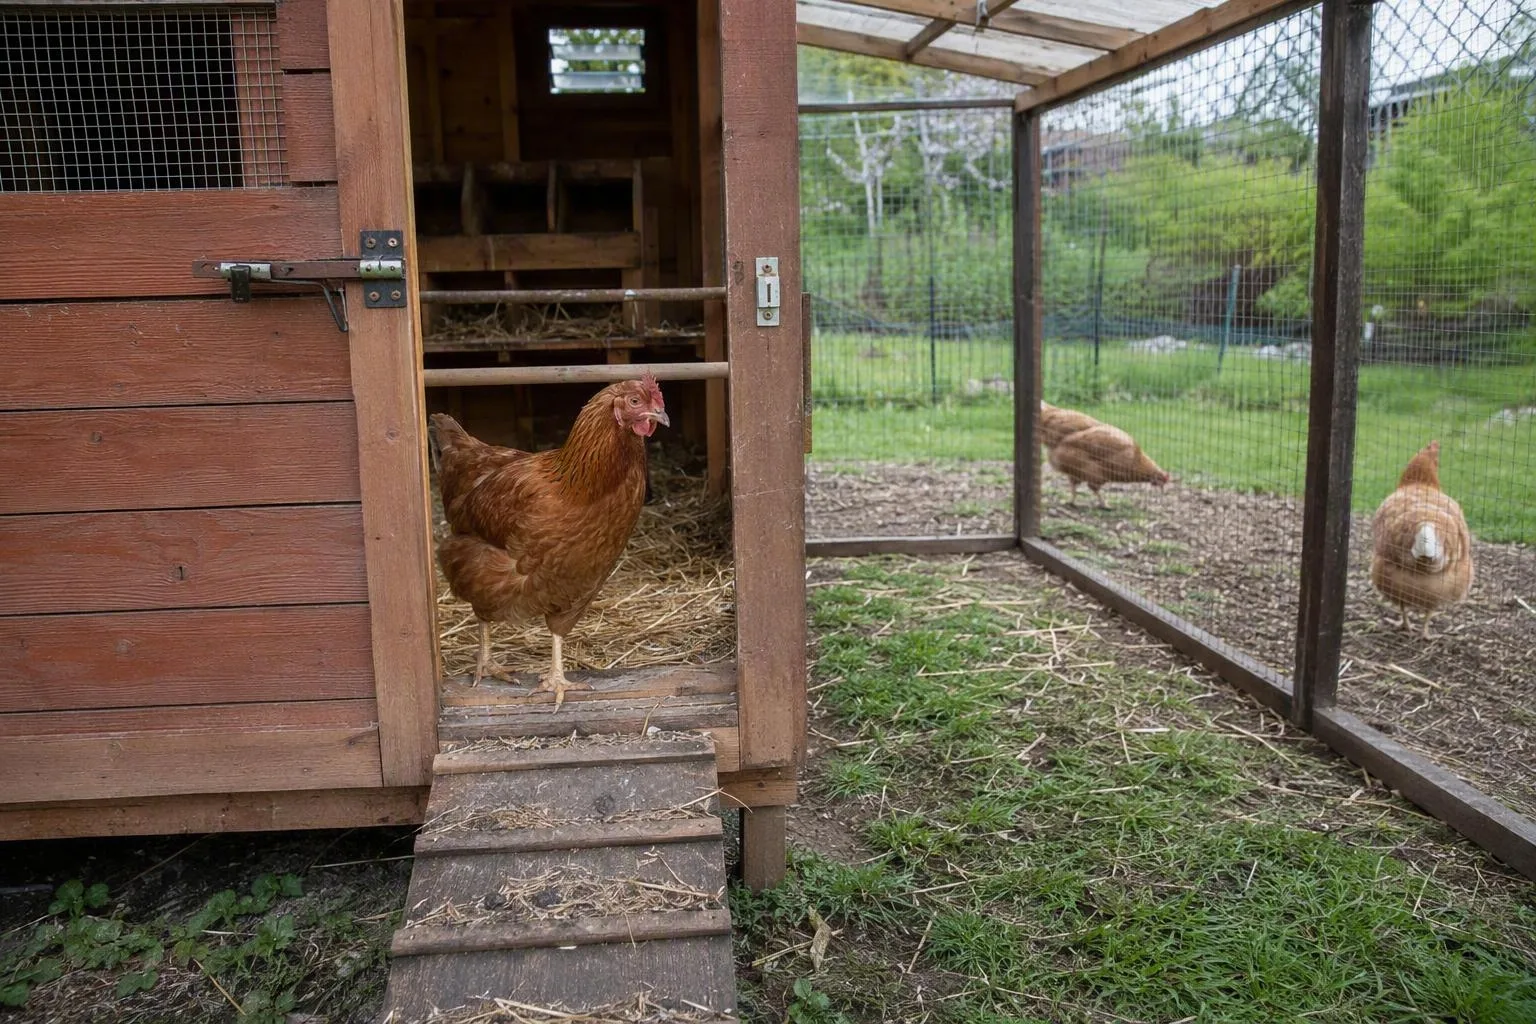
The floor-area math for 3, 6, and 12 hens comes first
Begin with usable floor area, not the seller’s claimed capacity. For standard-sized hens, I’d plan on 3–4 square feet indoors per bird and 8–10 square feet of run space per bird. The smaller end can work for a well-managed flock with regular outdoor access and a dry climate. The larger end is the safer starting point for wet weather, large-bodied breeds, or birds that spend most of their day in the run.
| Flock | Usable indoor floor | Run space |
|---|---|---|
| 3 hens | 9–12 sq ft | 24–30 sq ft |
| 6 hens | 18–24 sq ft | 48–60 sq ft |
| 12 hens | 36–48 sq ft | 96–120 sq ft |
Usable means open floor where a hen can stand, turn, scratch, and get away from a flockmate. Don’t count the footprint of permanent nest boxes, feed stations, waterers, or bulky supports. A coop with 12 square feet of outside dimensions may have noticeably less than 12 square feet of bird-useable floor once its walls and fittings are included.
Run space is your weather and behaviour buffer. Hens confined through rain or snow need room to move without turning every surface into a wet, compacted patch. Larger breeds also need more elbow room than the table’s standard-hen baseline suggests. Daily free-ranging can add useful exercise space, but I still want a secure run for mornings, bad weather, illness, and days when you can’t supervise. For a second sizing pass, read how much space do chickens need and compare its assumptions with your yard.
Inside the box: roost length, nest-box count, and headroom
A coop can pass its floor-area calculation and still fail at bedtime. Roosts, boxes, and headroom determine whether your hens can settle without crowding or fouling their sleeping and laying areas.
Allow 8–12 inches of roost length per hen. That gives 24–36 inches for three hens, 48–72 inches for six, and 96–144 inches for twelve. A long roost is fine if it’s stable and easy to clean. With twelve birds, two parallel roosts can make access easier than one very long bar, especially if the coop’s doorway is narrow.
Around 12–18 inches above the floor suits many ordinary birds. Put heavy breeds, older hens, or birds with leg trouble lower so the jump down is less punishing. Use a broad, stable surface rather than a thin round dowel. The broad face of a 2×4—about four inches—works well after you smooth sharp edges. The roost should not wobble, sag, or sit directly above a nest box.
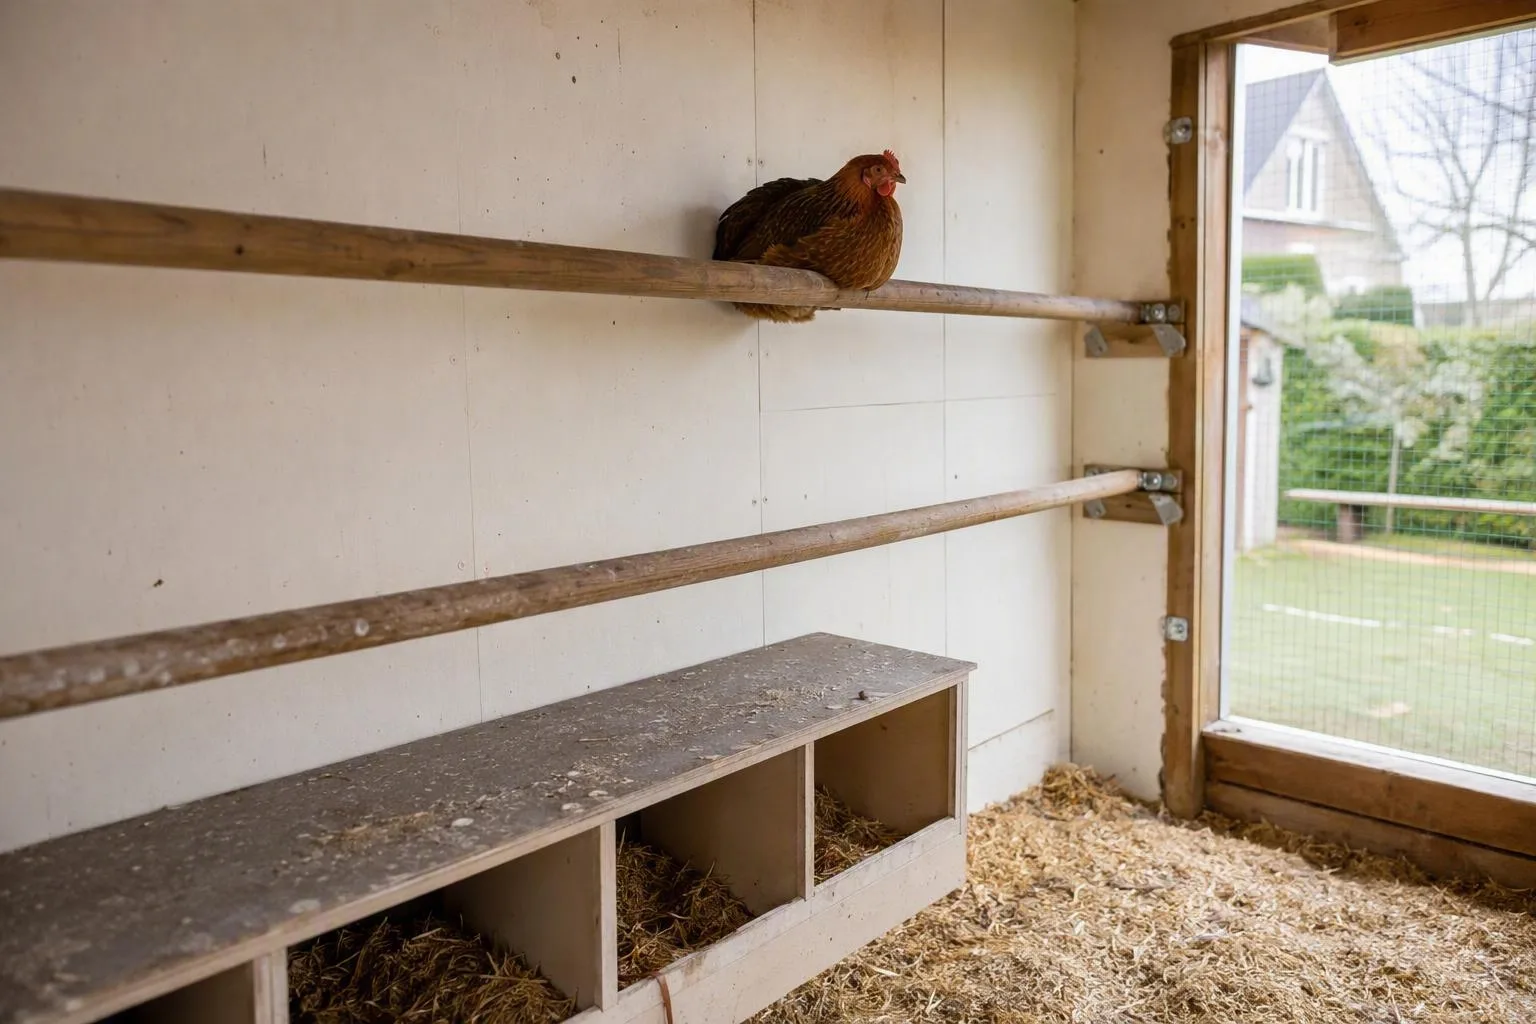
Plan roughly one 12×12×12-inch nest box for every three to four hens. That means one box for three hens, two for six, and three or four for twelve. Large breeds may need a wider or deeper box. Give the boxes some privacy, keep them below the roost, and make the lid or front reachable without dismantling the coop. The useful chicken nesting box size is the size your largest hen can enter, turn, and leave without scraping her sides—not simply the smallest box that fits the catalogue description.
Ventilation belongs above the roost, with a number you can calculate
Ventilation is where many small coops become damp, stale, or drafty. A practical starting ratio is about 1 square foot of total ventilation opening for every 10 square feet of coop floor. This is open area for air movement, protected with mesh; it isn’t the same as leaving the pop door wide open during a storm.
Using that ratio, a three-hen coop with 9–12 square feet of floor starts around 0.9–1.2 square feet of total opening. Six hens and 18–24 square feet starts around 1.8–2.4 square feet. Twelve hens and 36–48 square feet starts around 3.6–4.8 square feet. These are starting calculations, not a building code. A humid climate or a winter coop that is closed tightly may need more high-level airflow.
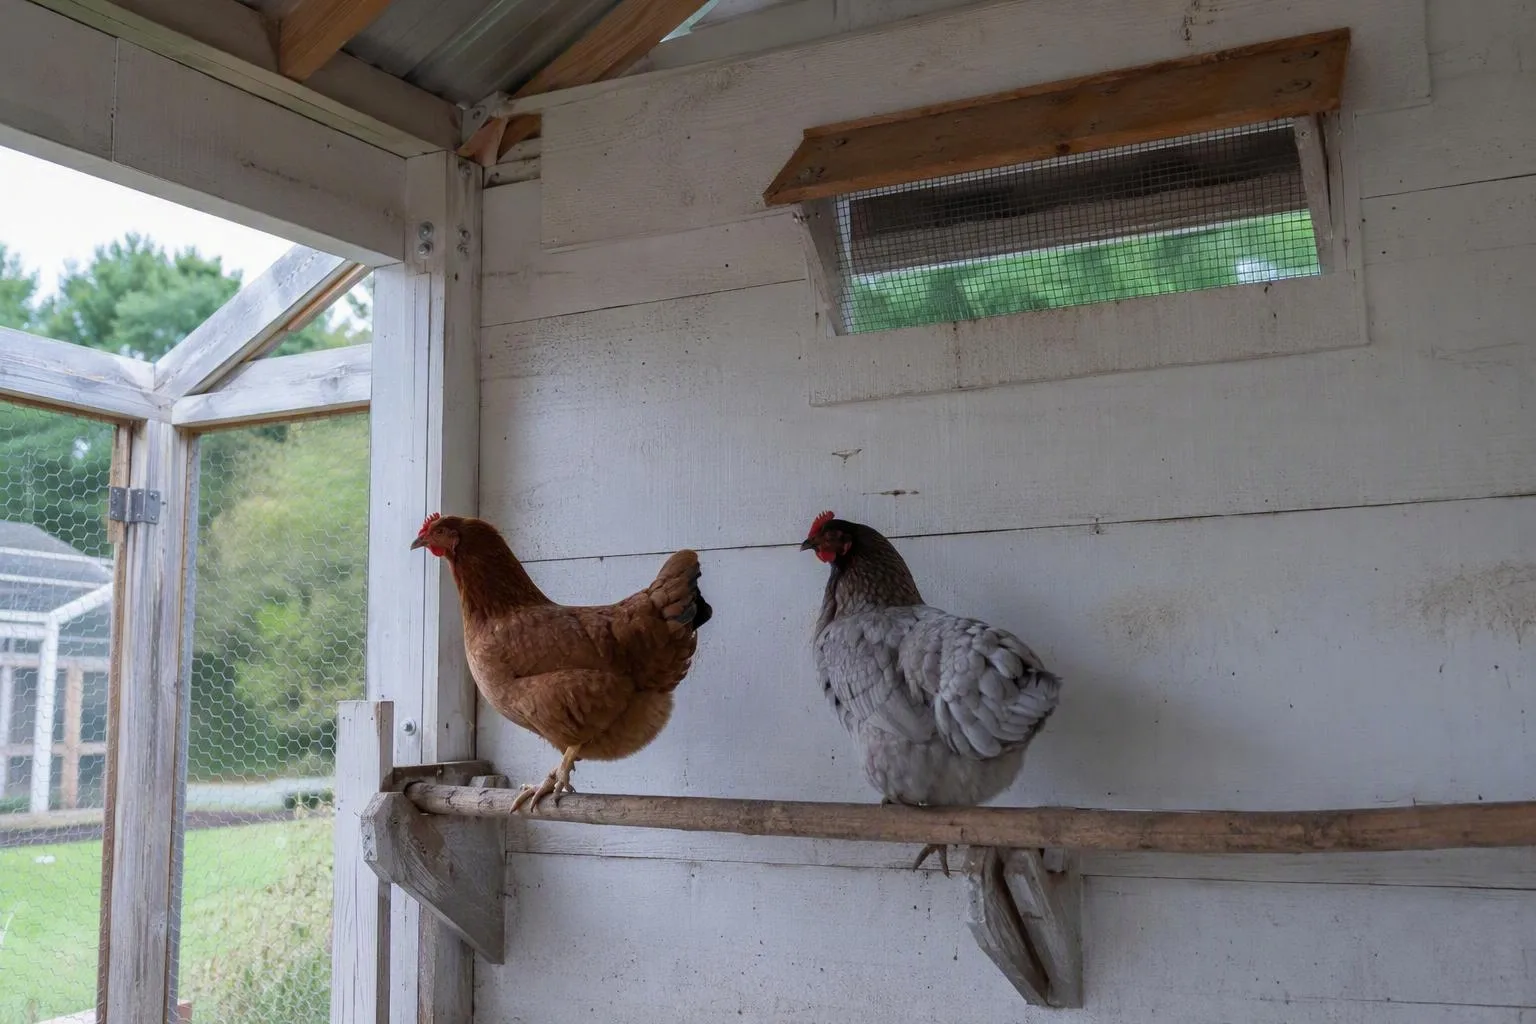
Place protected openings high on opposite walls or along the roofline. That lets warm, damp air leave above the roost while fresh air enters without blowing straight across sleeping birds. A draft is moving air directly over your hens. Ventilation is the broader exchange of stale air for fresh air. The goal is both dry litter and a roost that isn’t sitting in a cold stream.
Check the coop at dawn, when moisture and odour are easiest to spot. Condensation on roofing, an ammonia smell, damp litter, or frost showing up on combs are reasons to revisit your setup. Start with chicken coop ventilation rather than adding heat. If you’re tempted to close every gap during a cold snap, return to chicken coop ventilation and protect the openings from wind instead of sealing the air out.
Mesh, doors, and the ground: build a predator-resistant shell
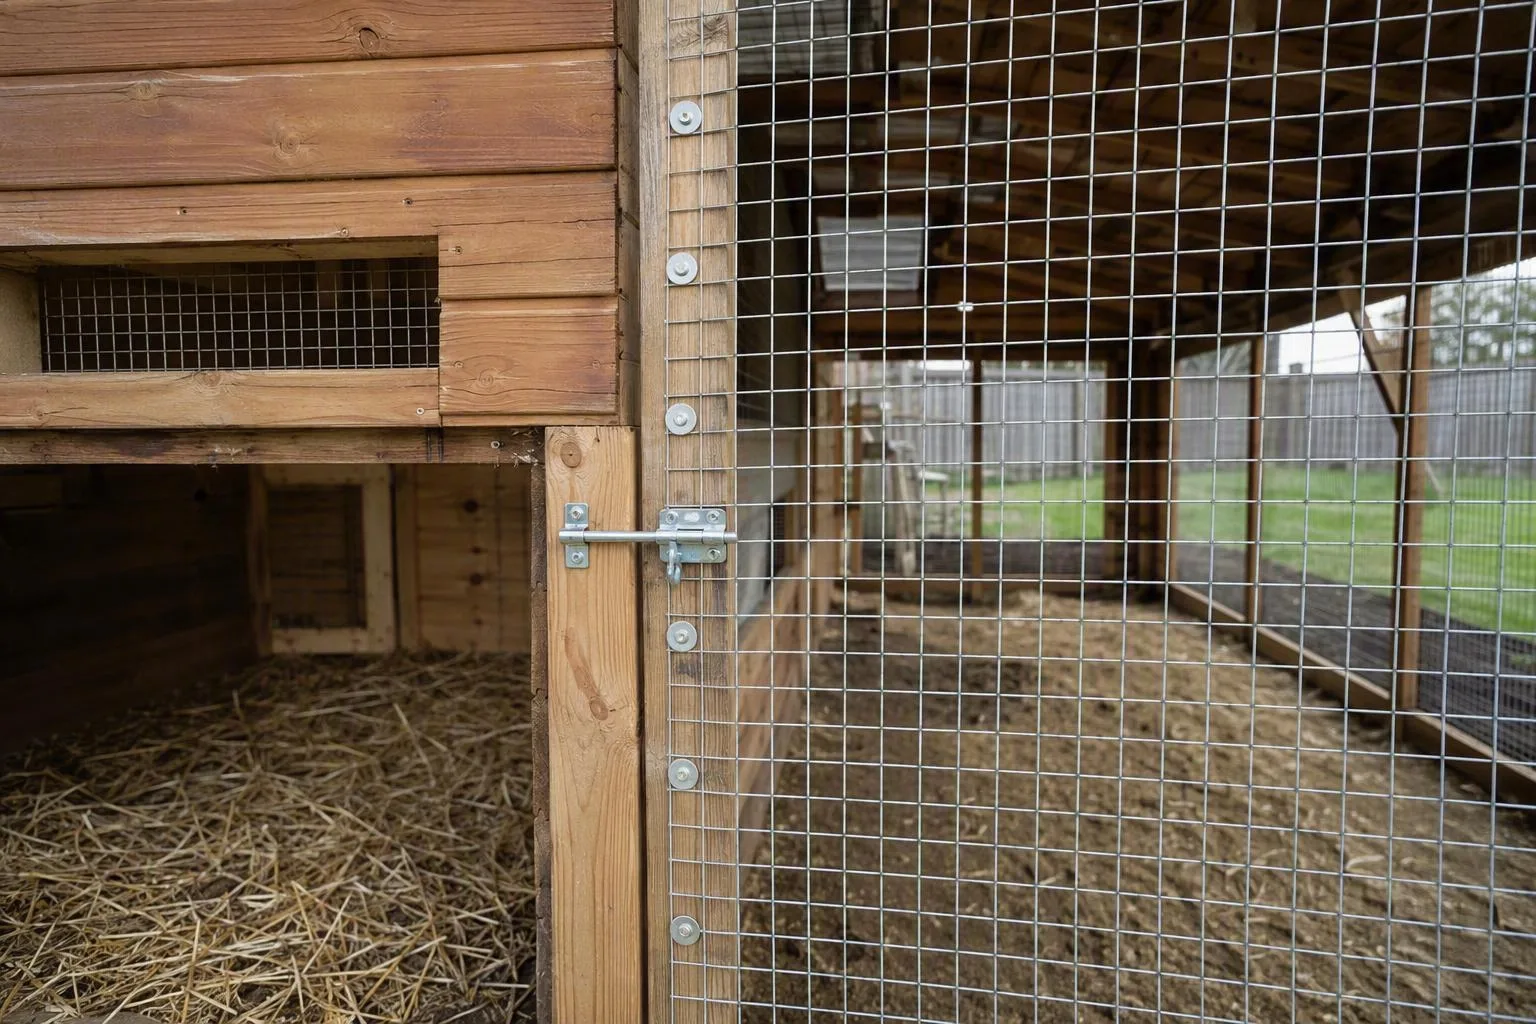
For a backyard flock, the shell matters more than a charming roofline. I use 1/2-inch welded hardware cloth over windows, vents, pop-door openings, and the run. Its small openings and rigid welded joints make it a stronger barrier than ordinary chicken wire for the kinds of reaching, pulling, and pushing that a raccoon, dog, or digging predator can apply.
Chicken wire can help contain birds, but its larger openings and flexible construction are not what I’d rely on for a predator-resistant boundary. Cover seams and corners. Fasten exposed mesh with screws and washers, or an equally secure fixing method, at roughly 6–8-inch intervals along vulnerable edges. A predator needs one loose corner or widened gap, not a failure across the whole wall.
At ground level, extend a 12–18-inch hardware-cloth apron outward from the run and pin it flat under soil, gravel, or paving. If an outward apron won’t work, bury a mesh barrier instead. The purpose is to put a digging obstacle where an animal starts digging, rather than waiting for it to reach the vertical wall.
A covered run is a sensible addition where hawks are common. Use mesh overhead or a solid roof that still sheds rain and snow. Fit the people door and pop door with two-step or locking latches. A simple hook is easy for you and may also be easy for a raccoon to manipulate. For a fuller check, compare your build with chicken coop predator protection.
Once a week, walk the perimeter slowly. Test door gaps with your fingers. Look at loose corners, roof edges, hinge-side gaps, damaged mesh, and soil erosion below the apron. Check again after a heavy storm, when runoff can expose a buried edge. This inspection takes less time than repairing a failure after the flock has learned where the weak point is.
Make feeding, watering, and cleaning part of the coop plan
Service space determines the coop’s real capacity. For planning, I’d provide about one gallon of available water for three to six hens and two gallons total for seven to twelve. That is reserve capacity, not a claim that every flock drinks exactly that amount. Keepers commonly report adult-hen intake in the 6–13-ounce-per-day range, with hotter weather pushing demand upward, so a shaded backup container is worthwhile during heat.
Four inches of linear trough-feeder space per hen is a useful starting allocation: about 12 inches for three, 24 inches for six, and 48 inches for twelve. For a seven-to-twelve-hen flock, use two feeding points rather than making every bird queue at one narrow trough. Place feed and water away from the roost and, where possible, raise them just enough to reduce litter being kicked inside. They still need to be easy for you to remove, scrub, and refill.
For routine dry-litter management, I’d begin with a 2–4-inch layer and remove wet spots as they appear. A deeper 4–8-inch system can work when you have enough dry carbon bedding, good airflow, and a planned way to turn or remove the material. More litter is not a substitute for fixing a leaking roof or a drinker that spills. If it smells sharp, feels wet, or clumps underfoot, clean it out and find the moisture source.
Put the cleanout door where a scoop or small rake can actually reach. Give the refill area shade. Leave enough clearance to lift a waterer without scraping it against the wall. A coop is easier to maintain when daily jobs can be done standing normally, rather than by crawling through a pop door with a full bucket.
Use the 3-, 6-, and 12-hen checklist before you buy or build
Here is the quick capacity check I’d use against a product listing or a sketch. A row passes only when the figure is clear usable space, not the seller’s outside measurement.
| Requirement | 3 hens | 6 hens | 12 hens |
|---|---|---|---|
| Indoor floor | 9–12 sq ft | 18–24 sq ft | 36–48 sq ft |
| Run | 24–30 sq ft | 48–60 sq ft | 96–120 sq ft |
| Roost | 24–36 in | 48–72 in | 96–144 in |
| Nest boxes | 1 | 2 | 3–4 |
| Available water | 1 gal | 1 gal | 2 gal |
Then check the parts that apply to every size:
- Is the run covered or otherwise protected for the predators and weather in your yard?
- Are windows, vents, doors, and run walls covered with 1/2-inch welded hardware cloth?
- Are the mesh edges firmly fastened, with no loose corner to lift?
- Does the ground barrier include a 12–18-inch apron or a buried equivalent?
- Do the people door and pop door have secure, two-step latches?
- Are ventilation openings high, protected, and clear of direct airflow across the roost?
- Does the roof keep rain off the litter and roost?
- Can you open a full-size cleanout door, refill water in shade, and reach every corner?
Advertised hen capacity often describes how many bodies can be placed inside, not how much clear floor remains or how easily you can clean, refill, and separate a timid bird. My judgment call is simple: if a listing gives capacity but no inside floor dimensions, roost length, ventilation area, or mesh specification, it has not given you enough information to judge the coop.
This week, mark the proposed indoor and run footprints on your yard with tape, flour, or garden stakes. Put a bucket where the cleanout door and water station will sit. Walk around the marked space with a rake in your hand. If you can’t comfortably reach the service points now, the finished coop won’t be easier. Before spending money, check university extension guidance on backyard poultry housing and your current local zoning and HOA rules for residential chicken coops.
Once the footprint passes that test, price bedding, feed, and replacement hardware as recurring flock costs. The coop keeps your hens safe, but its design decides whether caring for them stays manageable through the whole year.