Chicken Nesting Box Size: 12×12 Inches, or Bigger for Large Hens
A 12×12-inch usable interior floor is a sensible starting point for most standard-size hens. That means the clear floor inside the walls—not the outside label—and a broad Brahma, Cochin, or heavily feathered hen deserves more room, usually 14×14 or 14×16 inches. Measure where your bird must turn, then decide how many boxes your flock needs.
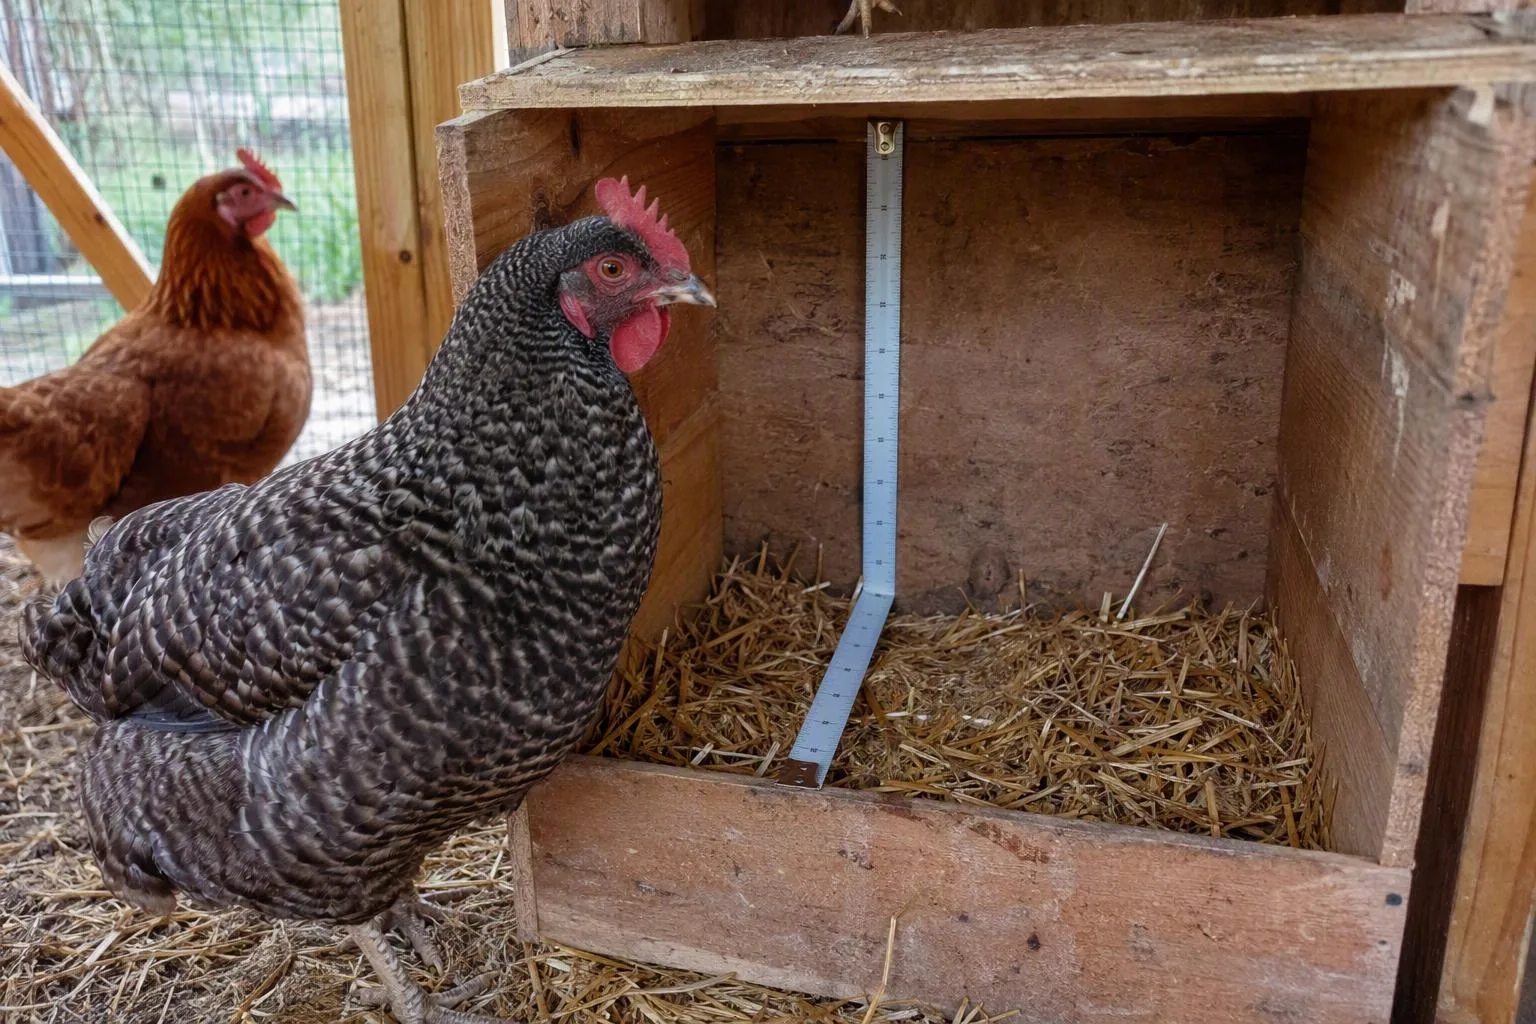
The usable inside floor is the number that counts
The phrase usable interior does the heavy lifting in chicken nesting box size. A 12×12-inch box only meets the target if your hen has roughly that much clear floor after the sidewalls, divider, front trim, and bedding lip are in place.
A 12×12-inch clear floor measures 144 square inches, or 1 square foot. That gives a standard hen room to settle, lower her body, and turn without pressing her shoulders into the sides. The point isn’t to give each bird a private room. Hens commonly share nest boxes. The point is to avoid making the laying space awkward to enter and leave.
A shop listing may describe the outside shell, the front opening, or a rounded product size rather than the cavity. A divider can take away more usable width than you expect. Thick trim can narrow the entrance even when the floor looks adequate.
If a listing gives no inside measurements, treat its advertised size as unconfirmed. Take a tape measure to the box, or make a cardboard footprint before you buy materials.
Choose 10×10, 12×12, 14×14, or 14×16 inches by the hen—not the label
The size ladder I use starts with bantams and moves upward with body width, feathering, and turning room. These are planning sizes for the clear interior, not the outside shell.
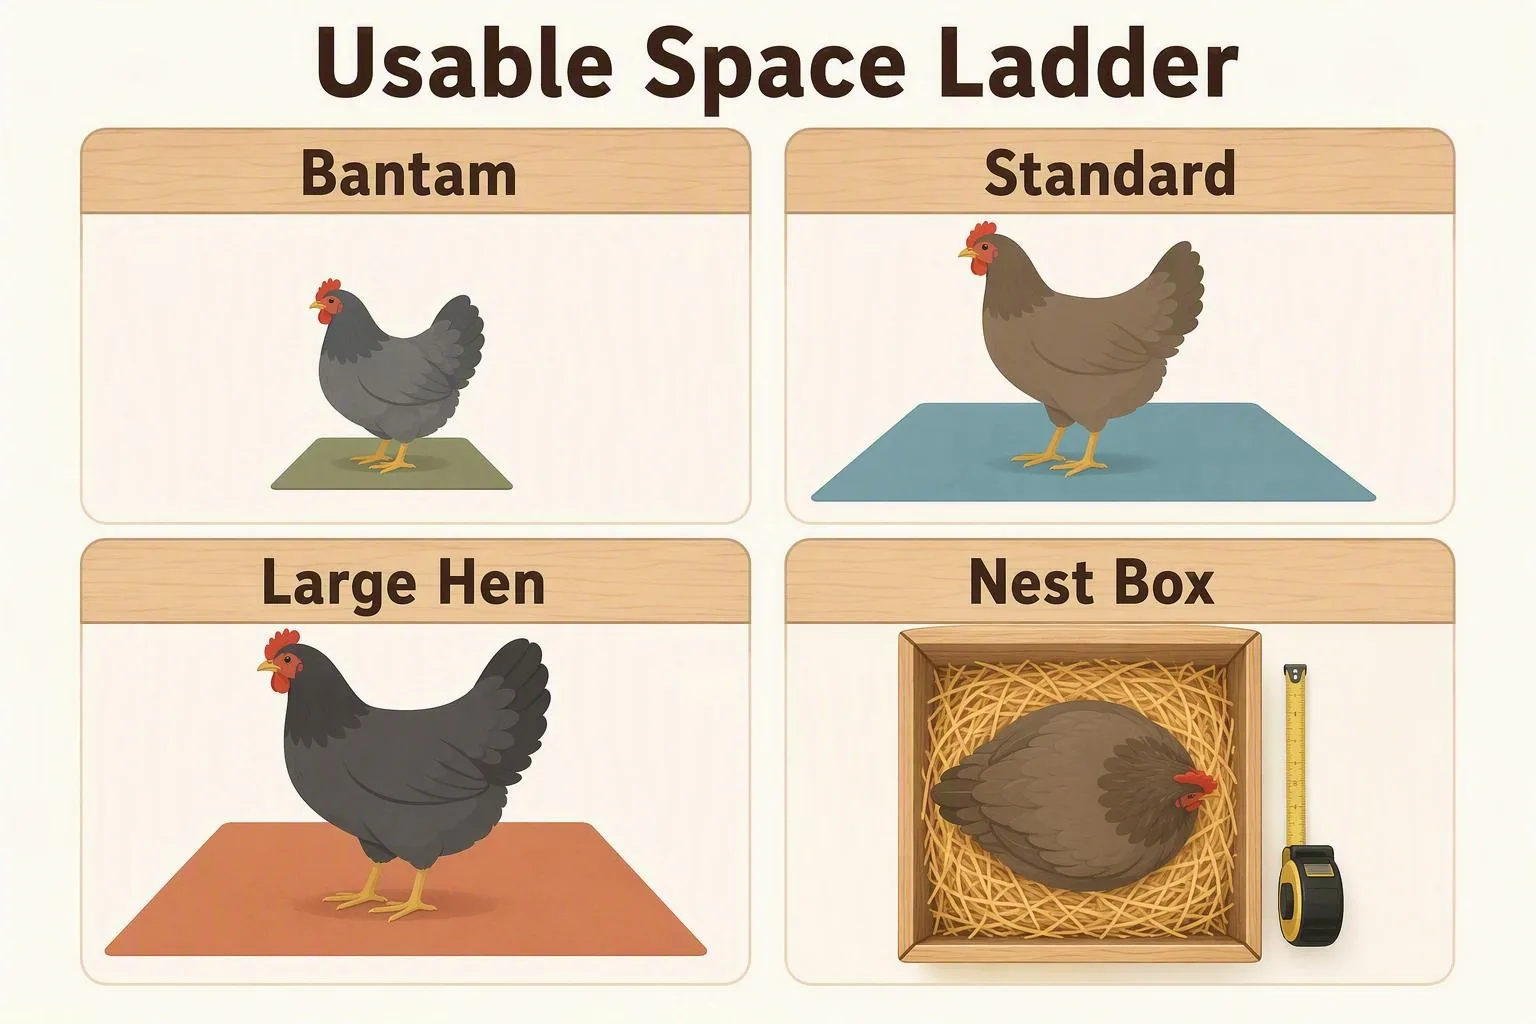
| Bird type | Practical interior starting size | What changes the choice |
|---|---|---|
| Bantams | 10×10 inches | Use 12×12 if the birds are unusually broad or the box is shared heavily. |
| Most standard hens | 12×12 inches | This is the useful baseline for a small egg flock. |
| Large breeds | 14×14 inches | More shoulder and turning clearance suits broad-framed hens. |
| Very broad or heavily feathered hens | 14×16 inches | The extra depth helps a large bird settle without backing into the entrance. |
| Exceptionally large individuals | Up to 16×16 inches | Choose this only when the actual bird needs it and coop space allows. |
A Brahma- or Cochin-sized hen may physically fold herself into a 12×12 box. I’d still choose 14×14 for her where possible. Heavy feathering, a wide breast, or reduced mobility can turn a technically possible fit into an awkward one. A particularly broad bird may be more comfortable in a 14×16 or 16×16 interior.
Don’t choose from a breed name alone. Adult females within the same broad breed type can differ in frame and feathering. If you’re comparing body types, Backyard chickens breeds can help with the first pass, but your own birds are the final measuring guide.
One box for every 3–4 hens is the starting ratio
For a small backyard flock, start with one usable nest box for every three to four standard hens. That means one 12×12 box for three or four hens, two boxes for six hens, and three boxes as a starting point for nine to twelve hens.
One box per bird usually spends valuable coop wall space on rooms that sit empty for much of the day. Hens lay at different times, then leave. Several birds can use the same clean cavity without needing a separate box each.
That ratio is a starting point, not a promise that every bird will spread itself politely. You may see a queue for one box while the others remain untouched. Hens can prefer the darkest corner, the lowest entrance, or the box with the driest bedding. Before adding more boxes, check whether one location is simply more inviting.
Add a box sooner if your large hens cannot settle comfortably, if a broody hen occupies a preferred cavity, or if you see repeated crowding and pushed-out eggs. For a flock of six large hens, two 14×14 boxes may work, but a third gives you more room to manage a persistent favourite.
Make the full cavity 12–16 inches deep, with a 2–4-inch bedding layer and front lip
Think of the box as a shallow, dark shelf rather than a deep cupboard. For standard hens, aim for about 12–14 inches of usable depth from the back wall to the inside of the front panel, with at least 12 inches of clear inside height. Large hens generally benefit from about 14–16 inches in both depth and height.
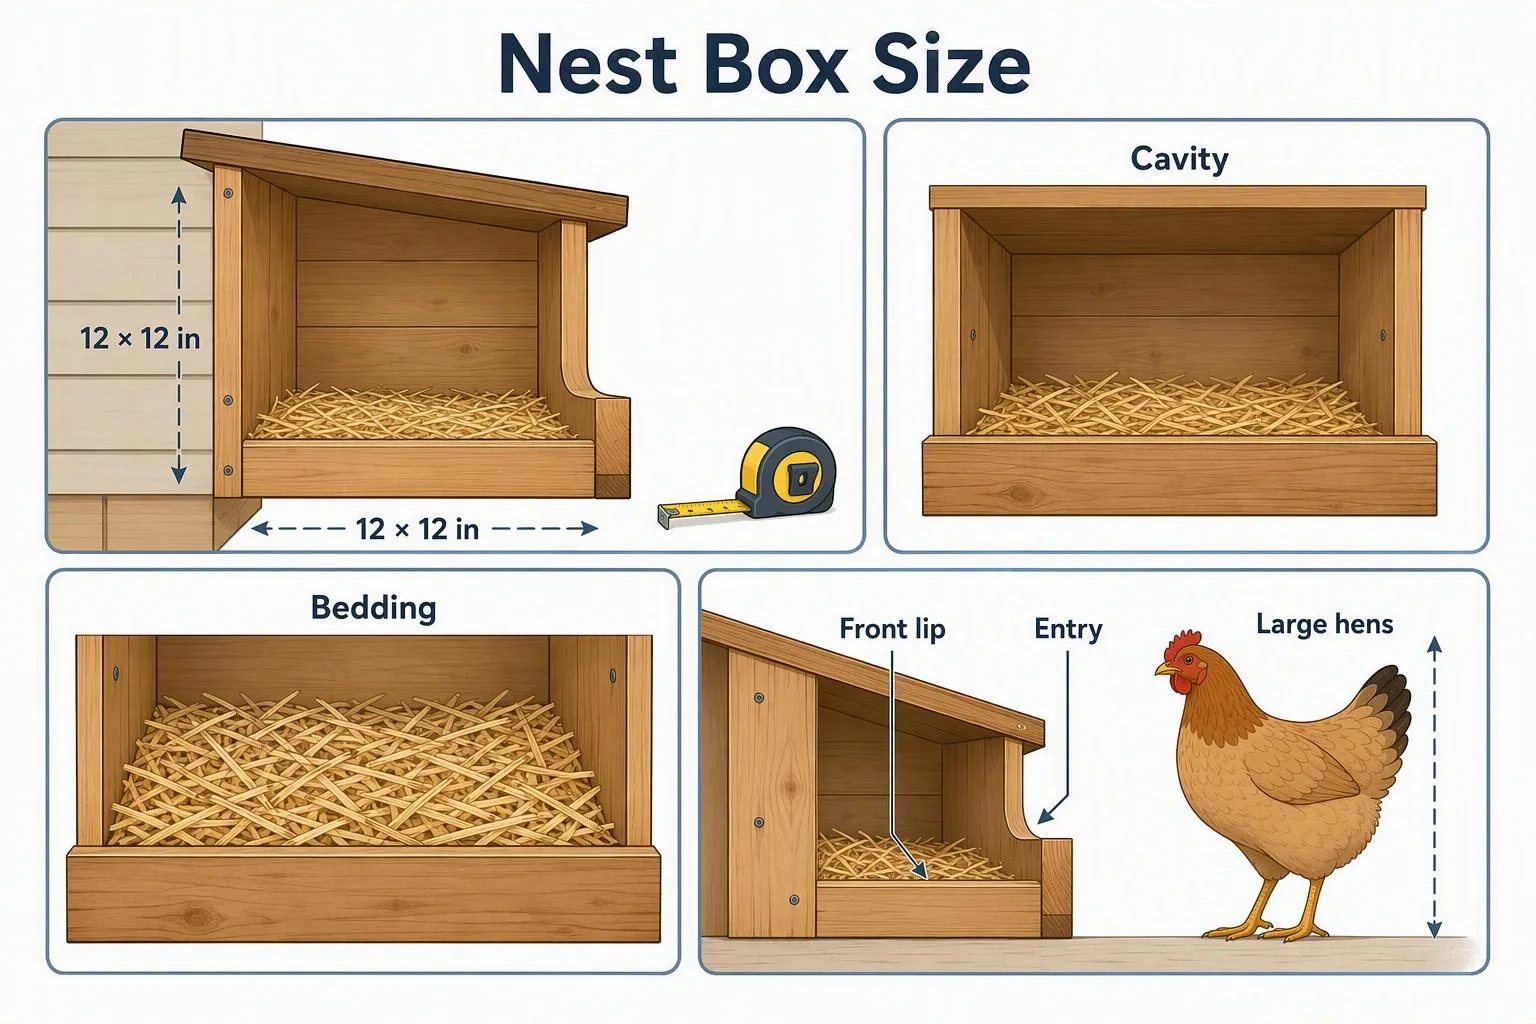
Put down roughly 2–4 inches of dry nesting material. That cushion keeps the egg from landing on bare wood and gives the hen something to shape around herself. A front retaining lip of about 2–4 inches helps hold the bedding and keeps eggs from rolling out, but it must not rise so high that a hen has to climb over it awkwardly.
Measure depth from the rear wall to the usable floor at the entrance. Don’t count a roof overhang, outside trim, or the thickness of a front board as laying room. Sand rough edges, keep screws below the bedding line, and make sure the roof does not drip into the cavity.
Install the floor 18–24 inches above the coop floor, but keep it below the roost
Nest boxes work best when hens can approach them without squeezing past feeders, drinkers, or a solid wall. For standard, mobile hens, set the nest-box floor about 18–24 inches above the coop floor when the structure allows it. Keep the roost higher than the boxes so the boxes are less tempting as sleeping platforms.
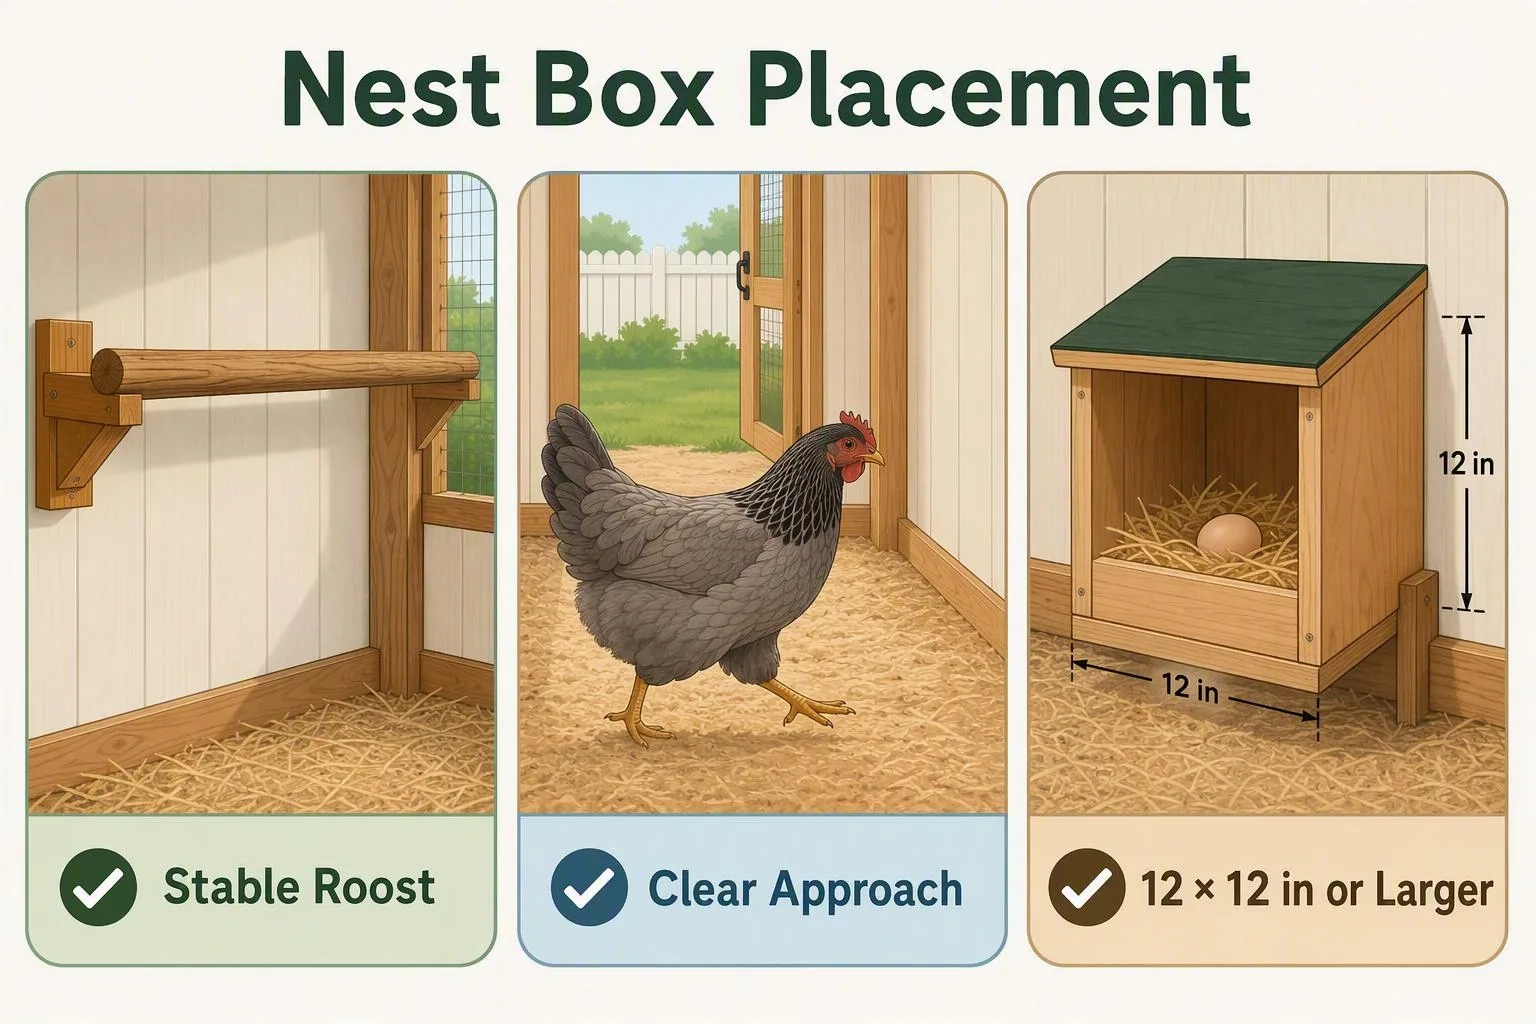
Mount the box firmly. It should not twist when a hen steps on the entrance edge. In my experience, an unanchored landing board tends to unsettle a hen more than a clean step or jump, so I’d rather provide no board than one that wobbles.
Give the entrance protection from rain and direct drafts, while keeping the wider coop ventilated. A box that is damp, exposed, or difficult to reach can be rejected even when its interior is the right size. Heavy, elderly, injured, or mobility-limited birds may need a lower box or a shallow, well-secured ramp instead of a high step.
The roost should remain the higher sleeping choice. If birds sleep in the boxes, inspect roost height and access before changing the box dimensions.
Measure the outside shell from the 12-inch clearance you promised
If you’re cutting wood, treat the clear interior as the fixed point. With half-inch wall material, one box offering 12 inches of clear inside width needs about 13 inches of outside width before trim and joinery. With three-quarter-inch walls, that same interior needs about 13.5 inches outside. This is the wall-thickness calculation worth doing once; don’t let a product label replace it.
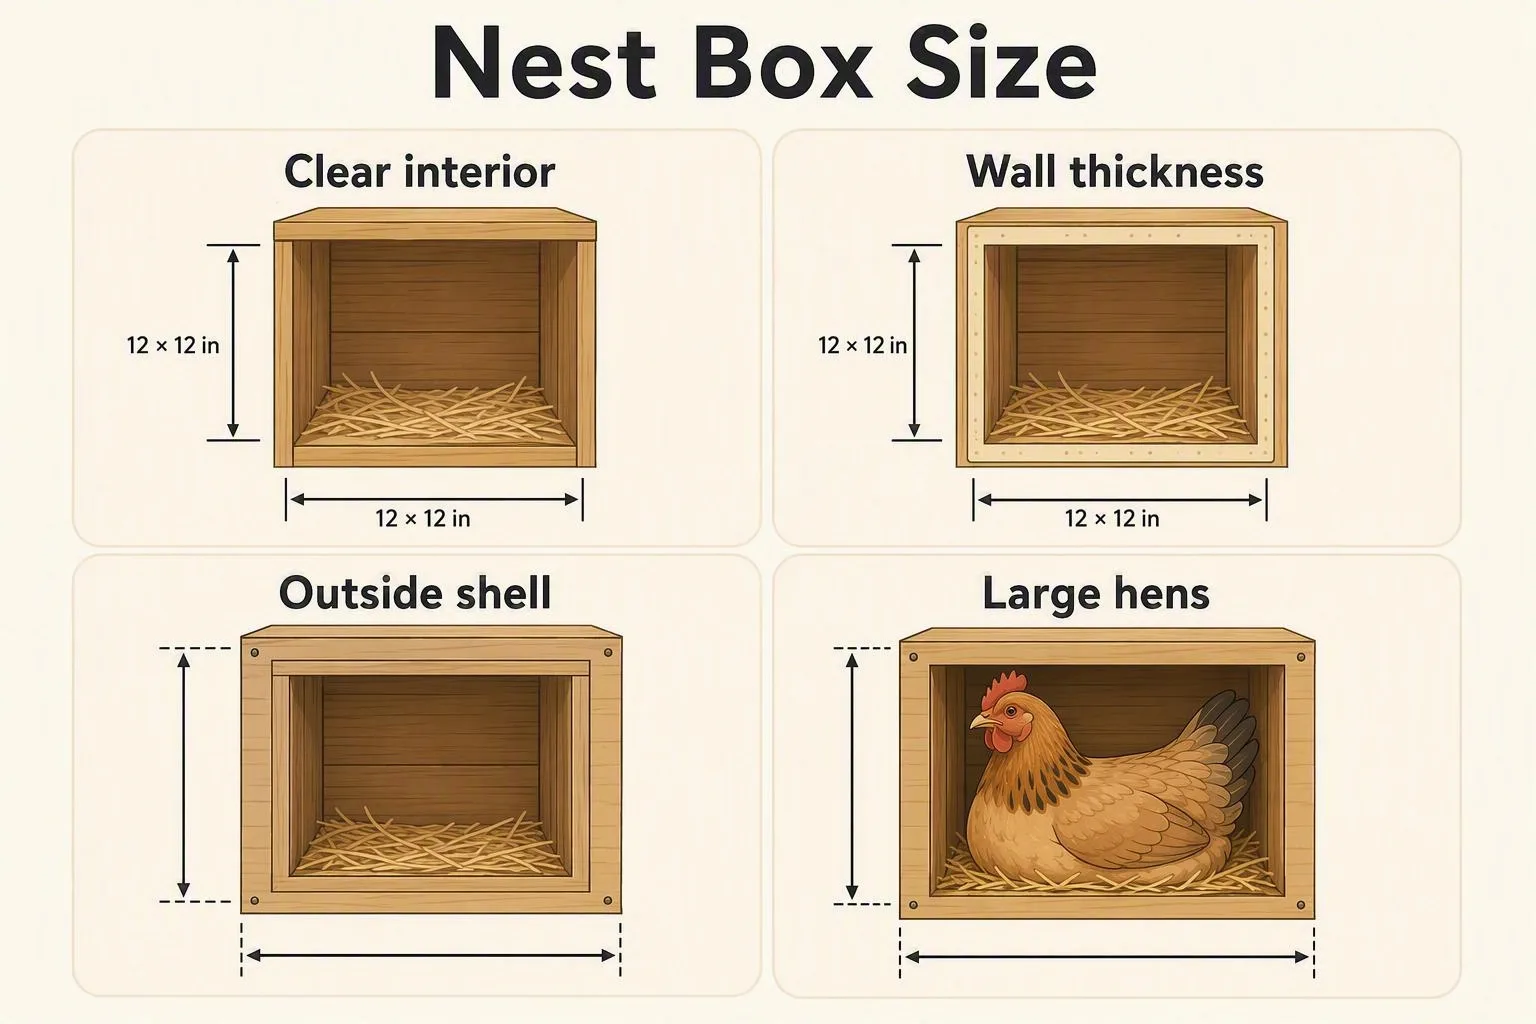
For a two-box bank with 12-inch interiors, add 24 inches of clear width plus three half-inch walls: the two outside walls and one divider. That gives about 25.5 inches before roof overhang, front trim, hinges, or other hardware. A thicker divider or a removable partition changes the result.
Depth and height need the same interior-first treatment. A floor cut to 12 inches may offer less than 12 inches of usable depth once the rear wall and front panel are fitted. Keep the divider flush with the cavity, and position the front panel so its lip retains bedding without shrinking the entry.
When I plan a small backyard box bank, I start with scrap cardboard rather than lumber. On one build, I first drew the front from the advertised outside shell. The temporary box looked generous from the aisle, but once the sidewalls and bedding layer were represented, the hen entered, turned awkwardly, and backed out. I moved the front panel outward and kept the clear floor as the controlling measurement. That simple mock-up stopped me from building around a label.
For a second check, compare your sketch with university extension backyard-chicken housing guidance and with breed-profile and husbandry references for large birds. Use those sources to question your assumptions, then measure the birds and the actual coop opening in front of you.
Read the eggs and the birds before you enlarge anything
Size is an easy culprit, but it isn’t the explanation for every poor nest-box habit. I use the symptom first and check in this order:
- Shoulders or wings rub the sides. Measure the clear floor, not the outside shell. If a hen cannot turn without repeated contact, move up one size after checking that bedding and trim are not stealing the space.
- Several hens crowd one box. Check the one-box-for-three-to-four-hens starting ratio, then compare light, dryness, privacy, and entrance location. Adding a box helps only if the new cavity is as inviting as the favourite.
- Eggs are dirty. Inspect the 2–4-inch bedding layer for damp spots and compacted material. Dirty eggs can come from wet bedding, a soiled hen, or a box positioned under a dripping roof, not just a small floor.
- Eggs are cracked or rolled out. Check the retaining lip, floor angle, exposed screws, and how much bedding remains after the hens scratch. A shallow lip or bare floor can let an egg reach the edge.
- Eggs appear on the coop floor. New layers may choose the floor while they learn. A bright, exposed, damp, high, or hard-to-reach box can also be rejected. Improve the approach and cavity before assuming the floor is too small.
- Birds refuse the box. Look for drafts, sharp edges, wet material, excessive light, and a narrow entrance. A box can have the correct interior footprint and still feel unsafe to enter.
- Birds sleep in the boxes. Check whether the roost is higher, stable, and easy to reach. A broody hen may occupy a box deliberately, so her choice is not proof that the cavity is oversized.
That checklist is worth saving: measure the clear floor, count boxes, inspect bedding and lip, check the approach, then resize. A nest-box problem is often a location or maintenance problem wearing a size disguise.
Commit to a box plan for 3, 6, or 12 hens
Here’s the practical plan I’d use for a small egg flock:
- Three to four standard hens: one box with a 12×12-inch clear interior.
- Six standard hens: two 12×12 boxes, placed where both have a dry, calm approach.
- Nine to twelve standard hens: three boxes as the baseline, or four if the flock competes strongly for one location.
- Large or heavily feathered hens: use 14×14 or 14×16 interiors while keeping the same starting ratio of one box per three to four hens. Consider 16×16 only for an unusually broad individual.
Don’t confuse nest-box space with total coop space. Before you order plywood, check how much space do chickens need for the floor, run, feeders, and clear movement around the boxes. If this is an egg-focused setup, raising backyard chickens for eggs will also help you plan the daily work around collection, cleaning, and storage. Those decisions affect whether a perfectly sized box stays dry and usable.
This week, cut cardboard footprints for the interior sizes you’re considering. Set one at the proposed height, place the roost higher, and have each hen step in far enough to turn. If the footprint works but the approach does not, fix the layout before buying wood. That five-minute test is the most reliable part of your chicken nesting box size plan.