Chicken Coop Predator Protection: 7 Fixes That Matter
One loose hook on a coop door can undo an otherwise solid run. Good chicken coop predator protection starts by finding the route an animal could use, then closing that route with hardware, not wishful thinking.
Give yourself 15 minutes for the audit. Then work through seven fixes: mesh, a dig apron, the latch, the roof, small gaps, climbable objects, and the nightly routine. No single setup suits every property, but this order puts money into the barrier before you add deterrents.
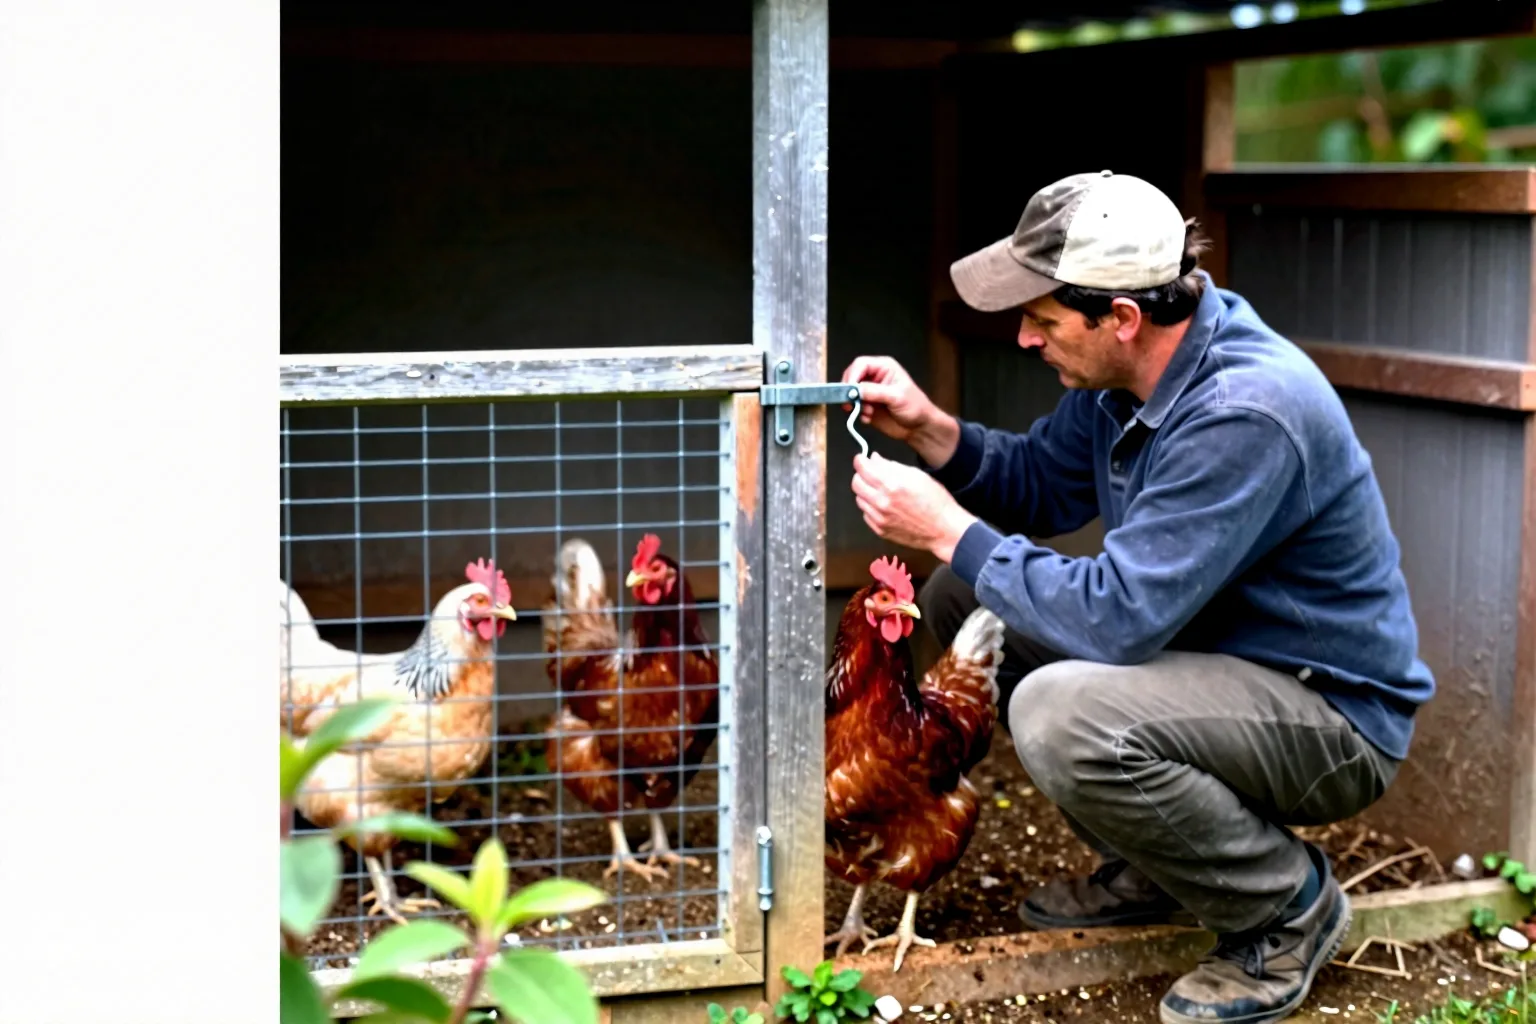
Start with a 15-minute predator-route audit
Before buying materials, walk the enclosure with a flashlight, gloves, and a tape measure. Look at it from ground level. You’re checking how a backyard chicken predator could approach, not how the run looks from the kitchen window.
- Digging: inspect bare soil, soft edges, and any space beneath the bottom rail.
- Climbing: note branches, fence tops, bins, stacked lumber, and shed roofs beside the run.
- Reaching: check mesh openings, corner folds, door edges, and gaps around vents.
- Flying: look for an open roof or a cover that stops short of the walls.
Do this once in daylight and once as the sun drops. Low light makes it easier to see daylight under boards and gaps behind corner hardware. Check nearby trees and fences too. A secure wall is less useful if an animal can reach the roof from a branch or fence line.
Also check for feed smells, spilled grain, and scraps in the run. Treat those as reasons to tighten your nightly routine, not as a substitute for repairs. Measure any opening that’s larger than your chosen mesh aperture. Put the biggest weak point first on your list. If you’re still sizing the enclosure, compare the layout with How much coop and run space do backyard chickens need? before you build around it.
1/2-inch hardware cloth is the barrier to build around
Fix 1. Chicken wire can keep your hens inside, but it shouldn’t be your primary predator barrier. Its light construction and relatively open pattern leave more opportunity for pushing, biting, or reaching through than a properly fastened welded mesh panel.
Use 1/2-inch square welded hardware cloth as a practical baseline for run walls, coop vents, windows, and reachable door panels. The point is continuity. A short strip on the bottom of a wall doesn’t protect an open vent or a loose corner above it. Where animals can press against the enclosure, use heavier-gauge material, especially on lower panels, gates, corners, and the section nearest a fence or wooded edge.
Fasten mesh through solid framing with screws and broad washers where you can. Heavy-duty staples can work on sound timber, but a loose edge gives an animal something to pull. Turn cut edges inward or cover them with a timber batten or metal trim. At seams, overlap the sheets and fasten both layers to the frame. Don’t leave a neat-looking butt joint that can be pried apart at the corner.
If your site has unusual terrain or larger local predators, compare the plan with university extension guidance on poultry housing, hardware cloth and predator exclusion. Treat 1/2-inch mesh as a build baseline, not a promise that every local risk has been solved.
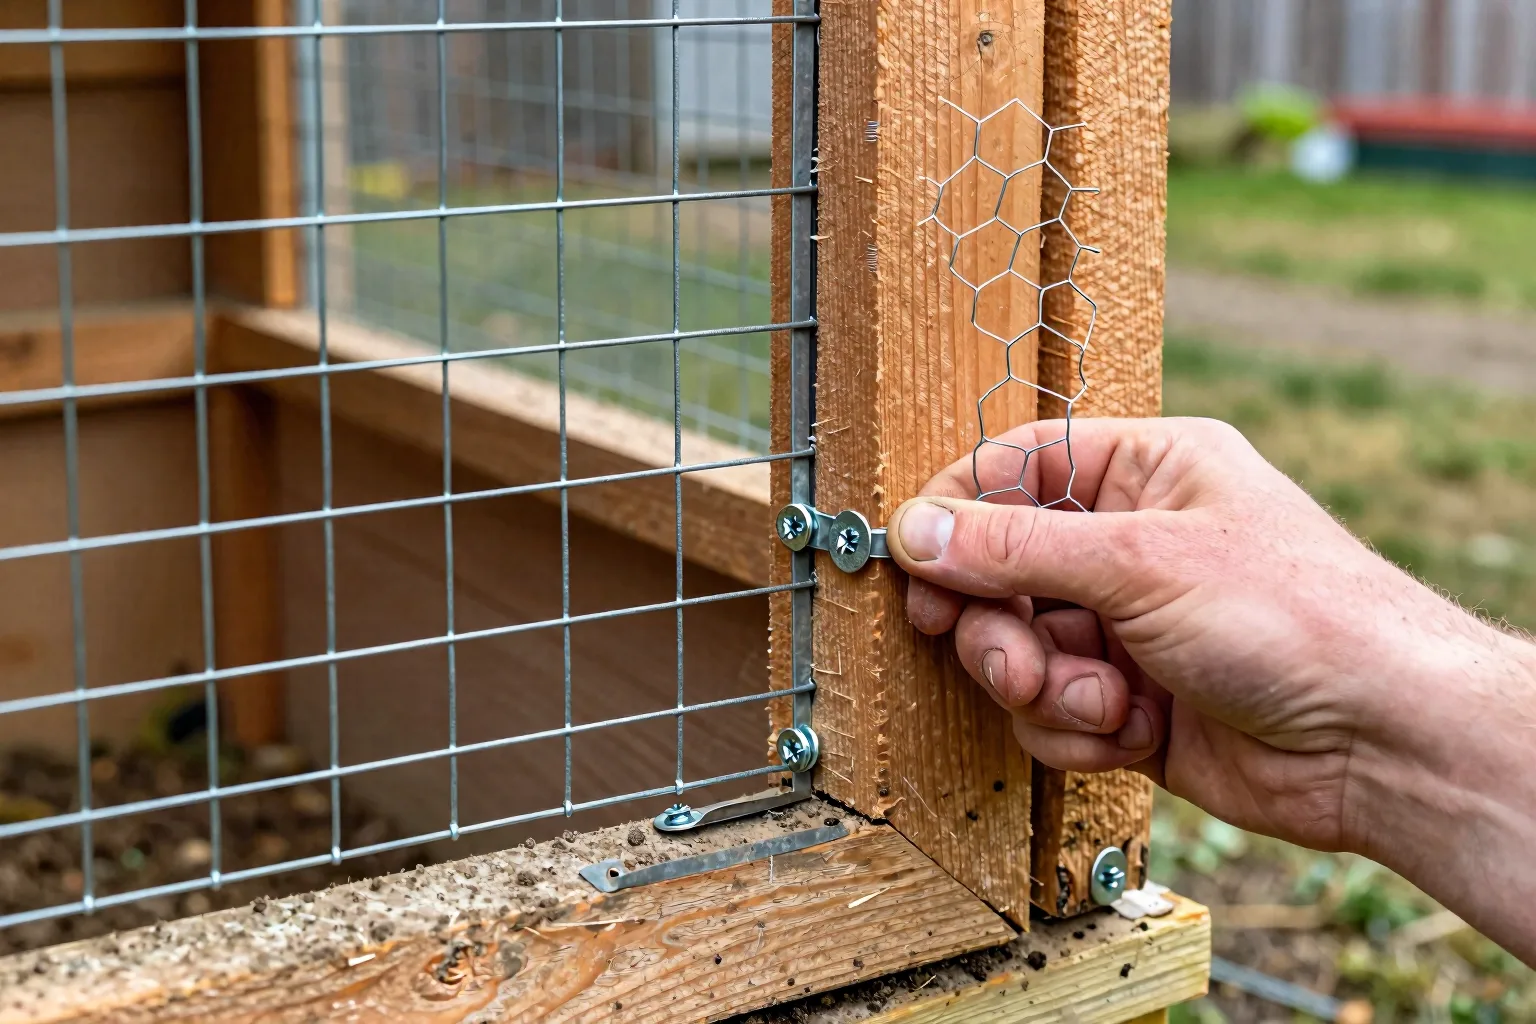
An 18- to 24-inch outward apron stops the easy dig
Fix 2. Attach an 18- to 24-inch hardware-cloth apron to the outside face of the run. The top edge must be fixed to the wall or bottom frame. The mesh should not merely lie beside the enclosure with a visible strip of soil between its edge and the wall.
A flat outward apron is usually the simplest retrofit. Lay the mesh on the ground, pin it with landscape staples or ground pins, and cover it with soil, gravel, or turf. The hidden mesh changes the digging sequence: an animal starting at the wall meets a barrier extending outward instead of finding loose soil immediately beneath the wall.
If digging is already happening, add a 6- to 12-inch trench beside the wall. Set the mesh down into the trench and bend or bury the lower section so it joins the outward barrier. Backfill firmly. Use pins at the corners and where the ground rises or dips. A gap under the wall defeats an apron that is otherwise wide enough.
For a concrete example, a 6-by-8-foot run has a 28-foot perimeter. A 24-inch apron around that perimeter needs about 56 square feet of mesh before you allow for corners, overlaps, and mistakes. Cut the pieces long enough to overlap at joins, and attach the upper edge before you cover the ground. This makes the repair inspectable later.
An apron makes the direct dig harder. It doesn’t protect an open gate, a roof seam, or a hole in the wall. Keep the route audit in view.
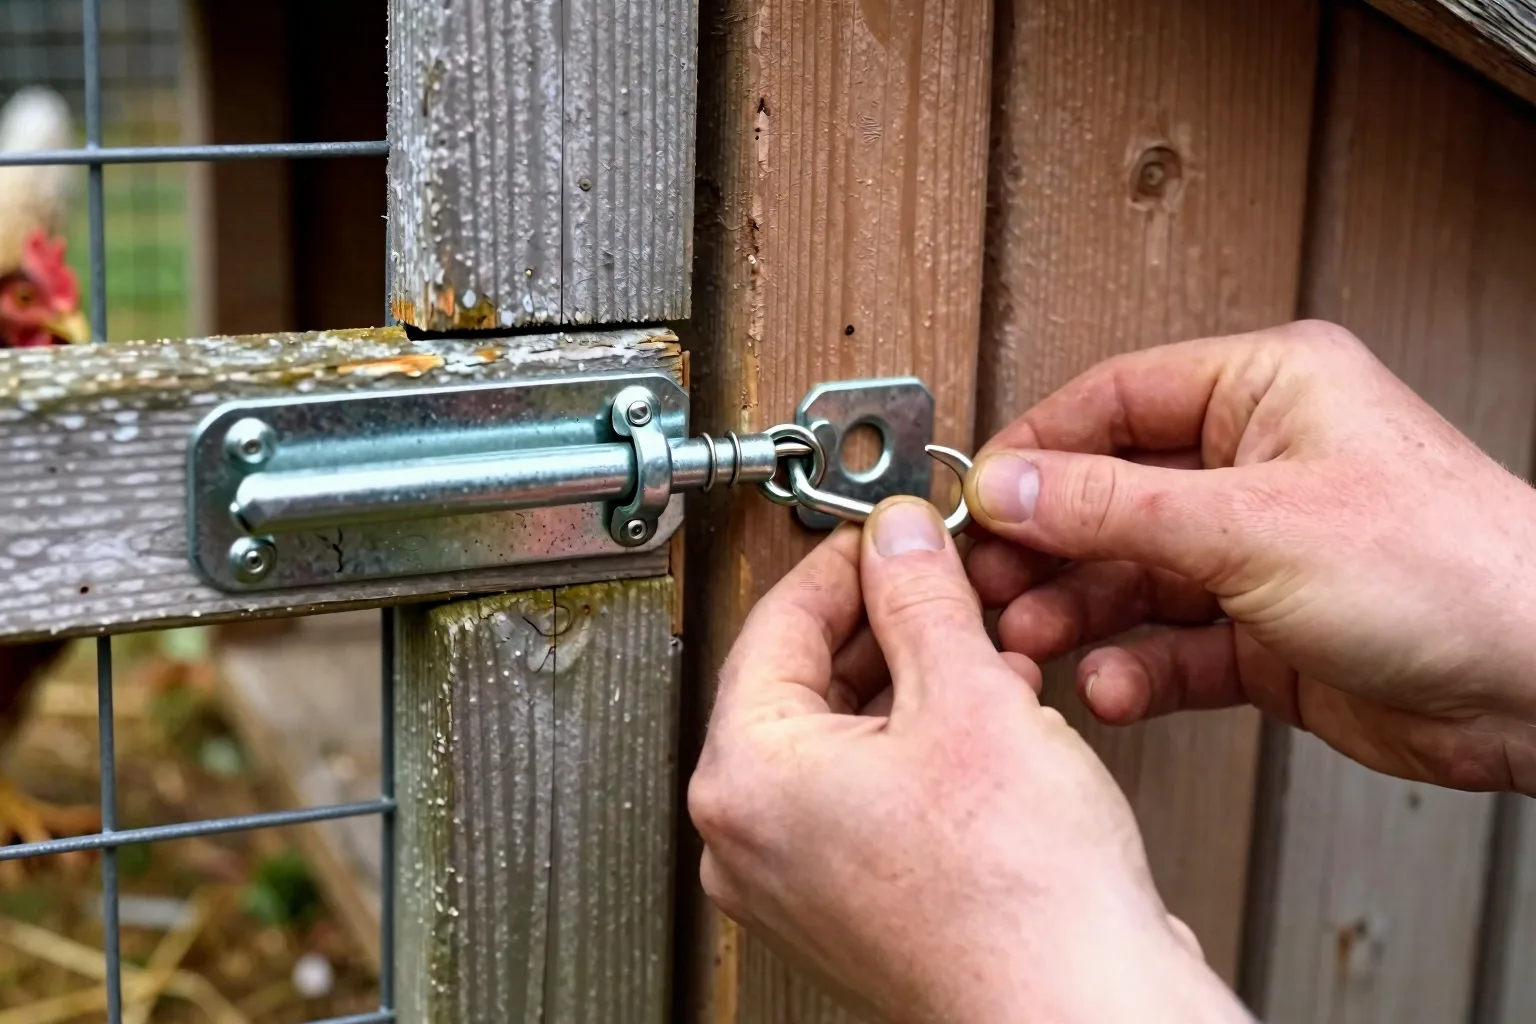
Choose a latch that needs two actions
Fix 3. Replace a simple hook, loose catch, or slide bolt with a closure that needs two separate actions. A locking hasp with a carabiner is a straightforward choice. A two-step catch can work too, provided both parts remain engaged when the door is pulled.
The useful feature isn’t the word raccoon-proof on the product label. It’s the sequence. One movement should not release the door. Clip the carabiner through the hasp eye, or use a latch whose cover must be lifted before the handle moves. Choose a system you’ll actually use while carrying feed or checking birds in poor light.
The door also needs to close tightly against its frame. Add a stop strip or adjust the hinges if the panel twists. Pull the closed door at the latch side, hinge side, top, and bottom. If the frame flexes or daylight shows, strengthen the frame before upgrading the latch. A strong latch on a loose door is still a weak entrance.
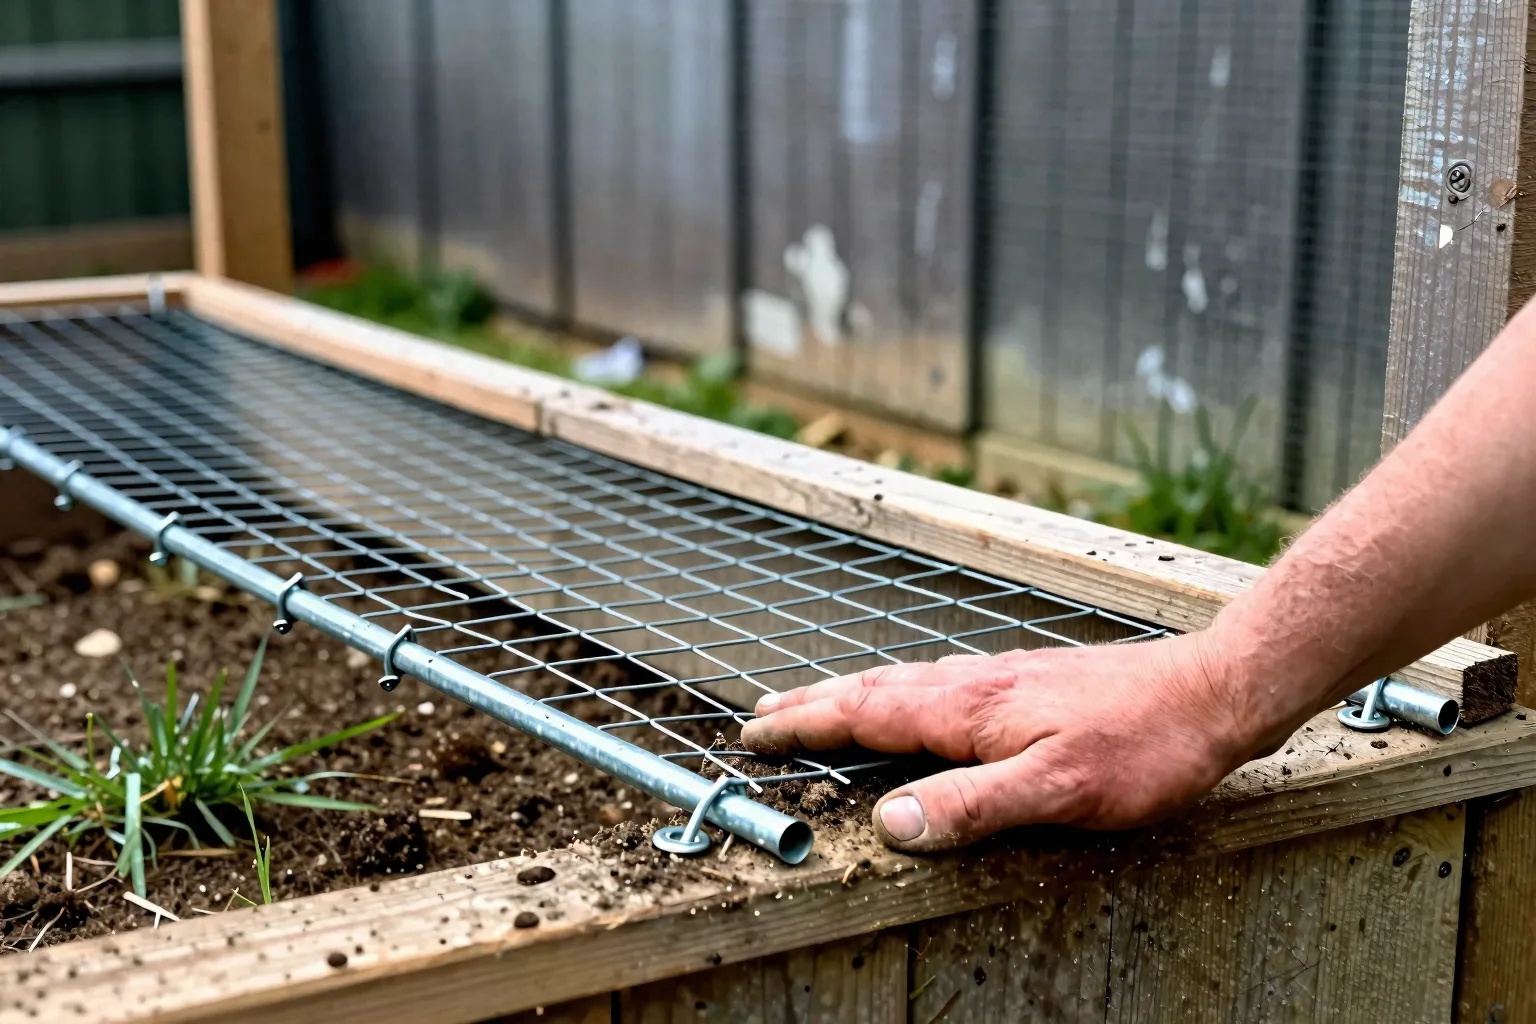
Roof the entire run, including the wall-to-roof seam
Fix 4. Cover the whole run with a rigid wire or hardware-cloth roof. Join it securely to the wall mesh on every side. An open strip where the wall meets the roof is still an entrance, even if the centre of the roof is strong.
A rigid roof gives you a physical barrier against aerial access and makes the upper edge harder for a climbing animal to use. Support the panel so wind or accumulated weather doesn’t bow it away from the frame. Overlap the mesh at joints, or clamp the joint between timber battens. Inspect the seam from inside the run as well as outside.
Shade cloth can reduce sun exposure. Bird netting can help contain birds in some layouts. A partial cover can also block one approach. None should be treated as equivalent to a properly joined rigid barrier. If hawks are your daylight concern, the neighbouring guide How to protect a chicken run from hawks in daylight covers the aerial side of the problem. The roof still needs sound walls and a secure door.
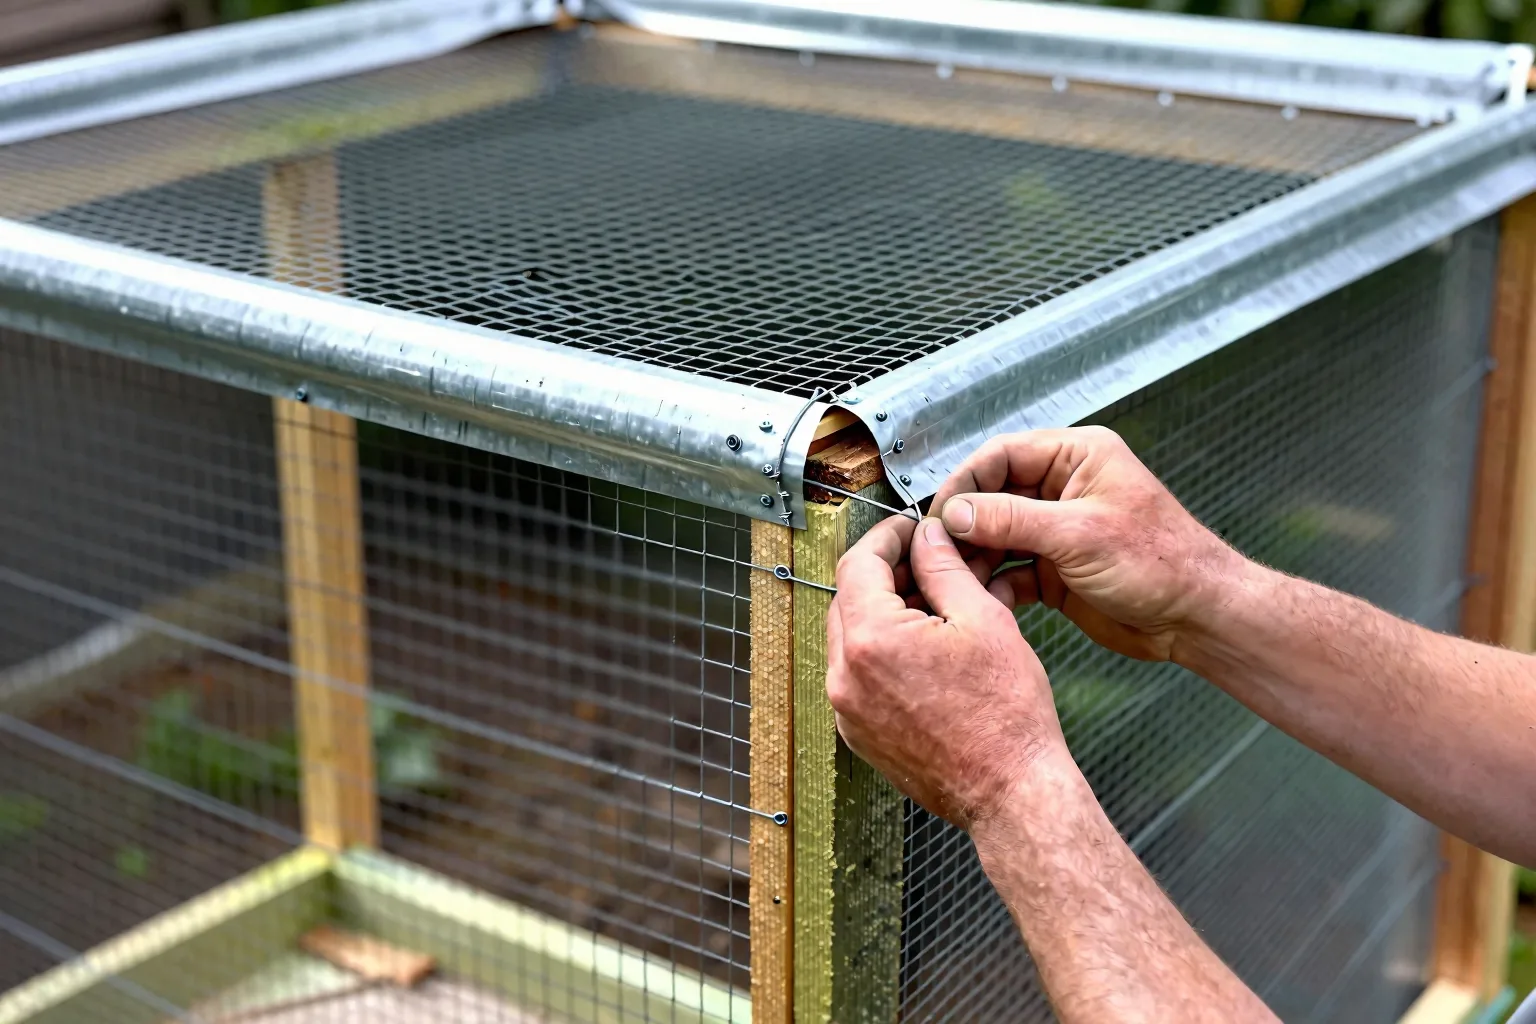
Close gaps at the bottom, corners, vents and doors
Fix 5. Think of the enclosure as a chain. Its practical resistance is limited by the largest unprotected opening, not by the strongest panel elsewhere. Do a slow gap-by-gap inspection with a light behind the wall.
- Check the door threshold and the bottom corners for daylight beneath the frame.
- Look behind corner folds where mesh may stop short or separate from timber.
- Cover vents and windows with firmly fastened hardware cloth, while keeping the required airflow.
- Inspect drain points, warped boards, and the latch side of doors.
- Find places where mesh ends above the ground or is tucked behind a loose board.
Use metal flashing, a timber batten, or properly fastened mesh to close those points. Foam and loose plastic are poor choices for a chewable edge. Don’t seal a vent simply because it looks vulnerable. Pair the repair with Chicken coop ventilation for winter without dangerous drafts so you keep air exchange without leaving a reachable opening.
Remove the ladder: branches, bins and fence lines
Fix 6. A predator doesn’t need to climb the run wall if the surroundings provide a ladder. Walk the perimeter and identify anything that brings an animal level with the roof or upper wall: a low fence, compost bin, stacked boards, firewood, a shed roof, or a branch touching the enclosure.
Move bins and lumber away. Trim branches that overhang or touch the roof. Keep enough clear space to walk around the run and see the lower edge. You don’t need to strip every tree from the yard. Target direct launch points first, especially on the side where the roof or upper wall is easiest to reach.
This is a supporting fix. Clearing a branch won’t compensate for chicken wire, and a tidy perimeter won’t compensate for an unlatched door. It becomes valuable when the barrier is already continuous.
At dusk, lock the birds in and remove the food reward
Fix 7. Make lock-up a daylight routine, not a vague evening intention. Before full dark, count your birds, close the coop door flush, and confirm the second latch action. If the count is wrong, stop and find the missing bird before you walk away.
Remove scraps and spilled feed from the run overnight. Store feed in a lidded metal container or another rodent-resistant container with a tight-fitting lid. That won’t solve every rodent problem, but it stops an open feeder from becoming a predictable food source. For the storage details, see How to store chicken feed so rodents and moisture stay out.
For persistent local pressure, an electric offset wire or poultry netting can be an escalation layer. It isn’t a replacement for sound mesh, a roof, a closed door, and a dig-resistant base. Follow the product instructions and keep the setup away from places where children, pets, or birds could become tangled.
Before trapping or relocating anything, check state or provincial wildlife-agency rules for trapping, relocating or discouraging local predators. Local rules and suitable responses can differ, so don’t turn a nuisance visit into an avoidable legal problem.
This week, set a 15-minute timer and complete the route audit. Mark the single route that leaves your birds most reachable, then fix that one first. A closed gap is a better first purchase than a clever deterrent. Save the seven-step order for the next dusk check, and repeat it after heavy rain, wind, or any change to the run’s surroundings.