Bumblefoot in Chickens: Signs, Causes and Safe Home Care
A small dark scab is not the same problem as a hot, swollen foot. For bumblefoot in chickens, your first job isn't to pull the scab. Compare both feet in good light, decide whether the lesion looks superficial or active, and keep a mild case clean while you arrange veterinary help for anything worsening.
Look underneath each foot, between the toes, and over the top. Note the scab, redness, heat, swelling, tenderness, limping, roosting, appetite, and activity. A dry surface mark without swelling deserves attention, but it is a different starting point from an enlarged, hot, painful foot.
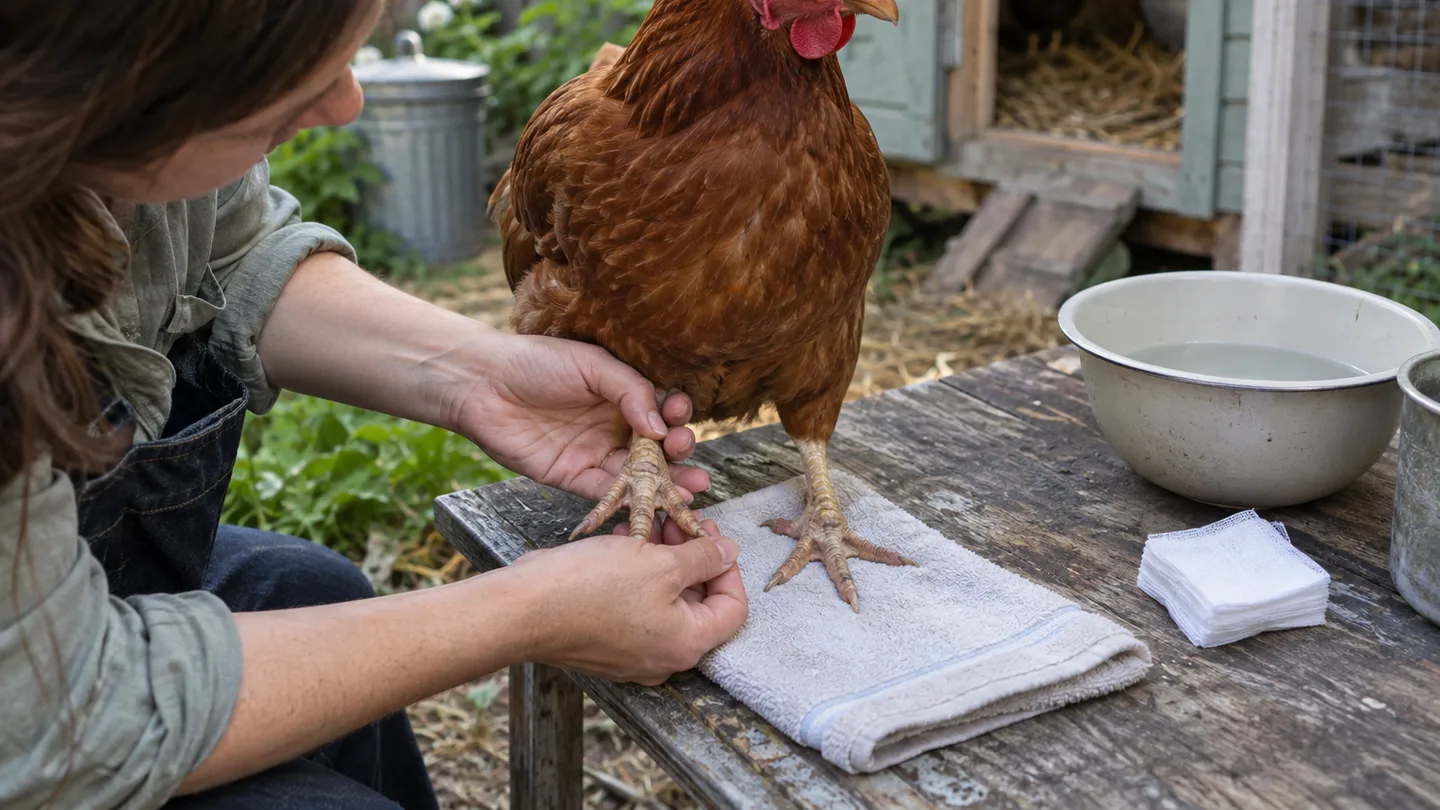
The first 60 seconds: what a bumblefoot check should show
Hold your chicken securely against your body, or have another person support the bird while you lift one foot at a time. Compare the sore foot with the other foot rather than judging it from memory. Bumblefoot in chickens may begin as a small dark scab on the footpad. More concerning signs include a red or swollen pad, warmth, tenderness, a swollen toe, repeated pecking, limping, or reluctance to roost.
- Surface mark: small, dry, and not visibly enlarged.
- Active-looking lesion: warm, red, swollen, painful, or wet.
- Whole-bird concern: less activity, poor appetite, or difficulty bearing weight.
Do not diagnose from scab colour alone. Inspect the skin around it, look for discharge or an odour, and check whether the bird can stand normally. If the foot is hot and enlarged, treat that as more than a cosmetic chicken foot scab.
Cause is usually a pressure-and-injury problem, not one dirty perch
Bumblefoot often follows a small break in the skin: a thorn, splinter, rough landing, sharp flooring, repeated pressure, or a scraped pad. Once the skin barrier is damaged, contaminated litter, mud, or ground can contact the injury. That is why pododermatitis in chickens is better understood as an injury-and-exposure problem than as proof that one perch was dirty.
Weight, limited movement, hard landings, and poor footing can add pressure to the same spot. Wet litter does not explain every case, but it can soften skin and keep a damaged foot dirty. Inspect the whole route your bird uses: perch, ramp, doorway, litter, run entrance, and water area.
In my own small backyard setup, I once treated a foot inspection as a one-bird job. After finding a scab, I checked the other birds under the same dim roost light and found rough, muddy toes on two more. I cleaned the muddy entrance and replaced the damp patch. The lesson was simple: treat the foot, then inspect the surface that made the foot vulnerable.
Triage table: mild surface lesion, active infection, or a vet case?
Use this table as a checking order, not a diagnosis. If the bird is deteriorating, skip another home-care attempt and seek veterinary advice.
| What you see | How I would read it | Next step |
|---|---|---|
| Small dry scab, little or no swelling, normal appetite, and steady weight-bearing | Possible early or superficial lesion | Clean, protect, improve footing, and check daily |
| Heat, increasing redness, swollen pad or toe, discharge, foul smell, repeated pecking, or worsening limp | Concerning for a more active problem | Arrange veterinary advice promptly; same-day advice is sensible if it is rapidly worsening |
| Cannot bear weight, deep or open tissue, rapidly enlarging swelling, marked lethargy, poor appetite, or suspected joint or tendon involvement | Beyond a cautious home-care trial | Seek same-day veterinary advice rather than cutting into the foot |
| No clear improvement at my 48–72-hour checkpoint | The simple explanation may be wrong, incomplete, or still present | Contact a vet and review the environment |
My practical checkpoint is 48–72 hours. I would expect a mild case to show at least some less heat, less swelling, or easier weight-bearing within two to three days. If the trend is flat or worse, that is your cue to call the vet.
Set up a 15-minute clean treatment station before you touch the foot
Gather everything first so you aren't holding a restless chicken while searching for supplies:
- Warm, not hot, water.
- Gloves, a clean towel, and clean or sterile gauze.
- A non-stick dressing and cohesive bandage material.
- Blunt scissors for removing the wrap.
- A small clean box or pen for recovery.
For a mild case, prepare a 10–15-minute warm-soak window. Test the water on the inside of your wrist. It should feel comfortably warm, never hot. Use a second person when possible. Stop if the bird struggles hard, the skin starts bleeding, or the lesion looks deeper than a surface scab.
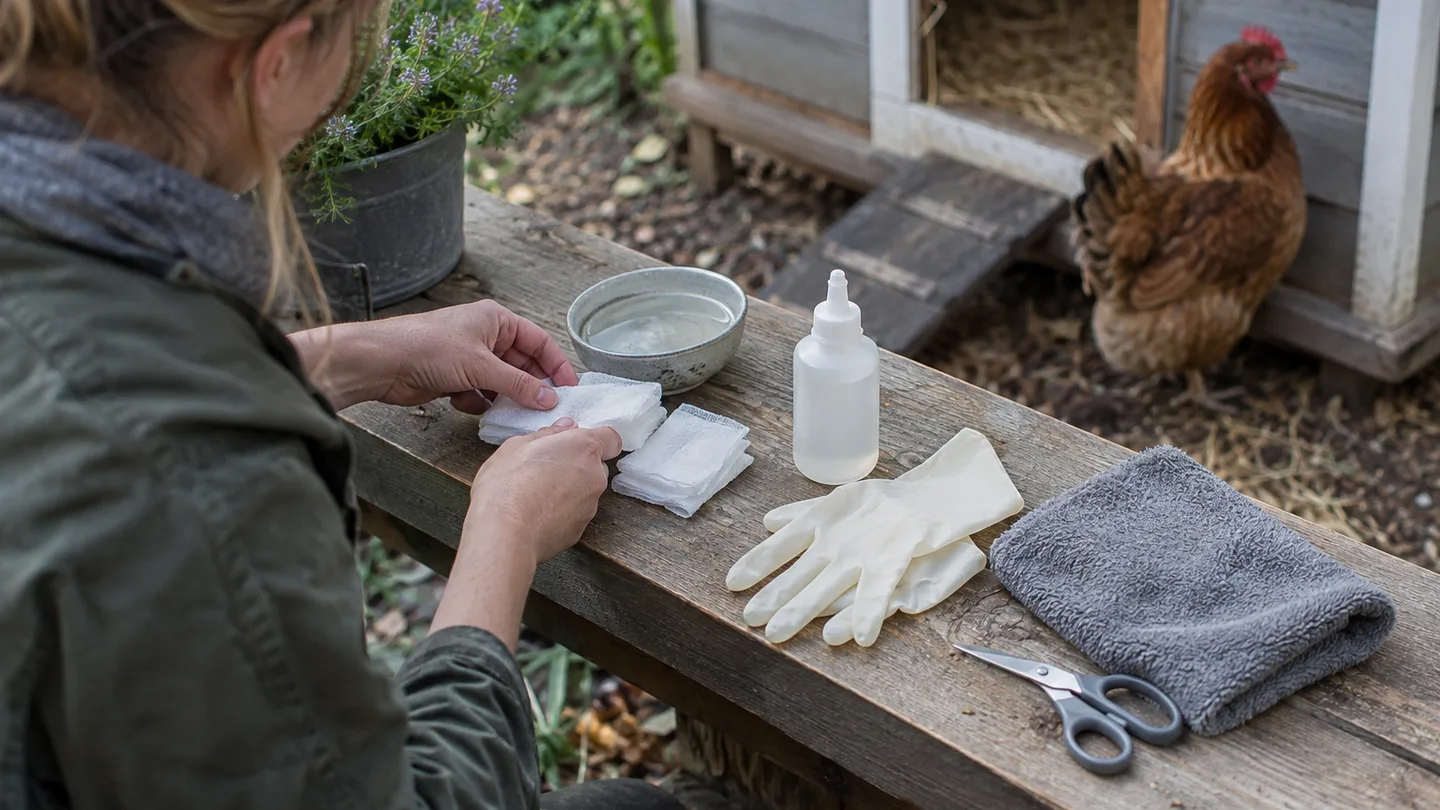
The safe home-care sequence for an early case: soak, dry, protect, recheck
- Soak for 10–15 minutes. Keep the affected foot in warm water long enough for surface dirt and crust to soften. Support the bird so it cannot slip or drink the soaking water.
- Dry completely. Pat the foot dry, including between the toes. Damp skin under a dressing is not the goal.
- Remove only what loosens. Wipe away debris that comes free with gentle pressure. Do not cut, dig, squeeze, or prise at a scab that is attached.
- Use a product only within its instructions. If a poultry-safe topical product has been recommended by your vet, use it exactly as the label or veterinary direction says. Don't improvise a dose or combine products.
- Cover the area. Place a clean non-stick dressing over the lesion, then add cohesive wrap snugly enough to stay put but loosely enough that it does not constrict the toes.
- Recheck at least every 24 hours. Replace the dressing sooner if it becomes wet, dirty, loose, or chewed.
Keep the first attempt modest. Home care is reasonable for a bird that is bright, eating, weight-bearing, and showing a small dry lesion. It is not a substitute for an examination when swelling, discharge, deep tissue, or whole-bird illness is present. Use the 48–72-hour checkpoint to judge the trend, not to delay care for a rapidly worsening foot.
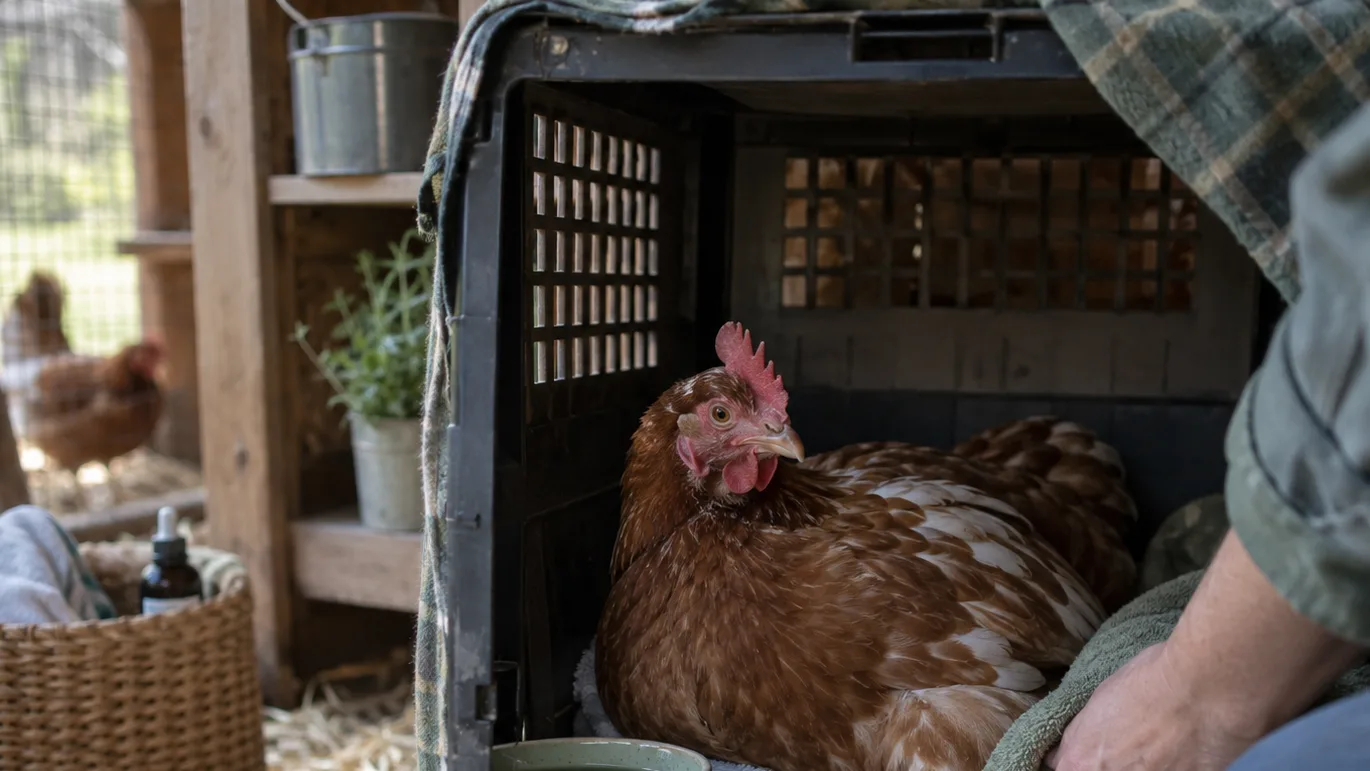
When the scab will not lift: why cutting, squeezing, and leftover antibiotics can make things worse
A stuck scab may be covering a deeper pocket of infected tissue. Forcing it off can create bleeding, tear healthy skin, and leave a larger wound exposed. Do not lance the pad, squeeze a swollen toe, apply human pain creams, or give leftover antibiotics without veterinary direction.
A veterinarian may need to examine deeper structures, decide whether a topical or systemic antimicrobial is appropriate, or advise on a procedure and culture. If medication is prescribed, follow the exact product instructions and ask about egg withdrawal. The same caution applies to any product you already have in the feed room. For a second reference point, consult veterinary guidance on avian pododermatitis and foot infections, then use the product label and current FDA guidance on animal drug labels and egg withdrawal for medication questions.
Bandage and isolation details that decide whether the foot heals
Keep the bird in a clean, dry recovery pen with easy access to feed and water. Use soft, non-abrasive bedding. Lower or remove a high jumping route while the foot is painful, and avoid rough roost edges. The aim is to prevent a fresh impact before the skin has settled.
At every dressing change, compare both feet. The wrapped toes should not become noticeably colder, paler, bluer, or more swollen than the other foot. Check that the wrap has not slipped into a narrow cord around one toe. A wet dressing, trapped droppings, a bad smell, or a wrap that is tightening is a reason to remove it and reassess rather than covering it with another layer.
Return the bird to the flock when it bears weight steadily, the protected wound stays dry, and swelling is not worsening. Watch the first few flock visits for pecking and competition at feed or water. If the bird cannot reach either without being pushed away, the recovery pen still needs to be part of the plan.
Prevention starts under the foot: perch edges, litter depth, mud, and landing height
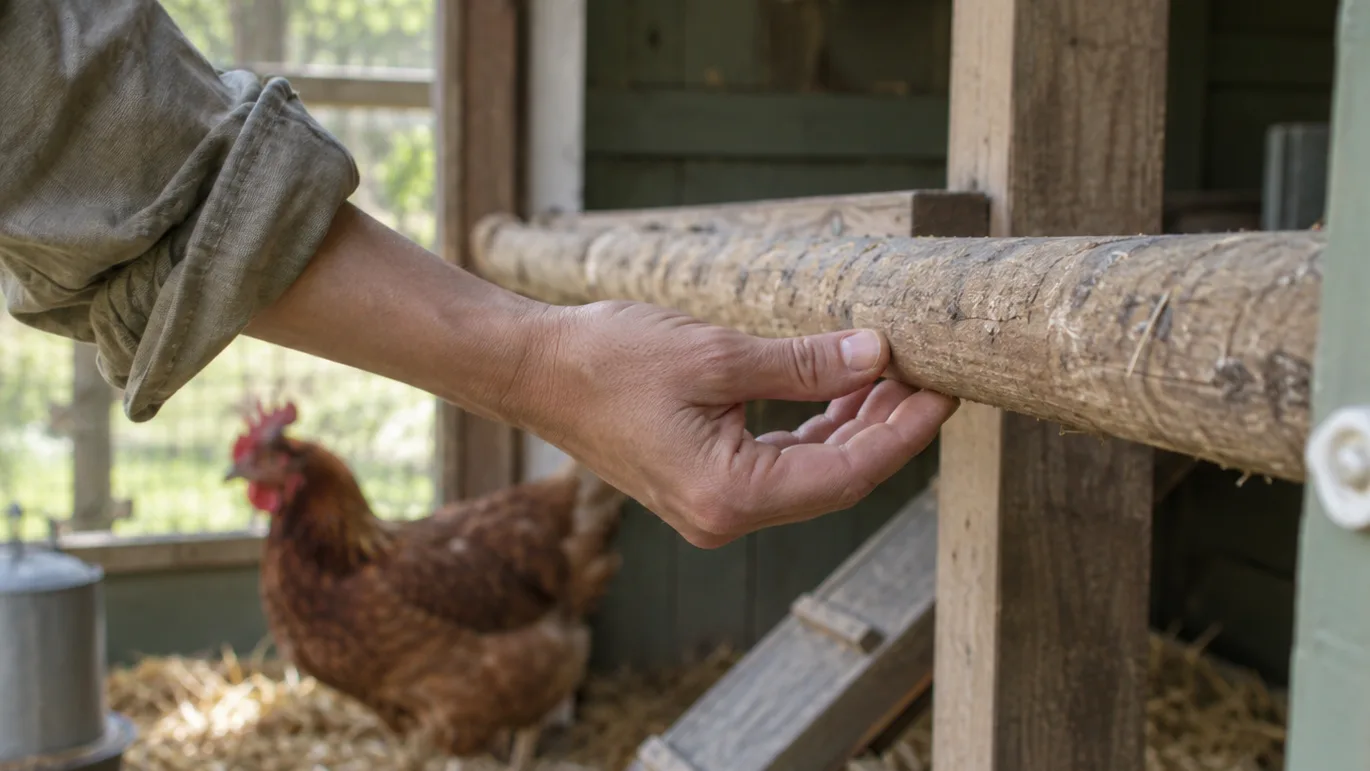
For most standard hens, I start with rounded perches about 2–3 inches wide. Heavier breeds often need roughly 3–4 inches of usable width so the foot can rest instead of gripping a narrow edge. The exact fit depends on the bird, but sharp corners and hard landings are poor compromises.
In high-traffic areas, begin with about 2–4 inches of dry, non-sharp bedding, then adjust it to your coop. Dry footing matters more than defending one perfect depth. Remove wet patches, cover sharp wire, smooth splintered boards, and fix muddy run entrances. Spilled water under a drinker deserves the same attention as a rough perch.
Use this inspection order: perch edges, landing zone, ramp, doorway, drinker area, then run surface. That order follows the places where repeated pressure, impact, moisture, and debris can meet. The same damp-spot logic in how to clean a chicken coop applies here. For material choices, compare your setup with best bedding for chicken coop guidance rather than choosing bedding by scent or appearance.
A 7-day decision log: what improvement looks like and when to book the vet
Once a bird is being treated, write down one short entry each day for seven days:
- Date and a quick photo from the same angle.
- Scab or wound appearance.
- Heat, swelling, discharge, or odour.
- Walking and weight-bearing.
- Appetite and activity.
- Whether the dressing stayed clean, dry, and secure.
Improvement means less heat or swelling, more normal walking, and a clean, dry protected wound. A darker scab by itself is not enough. Ask for veterinary advice sooner if the bird stops eating, cannot bear weight, develops spreading redness, has discharge or a foul smell, or becomes unusually quiet. If flock pecking becomes part of the problem, use the management steps in how to stop chickens pecking each other while the foot is protected.
Is bumblefoot contagious between chickens?
Usually, bumblefoot is an injury-and-infection problem rather than a contagious disease. Several birds can still develop it after sharing the same muddy, abrasive, or contaminated surface, so inspect the flock and the environment.
Can bumblefoot heal on its own?
A tiny superficial lesion may settle after the cause is removed and the foot stays clean and dry. Heat, swelling, pain, discharge, or lameness are reasons not to simply wait.
Are Epsom salt soaks safe for a chicken with bumblefoot?
A warm soak may soften surface debris, but Epsom salt is not a cure. Do not let the bird drink the solution, and avoid repeated soaking that leaves the skin soft and waterlogged.
Can you eat eggs from a hen with bumblefoot?
Bumblefoot itself does not automatically make eggs unsafe. Any medication is a separate question, so follow the product label or your veterinarian's egg-withdrawal instructions exactly.
Your next action this week: take a clear photo of the foot today, note whether the bird bears weight, and inspect the perch, landing zone, bedding, and run entrance before the next dressing change. That gives you both a treatment record and a realistic chance of removing the pressure or injury source.
Frequently Asked Questions
Is bumblefoot contagious between chickens?
Explain that bumblefoot is usually an injury-and-infection problem rather than a contagious disease, but shared dirty or abrasive surfaces can expose multiple birds to the same risk, so clean the environment and inspect the flock.
Can bumblefoot heal on its own?
A very small superficial lesion may improve when the cause is removed and the foot stays clean and dry, but swelling, heat, pain, or lameness are reasons not to simply wait.
Are Epsom salt soaks safe for a chicken with bumblefoot?
A warm soak can soften surface debris, but Epsom salt is not a cure; keep the bird from drinking the solution and avoid repeated soaking that leaves the skin macerated.
Can you eat eggs from a hen with bumblefoot?
Bumblefoot itself does not automatically make eggs unsafe, but any medication requires following the product label or veterinarian's egg-withdrawal instructions exactly.