How to Clean a Chicken Coop: The 30-Minute Weekly Routine
Thirty minutes is enough for how to clean a chicken coop when your flock is three to six hens and you have kept up with small daily touch-ups. The honest part is knowing what that timer covers.
That number assumes a routinely maintained small coop. With seven to twelve hens, damp weather, caked litter, or a leaking roof, plan on 45–60 minutes instead. The extra time is not a failure. It means the mess has moved beyond a quick weekly reset.
This routine covers the weekly dry clean, not a full empty-and-wash job. You will remove fresh manure, wet bedding, fouled nest material, and dirty equipment, then leave the coop dry and ready for the night.
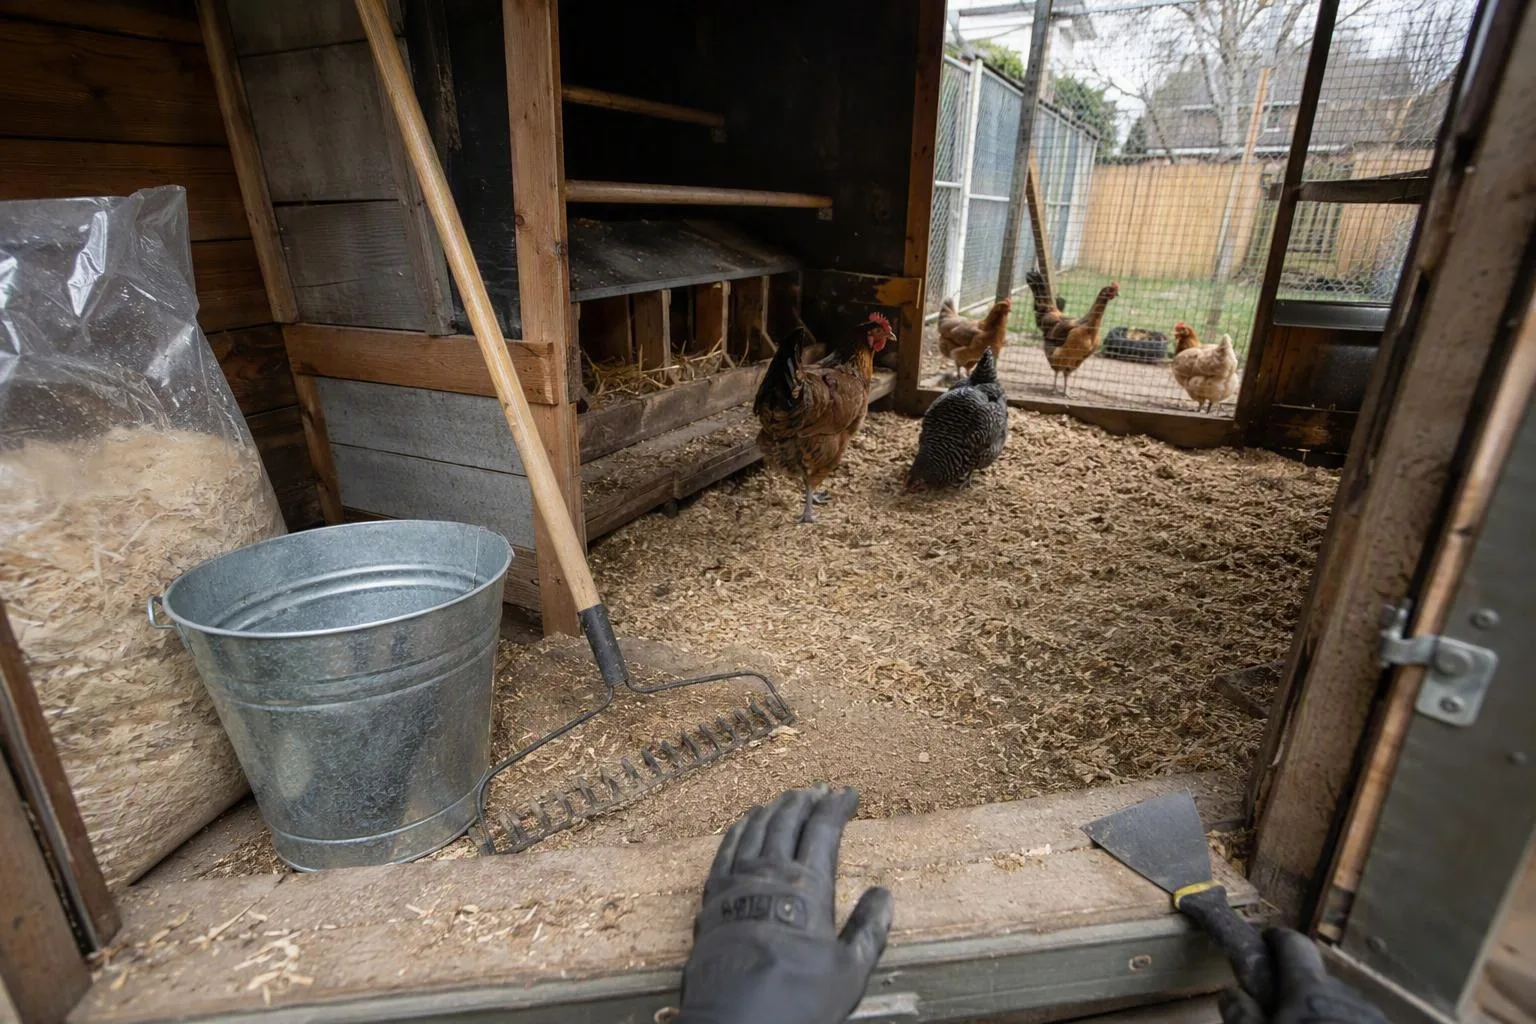
Before the 30-minute timer: define the job for 3–12 hens
The weekly clean sits between two smaller jobs. Give each job its own name, or you will either over-clean every week or let a repair wait too long.
- Daily spot removal: Lift obvious wet clumps and manure-heavy patches, especially under the roost and around the drinker.
- Weekly dry clean: Scrape, brush, remove fouled material, wash removable equipment, add dry bedding, and inspect the structure.
- Deep clean: Empty the coop when wetness, odor, mold, parasites, or a repair problem has made the weekly reset inadequate.
Set out your chicken coop cleaning supplies before you fetch the birds. You need gloves, a dust mask, a scraper, a stiff brush, a bucket or waste bag, fresh bedding, and a clean feeder and waterer. Put everything by the coop door. A missing scraper is how a short job turns into repeated trips to the shed.
- Use a scraper that fits the edge of the droppings board.
- Choose a stiff brush for roost brackets and floor seams.
- Keep a separate waste container outside the coop.
- Have clean water available for the feeder and waterer.
Move your birds to a secure run first. Open the coop vents or doors so dust can leave, and put on your mask before disturbing dry manure or dusty bedding. Keep feed and drinking equipment away from the waste pile. Never mix bleach with ammonia, and do not return birds to a surface that is still wet with wash water or cleaning product.
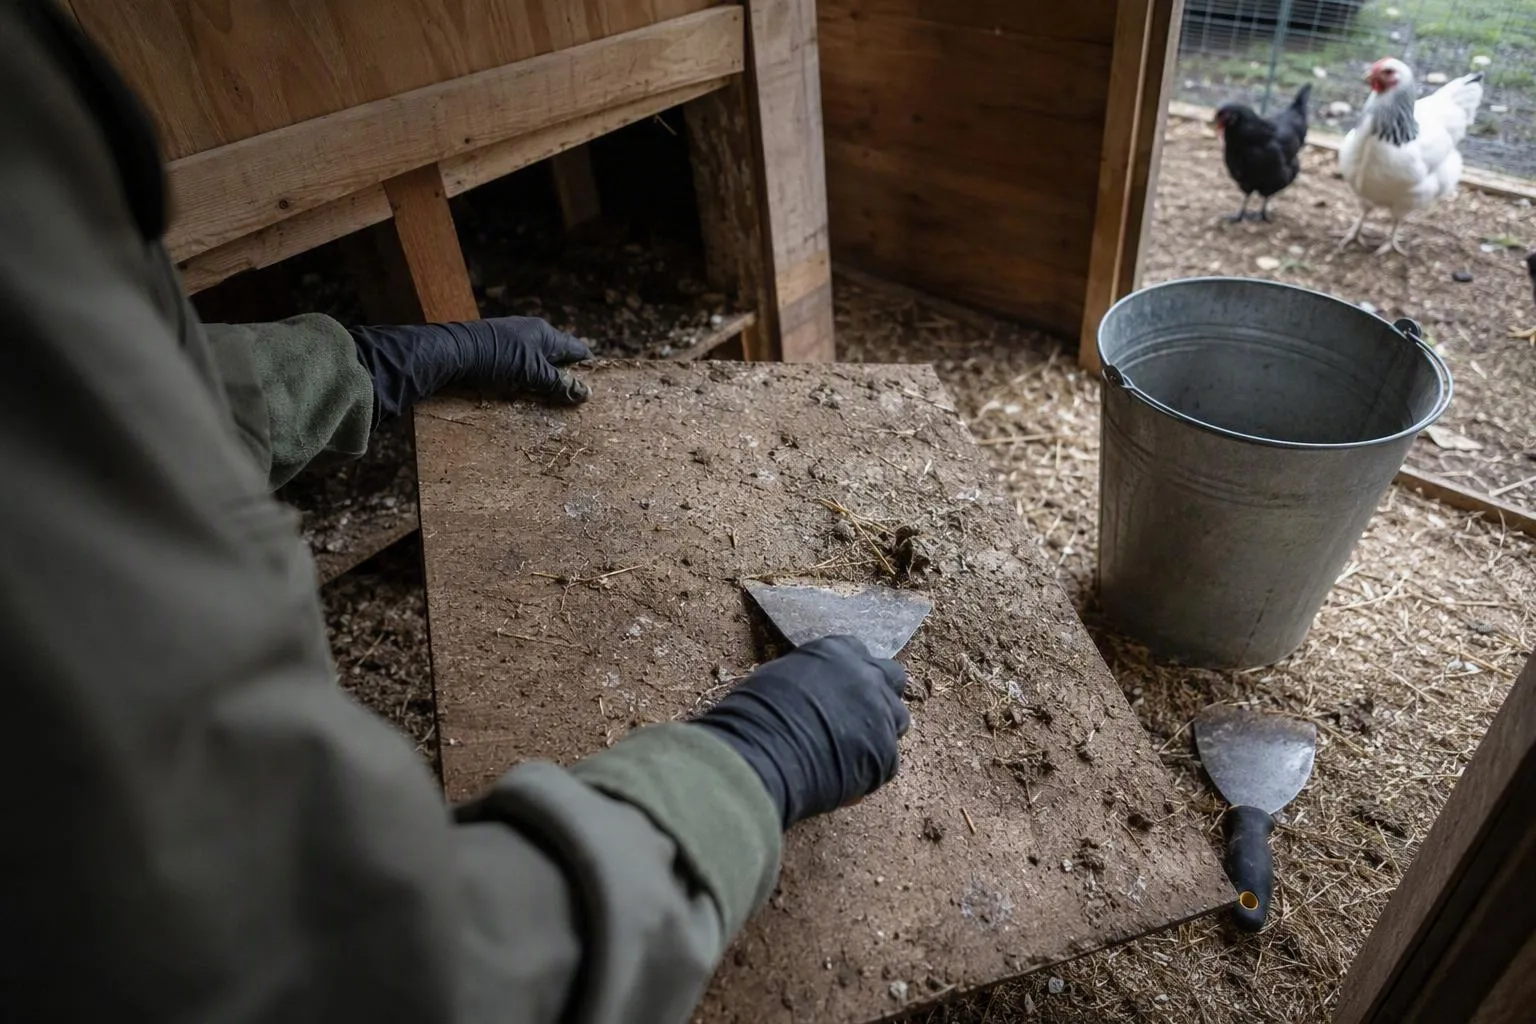
In my backyard-scale routine, the droppings board is the first checkpoint. I pull it out, set the scraper and lined bucket beside the open door, and work from the roost supports down. The mistake I avoid is starting with a hose: wet manure smears into floor seams and creates a wash-and-dry job instead of a scrape-and-replace job. If the board is caked rather than lightly coated, I stop calling it a 30-minute clean.
For a second safety check, compare your plan with USDA APHIS backyard poultry biosecurity guidance. It is useful to have a written hygiene reference when you are dealing with more than ordinary litter.
Minute by minute: the dry-first weekly clean
Set a phone timer, but treat the minutes as a checking order rather than a race. If one step reveals a leak, mold, or a soaked floor, stop chasing the clock and move to the deep-clean plan below.
Dry scraping comes first because water turns droppings into paste. Paste spreads into cracks, sticks to tools, and needs drying time. Removing the bulk while it is dry keeps the weekly chicken coop cleaning routine short.
- Minutes 0–3: move birds and collect eggs. Put your birds in the run before you open the bedding bag or scrape the roost. Collect eggs, secure the run gate, and leave the coop ventilated. You should not be working around feet and feathers while carrying a full waste bucket.
- Minutes 3–10: scrape high surfaces first. Start with the roost, roost brackets, and droppings board. Work from top to bottom so falling material lands on a surface you have not cleaned yet. Scrape into the bucket or waste bag. Use the stiff brush only after the thick layer is gone.
- Minutes 10–17: remove damp or caked bedding. Lift wet patches from the floor, including the edges where a drinker may have splashed. Scrape the floor seam if material has stuck there. Do not bury a wet clump under fresh bedding. That hides the source and lets moisture remain against the floor.
- Minutes 17–22: reset the nest boxes. Remove nest material with droppings, broken eggs, or damp spots. Brush the corners and the lip of each box. If the box is dry and clean, you do not need to strip usable bedding merely because the calendar says Friday.
- Minutes 22–27: clean equipment outside. Empty the feeder and waterer outside the coop. Wash them, rinse them, and set them upside down to drain. Outside cleaning keeps splashed dirty water away from the newly scraped floor. If feed is damp or moldy, discard it rather than mixing it back into fresh feed.
- Minutes 27–30: add bedding and inspect. Put fresh, dry bedding on the floor and in the nest boxes. Return the clean equipment. Check that vents are open but protected from rain, then look at the latch, wire, floor edges, and exposed sharp points. Good chicken coop ventilation matters because air movement has to remove moisture without creating a direct cold draft on roosting birds.
A visibly contaminated spot is the exception to the dry-first rule. Spot-wash that area with a product suitable for animal housing, follow the label for dilution and rinsing, and keep the birds out until the surface is dry. Do not hose the entire coop just because one corner needs attention.
If you finish early, use the remaining minutes to look under the roost and behind the nest boxes. That is a better use of time than adding another handful of bedding to an already dry floor. Save the timed list as your chicken coop cleaning checklist.
Bedding and wash-water numbers that keep the coop dry
For a solid floor, my working bedding depth is about 2–4 inches of dry material. That gives you a cushion for manure without making wet spots impossible to find. A thin scatter leaves droppings on the floor. A very deep layer can hide a leaking drinker until the odor or dampness is obvious.
In each nest box, use roughly 2–3 inches of clean bedding. The material should support an egg without exposing the hard box underneath. Replace fouled nest material as soon as you see it. Do not wait for the next weekly clean if a wet clump appears on Tuesday.
Refresh drinking water daily. Scrub waterers at least weekly, and move to every 2–3 days during hot or humid weather. If you see slime, a green film, feed dust, or a musty smell before that interval, clean the waterer early. Clean feeders weekly, or immediately if feed becomes damp or moldy.
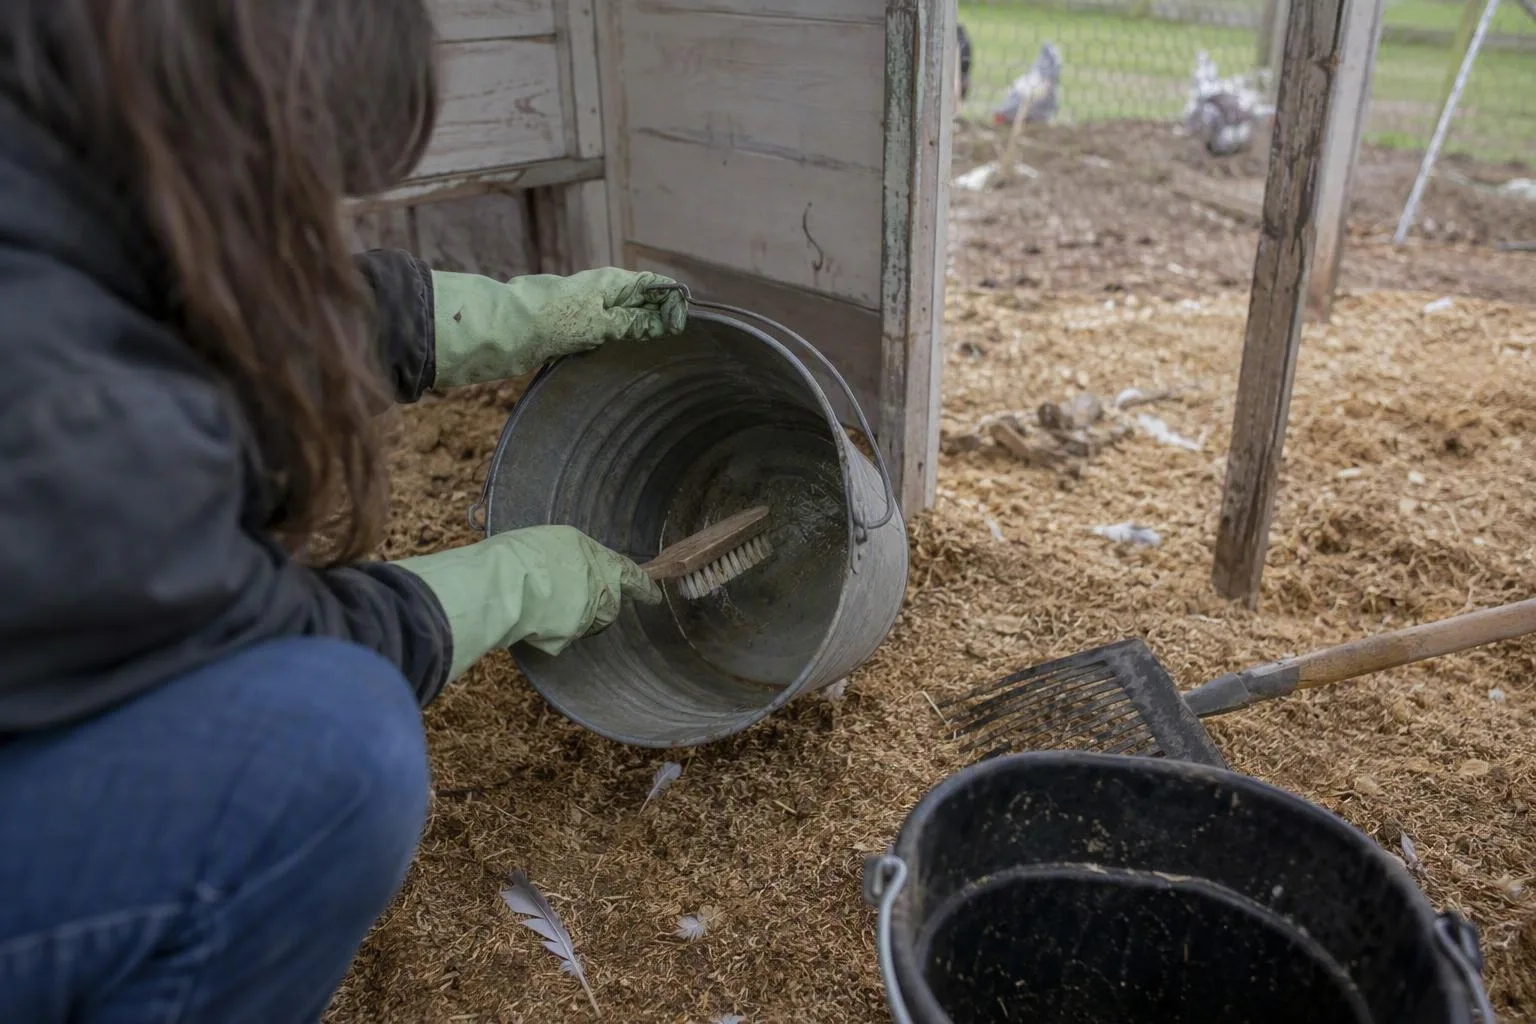
Use a clean-then-disinfect order. First remove manure and bedding. Next wash with soap or detergent and water, then rinse away the loosened grime. Apply a suitable disinfectant at the dilution and contact time on its label. Rinse afterward if the label requires it, and let the equipment and coop surfaces dry completely before the birds return.
Soap and vinegar can remove grime or reduce some surface residue, but neither is automatically a disinfectant for every poultry-housing problem. Do not guess at a stronger mixture. Product formulas and required contact times differ. For another product check, look at EPA guidance on registered disinfectants for animal housing and then follow the label on the product you actually have.
When the weekly routine fails: deep-clean triggers and health checks
The weekly routine is on track when the floor stays dry, the air is neutral at bird-head height, and the coop has no recurring fouled corner. Your nose should not be pressed close to the floor to find a problem. Check the air where your birds breathe.
- A wet patch returns within 24 hours of removal.
- You smell ammonia at bird-head height.
- You see mold, a leaking roof, damaged flooring, or persistent dust.
- Bedding keeps becoming damp around the drinker or along one wall.
- You find signs of red mites, lice, or another parasite problem.
Any one of these triggers a longer clean and a search for the source. Empty the coop, remove all bedding, dry-scrape the structure, wash it, rinse as required, apply a label-directed disinfectant if appropriate, and let everything dry. Repair the roof, floor, drinker position, or ventilation problem before adding fresh bedding. Otherwise, you will clean the same wet patch again next week.
For a dry, low-density backyard coop holding about three to six hens, use 2–4 full empty-and-wash cleanings per year as a planning range. It is a calendar starting point, not a rule. Humid weather, seven to twelve hens, poor ventilation, or repeated dampness can shorten the interval. A coop that stays dry may need fewer full washes than one with a leaky roof, even if both house the same number of birds.
My judgment call is to repair the moisture source before reaching for a stronger cleaner. Cleaner can remove residue. It cannot stop rain entering through a roof seam or prevent a drinker from tipping at night. A dry coop solves more of the recurring problem than a stronger-smelling chemical.
Red mites and lice need a parasite plan as well as a clean housing surface. Washing removes soiling, but parasites may remain on birds or in housing cracks. Use a species-appropriate treatment exactly as its label directs, and follow the label about treating the housing, the birds, repeat applications, egg use, and re-entry. Do not improvise a dose or substitute a dog or cat flea product. Start with this chicken mites treatment guide if you need a symptom-to-cause check.
Cleaning is not a diagnosis. Respiratory distress, bloody diarrhea, continuing weight loss, several sick birds, or sudden unexplained losses are reasons to contact an avian veterinarian or local extension office. Keep the affected bird or birds in a clean, safe space while you make that call, and do not rely on a disinfectant to explain or fix a flock-wide illness.
This week, put one 30-minute block on your calendar for the day after your busiest coop-use day. Stage the gloves, mask, scraper, brush, bucket, bedding, feeder, and waterer before you start. If you plan to use removed bedding in the garden, read about chicken manure compost before spreading it. A clean coop is easier to maintain when the waste has a place to go, the floor can dry, and your next check is already scheduled.