Chicken Mites Treatment: What to Clean, Treat, and Repeat
A coop can look clean at noon and still hide red mites in a roost joint by night. Effective chicken mites treatment is a loop, not one spray: confirm the pest, clean the birds' routes and hiding places, use a product labeled for its exact use, and repeat on the label's schedule. The order matters because a bird-side problem and a coop-side reservoir can keep feeding each other.
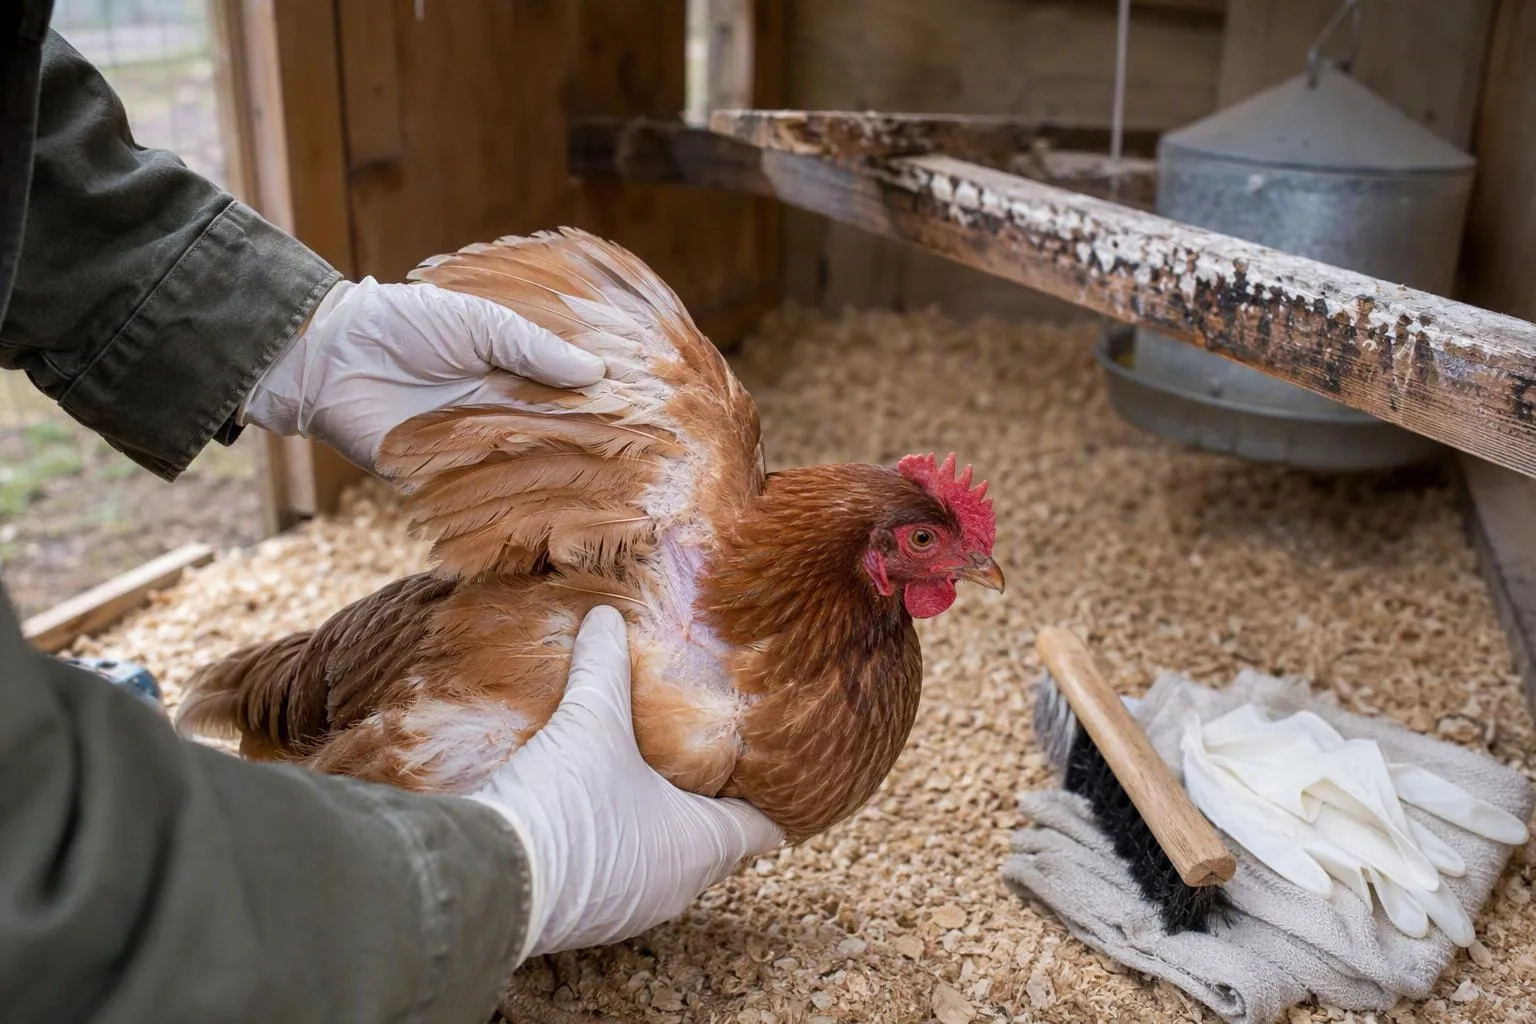
First, prove it’s mites—not lice, scaly-leg mites, or another problem
Restlessness, broken feathers around the vent, reduced laying, scratching, or a pale comb justify an inspection, but none identifies mites by itself. Irritation, molt, nutrition, heat, injury, and other illness can produce overlapping signs.
Check feather shafts for insects or pale egg clusters stuck to the feathers if lice are possible. Scaly-leg mites point you toward thickened, lifted leg scales and crust rather than pepper-like specks at a roost joint. These are clues, not a diagnosis.
Continue with a mite inspection if you find moving specks, dark smears in roost seams, or a bird repeatedly picking at the vent. If you find only a pale comb, weight loss, or breathing trouble, keep broader causes in view and don’t let a mite treatment delay veterinary help.
A 10-minute inspection finds where the mites are feeding and hiding
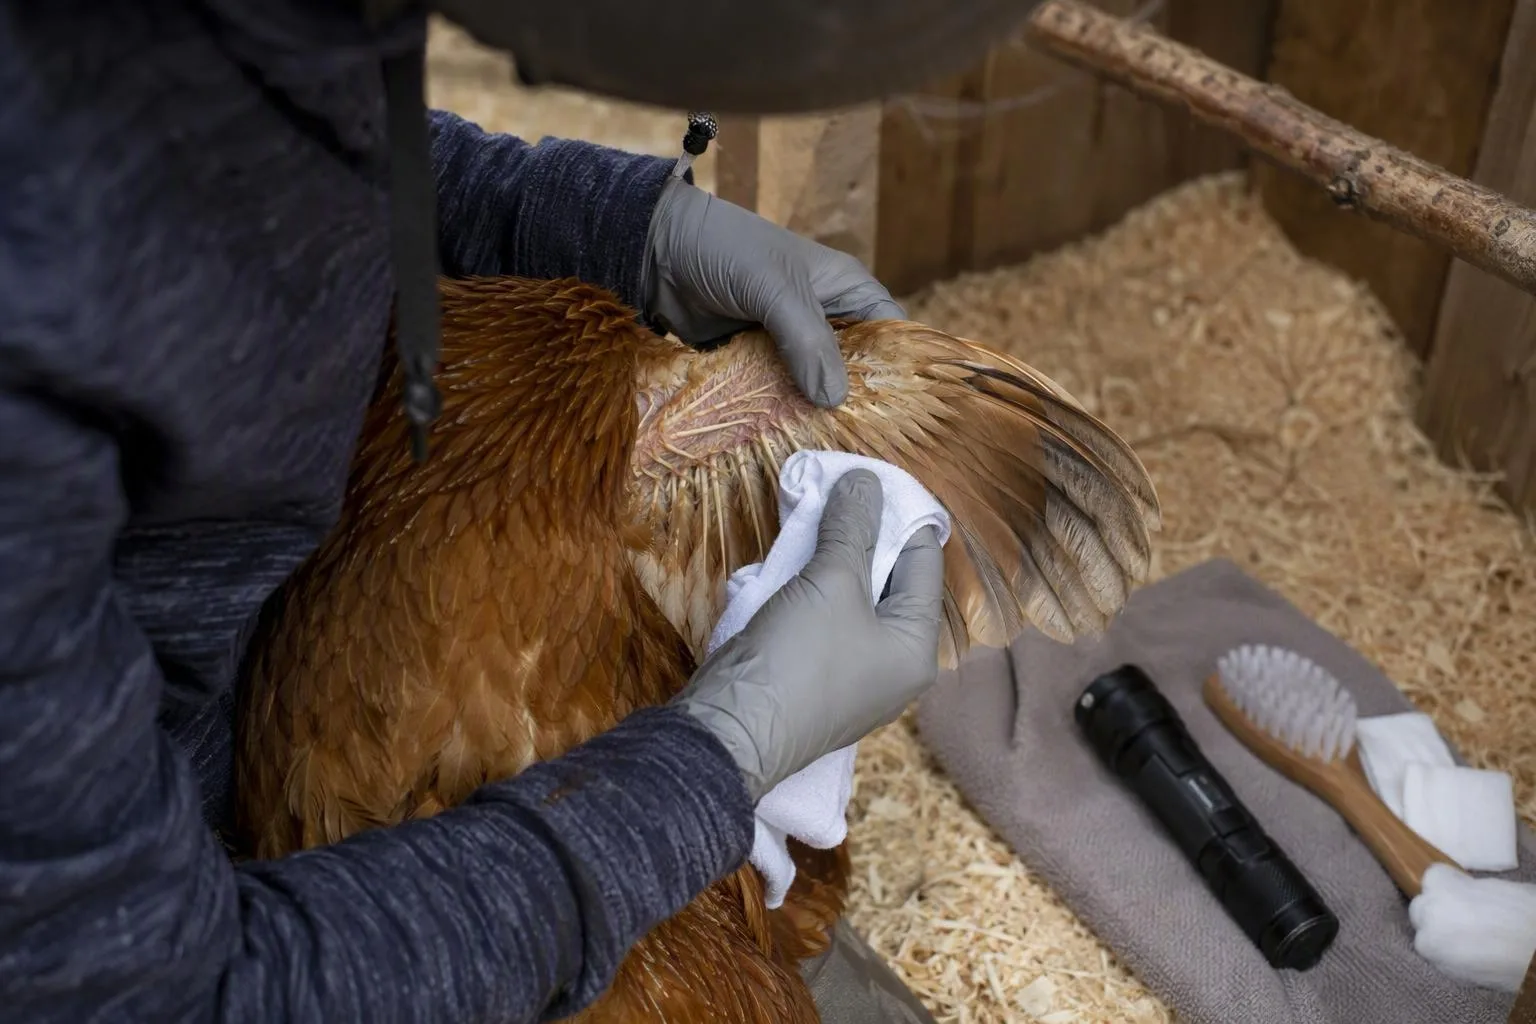
Set out gloves, a flashlight, a white cloth or paper towel, and a strip of clear tape. Set a ten-minute timer for the first pass. In a small flock, check every bird; one quiet bird doesn’t clear its companions or the housing.
- Start in daylight. Part feathers around the vent, under the wings, breast, and neck. Look at skin as well as feathers. Note moving dots, crust, redness, broken feathers, and scratches.
- Save a suspicious speck. Use clear tape to lift it if you need to compare it later or show it to a veterinarian.
- Return after roosting. Sweep the flashlight along the underside of roosts, end grain, brackets, nest-box corners, and wall gaps.
- Sample a seam. A folded cloth works as a contained sample: place it under one roost end, scrape the seam once, and fold the dirty side inward to keep a suspected speck out of the litter.
Bird-side findings put exposed hosts first; coop-side findings put hiding places first. If both are positive, plan for both. In a five-hen example, no daytime specks but moving pepper-like dots on a cloth under a roost end after dark point toward a red-mite-style housing reservoir, not a clean bill of health.
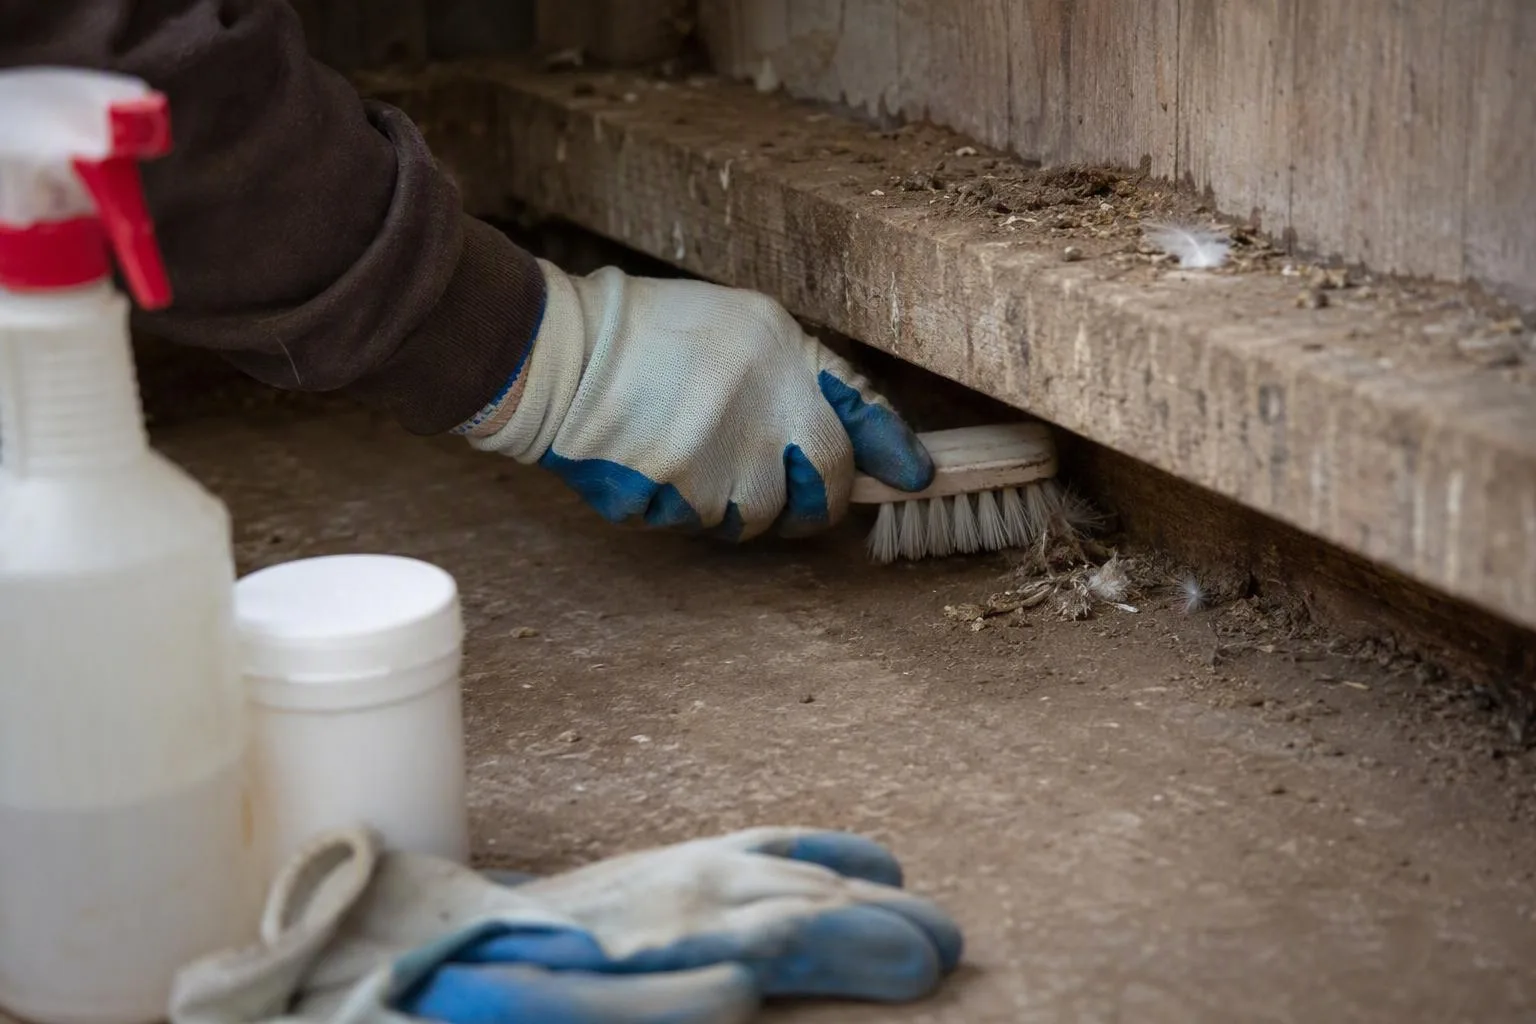
Strip, scrub, dry: the coop-cleaning order that stops you chasing mites
Strip the coop before you scrub. Move birds to a dry, secure temporary pen; chicken coop predator protection still matters during cleaning. Bag old bedding and nest material before carrying it away, and don’t shake it beside the run. Remove feeders, drinkers, roosts, mats, and removable nest parts.
- Scrape manure and packed dirt from roost ends, joints, hinges, and nest-box corners.
- Work into wall cracks and screw holes where a brush can reach.
- Wash with a detergent suited to the surface, rinse as directed, and let everything dry.
- Apply a product labeled for that coop surface and pest, if the label calls for it.
- Ventilate and follow the label’s drying or re-entry instructions before replacing bedding or birds.
A tidy-looking coop can still shelter mites in narrow, dark seams. Cleaning helps expose those refuges; it isn’t a treatment for mites living on birds.
Treat every exposed bird with a product labeled for that use
Choose the bird treatment by label, not by an active ingredient name alone. Confirm that it names chickens, the formulation, the application site, age or class restrictions, and use on laying birds. Follow its dose, protective equipment, and repeat directions exactly. An unknown product cannot be given a safe dose in a general article.
Don’t mix products. Don’t substitute dog or cat flea medicine, livestock pour-ons, household insecticide, or a garden spray. Species, concentration, application site, residues, and egg restrictions can differ even when two products seem aimed at parasites.
Essential oils may smell strong, but scent isn’t a control plan. The practical standard is a product labeled for your birds or a veterinarian’s direction. An off-label option belongs in a vet conversation, especially for a weak bird, a young flock, or eggs you intend to eat.
Repeat on the label’s schedule, then recheck before you declare victory
One application can miss mites in protected seams, immature stages, or birds that weren’t handled. That’s why the label’s repeat interval matters. Don’t turn a monitoring visit into an automatic reapplication.
During an active problem, a practical monitoring rhythm is checking every three to seven days. Inspect the same vent areas and roost joints, and write down whether findings are moving, fading, or absent. Reapply only when the current product label says to. Treating sooner or more often than directed can increase exposure and create egg-residue questions.
Red mites and northern fowl mites need different attention
Red mites and northern fowl mites change where you spend your effort. Use this comparison as a checking order, not as a substitute for identification.
| Clue | Red-mite pattern | Northern-fowl-mite pattern |
|---|---|---|
| Where to look | Roost cracks and joints by day; birds after dark | On the bird, especially around the vent and feather bases |
| What you may find | Dark or gray moving specks in seams or on a cloth | Specks, crust, or dirty-looking feather bases around the vent |
| Control emphasis | Night inspection, roost ends, wall gaps, and labeled bird treatment | Hands-on inspection of every bird and labeled bird treatment, plus housing cleanup |
For a second reference, compare your notes with veterinary reference guidance on red mites, northern fowl mites, and other poultry ectoparasites. An uncertain result, marked infestation, or no improvement after a label-compliant cycle is a reason to ask a veterinarian or local extension office.
Reset the places that quietly re-seed the flock
After the first clean, reset roost ends, screw holes, nest-box corners, wall gaps, removable equipment, old dust-bath material, and bedding stored beside the coop. Clean shared brushes, scrapers, crates, and gloves before they visit another enclosure.
Seal accessible cracks after surfaces are dry, but leave intentional ventilation open. Keep litter dry and replace wet patches. These steps reduce hiding and transfer routes; sanitation alone can’t promise a cure if mites remain on birds or in an untreated seam.
Treat the flock as a unit without spreading mites while you work
Treat a small flock as one working unit even if one hen looks worst. Handle the least affected birds first, then the more affected ones, and change or clean gloves and tools between groups. Contaminated hands and equipment can move mites from a bird or seam to the next bird.
Isolation can stop pecking and make observation easier, but it doesn’t clear a bird if it returns to a shared infested coop. Check new birds during quarantine before adding them; this is a routine safeguard in raising backyard chickens, not just a mite response.
Keep eggs, people, and treated surfaces inside the label rules
Egg and meat withdrawal, gloves or other personal protective equipment, ventilation, drying time, and surface restrictions belong to the current product label or a veterinarian’s written direction.
Never guess an egg waiting period. Never put a coop-only product on a bird, and don’t return birds while a treated surface is wet or outside the stated re-entry conditions. If the label is missing or unreadable, pause and identify the exact product before treating.
Extension guidance on integrated mite control and sanitation in small-flock housing can help you compare a product plan with a cleaning plan, but it doesn’t replace the label.
Escalate when a bird is weak, pale, or still declining
Get veterinary help promptly for marked weakness, collapse, significant weight loss, a very pale comb, breathing difficulty, open wounds, a chick or other vulnerable bird that is declining, or continued decline after a label-compliant cycle. A pale comb may accompany blood loss, but it can also signal another problem.
Take the product name and label, dates and amounts used, photos of the vent and roost findings, and a fresh weight if you can obtain one without stressing the bird. A mite diagnosis may not explain every sign.
Keep a seven-day mite log until the flock stays clear
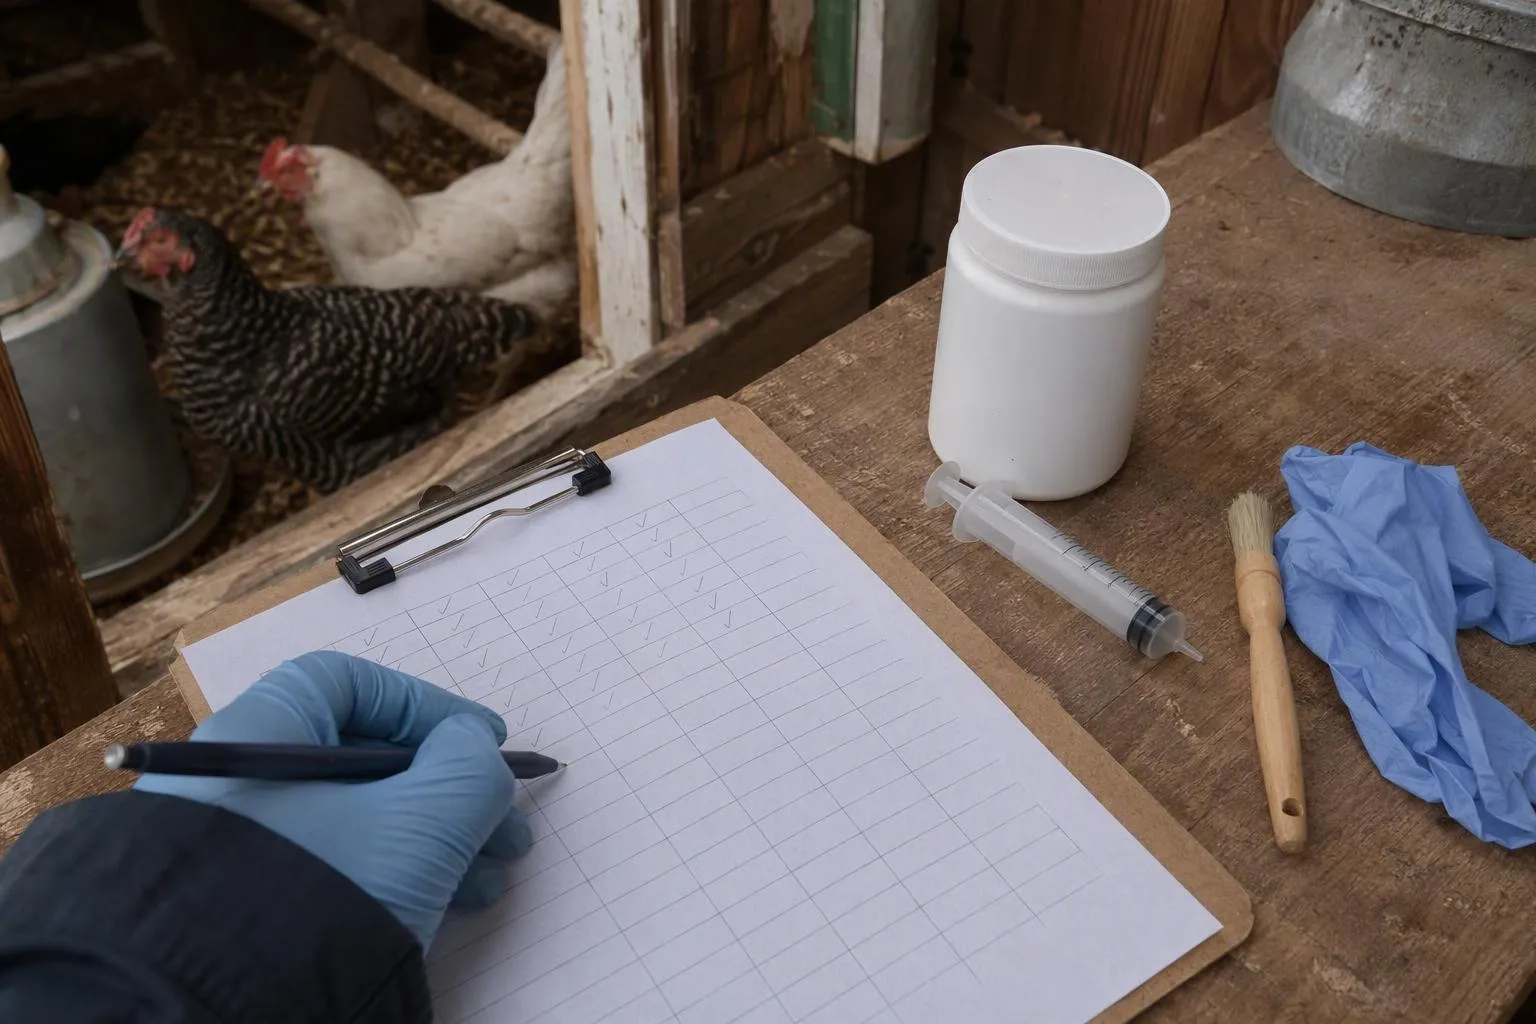
A log turns a vague worry into a repeatable check. Use one line per bird:
- Date and bird ID.
- Vent, under-wing, and feather-base findings.
- Roost-seam result and whether the check was in daylight or after dark.
- Behavior, weight notes, and laying pattern.
- Product used, exact label interval, and next inspection date.
Several clean checks under the same conditions are more useful than one quiet day. Once the flock stays clear through the planned cycle, return to a routine weekly glance at birds and roost joints. After a new bird, shared crate, or sudden sign, restart the closer checks.
Three quick questions
Does diatomaceous earth get rid of chicken mites?
Diatomaceous earth is a fine dust, and airborne dust can irritate eyes and airways. The practical call here is to treat it, at most, as a limited aid, not a stand-alone chicken mites treatment. It can’t replace checking birds, cleaning seams, and following a labeled product.
Can you use dog or cat flea medicine on chickens?
Don’t self-prescribe or substitute it. Species approval, formulation, application site, residues, and egg withdrawal rules can differ. Use a poultry-labeled product or ask a veterinarian about any off-label option.
Can chicken mites live in your house?
Some poultry mites may bite people or remain temporarily in nearby clothing and surfaces while the bird or coop source persists. Start control with the flock and housing. Persistent human bites belong with a medical professional or pest-control adviser, especially if the source is unclear.
This week, set out gloves, a white cloth, and a flashlight for the after-dark roost check, then start the log before applying anything. If the check is positive, clean the housing and read the exact bird and surface labels before choosing a treatment. Before using a temporary pen, review chicken coop predator protection so the mite clean doesn’t create a new housing gap.
Frequently Asked Questions
Does diatomaceous earth get rid of chicken mites?
Explain that it should not be treated as a reliable stand-alone cure, that dust can irritate eyes and airways, and that any use must follow the product label while the main plan addresses both birds and hiding places.
Can you use dog or cat flea medicine on chickens?
Advise against self-prescribing or substituting products because species approval, formulation, residues, and egg withdrawal rules differ; use a poultry-labeled product or ask a veterinarian.
Can chicken mites live in your house?
Explain that some poultry mites may bite people or remain temporarily in nearby clothing and surfaces while the bird or coop source persists, so control starts with the flock and housing and persistent human bites need medical or pest-control advice.