Chicken Coop Insulation: Do Your Hens Need It in Winter?
Most healthy, fully feathered adult hens don’t need an insulated coop. In a typical backyard setup, dry bedding, fresh air above the roost, and no cold draft blowing across sleeping birds matter more than warmer walls. The freezing point of water, 32°F (0°C), isn’t a universal trigger to add insulation; the birds’ age, health, breed, acclimation, and exposure all change the call.
Insulation slows heat moving through a wall or roof. It doesn’t make heat. Before buying materials, work out whether your coop has a cold problem, a dampness problem, or a leak that insulation could hide.
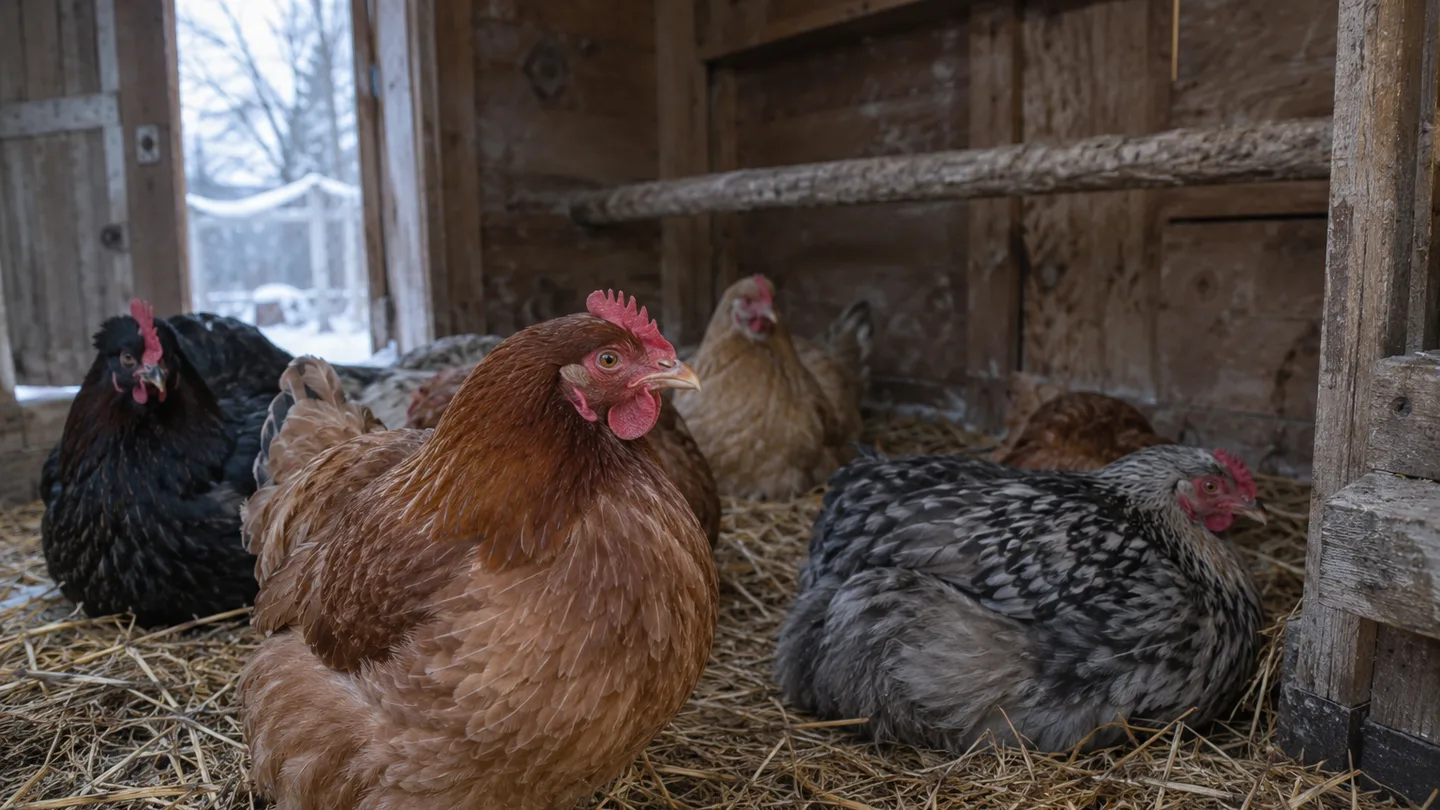
The short answer: most healthy adult hens don't need an insulated coop
A sound, dry coop with air moving out high up and no direct draft at roost level is a reasonable winter setup for many adult hens already accustomed to local weather. That’s not a promise for every bird or every climate. A small, thin-feathered bird, an older hen in poor condition, or a bird that has been moved suddenly from a warm indoor space may need closer attention than a healthy, acclimated bird.
Think of insulation as one part of the building, not a heater. It can slow heat loss, but a small coop with little internal warmth may still become nearly as cold as outside during a long cold spell. And if moisture can’t escape, warmer air inside can meet a cold surface and leave condensation behind. That dampness is not a useful trade for a slightly warmer thermometer reading.
My judgment for a small flock is to fix dryness and airflow before spending money on insulated panels. Insulation can be worth considering where cold is severe or prolonged and the building’s walls or roof lose heat quickly. But it’s a poor first fix for wet litter, a roof leak, or air blowing straight onto the birds.
Keep insulation and supplemental heat separate in your thinking. Insulation slows heat transfer; a heater adds heat and brings its own fire and electrical risks. If you’re weighing a heater, use the separate guide to do chickens need heat in winter to work through that decision rather than treating insulation as a substitute.
Read the exposure, not just the thermometer
For a practical check, note the outdoor temperature and the temperature at roost height on three cold nights. The three-night check is a troubleshooting habit, not a magic threshold: it helps you notice whether conditions are briefly uncomfortable or repeatedly cold and damp where your birds sleep. Also look at the coop first thing in the morning, before bedding has had time to dry out.
Take a hypothetical six-hen flock in a small wooden coop. On three cold mornings, the keeper finds a dry floor and no condensation, but notices air moving across the roost and a gap at the door. That points to a repair and roost-layout problem before it points to insulation. In a second coop, the roost is sheltered but the roof underside is wet and the litter stays damp. Closing vents or covering the walls could make that moisture problem harder to see and manage.
Watch the birds as well as the building. Persistent tight huddling, reluctance to leave the roost, or a bird that seems weak or unusually inactive deserves attention, especially if it continues after you correct an obvious draft or wet patch. Chicks, sick or underweight birds, and birds with prominent, exposed combs merit extra care in cold conditions. If you see suspected frostbite, breathing trouble, or a bird that is not eating or drinking normally, contact a poultry veterinarian or local extension office for advice. Don’t assume insulation will treat an unwell bird.
A short dip below freezing is not the same exposure as cold that lasts for days alongside damp bedding or moving air at bird height. The thermometer gives context; the combination of duration, moisture, airflow, and the bird’s condition guides the response.
Ventilation comes first: move moisture out without a draft across the roost
Your coop needs an intentional route for damp air to leave. High-level openings can let warm, moisture-laden air escape, while the roost should sit away from a direct stream of cold air. The goal isn’t to seal every opening. It’s to avoid placing sleeping birds in the path of incoming air while keeping the coop from becoming a closed, damp box.
During your three-night check, look for droplets on the roof or walls, litter that feels damp rather than merely soiled, and a strong ammonia smell. Those are reasons to inspect moisture sources and airflow. To check for a draft, hold a narrow strip of tissue or light ribbon near the roost while the birds are settled. If it moves steadily at bird height, trace the airflow back to a gap or opening. Don’t block a high vent just because the air outside is cold.
That simple check can prevent a common wrong turn: feeling cold air near a vent, then sealing it and leaving the coop humid. Cold air at a high opening isn’t automatically a draft on the roost. A direct current across the birds is the problem to solve; stale, damp air needs an exit. For a fuller layout discussion, see chicken coop ventilation.
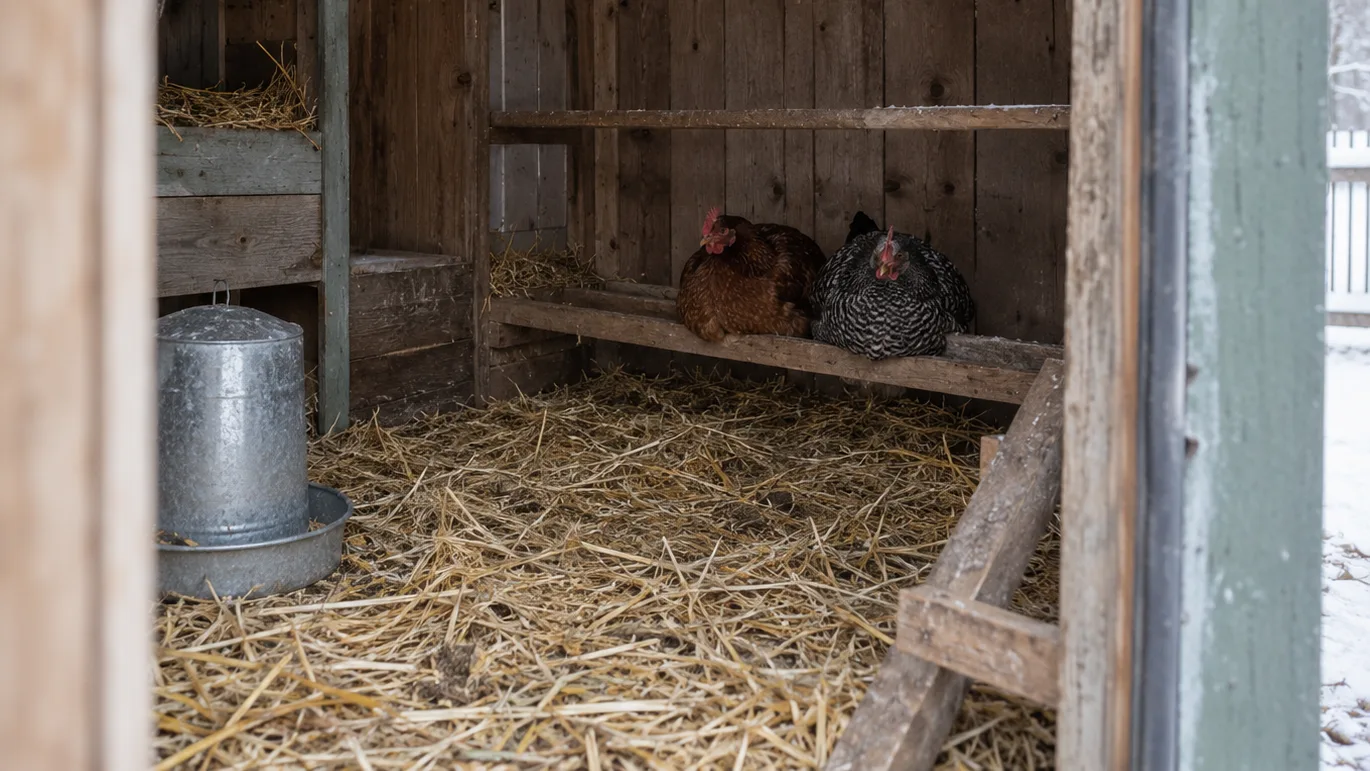
If you can’t tell whether an opening is helping or creating a draft, observe the tissue at several spots and heights, then adjust the roost or shield the direct path without closing every route for air exchange. Check the change on another cold night. A warmer reading alone doesn’t prove the setup improved if the roof is now wet or the litter is staying damp.
Insulation materials belong behind a sealed, inspectable surface
If the building and local conditions make insulation worthwhile, choose a system you can install safely and inspect later. Rigid foam board is comparatively easy to cut to a wall cavity, but exposed edges and faces can be pecked or damaged. Fibrous batts need to stay dry and contained; loose fibers and accessible material don’t belong where hens can reach them. An uninsulated wall avoids those retrofit risks and may be the sensible choice in a mild climate with a dry, well-built coop.
The practical requirement is less about picking a universally “best” material and more about keeping the material protected. Cover insulation with a durable, cleanable surface that birds can’t pull apart. Seal gaps where pests could enter or nest, while keeping required ventilation openings clear. Once the covering is installed, make sure you can still check for leaks, chewed edges, and signs of rodents rather than burying every vulnerable spot behind a permanent layer.
Be careful with vapor barriers and fully sealed wall assemblies. The right approach depends on the materials already in the wall and the local climate. If a wall assembly traps moisture instead of allowing it to dry, the hidden side can deteriorate without an obvious warning inside the coop. Check the product’s installation instructions and local building guidance before closing a wall; don’t assume one film or one insulation value suits every backyard structure.
Plan disruptive work so hens aren’t exposed to cutting dust, fumes, loose fibers, or accessible insulation. Move them out of the work area while you cut and fit materials, follow the product label, and bring them back only when the work area is clean and the insulation is fully covered. If you can’t contain the material and finish the barrier securely, postpone the retrofit rather than leaving an exposed temporary patch through winter.
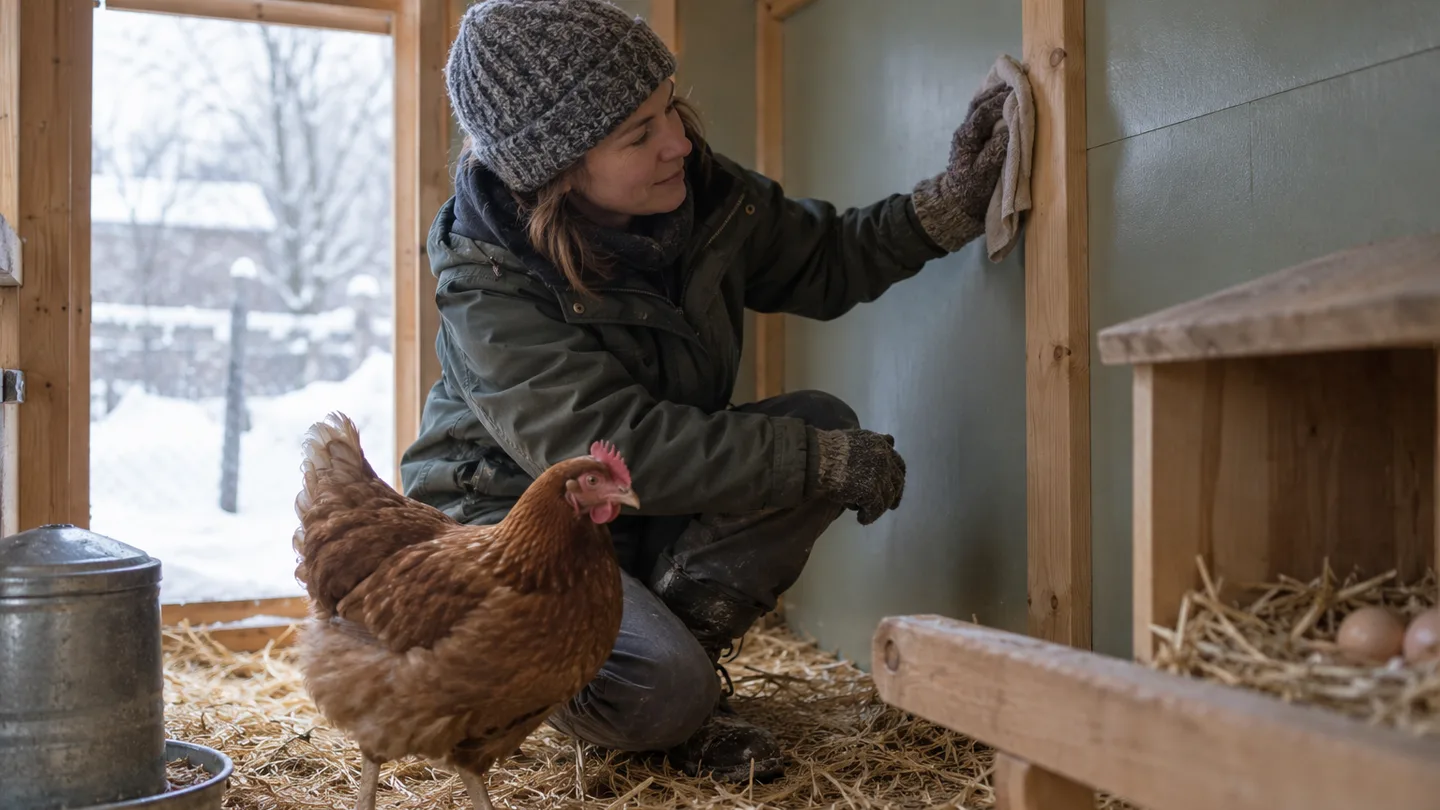
Fix leaks and weak points before insulating walls or a roof
Start with the roof, then check the door and window edges, wall joints, and damaged panels. Look for stains that suggest a leak, daylight where a panel should meet its frame, and openings large enough to admit rodents or predators. A leak or broken panel is a repair job, not an insulation opportunity. Adding a layer over a wet or damaged surface can conceal the source and make later repairs harder.
Separate those unwanted gaps from deliberate high vents. You want to close a leak or redirect air that hits the roost, not accidentally remove the coop’s path for moist air to escape. If you’re unsure which is which, inspect the opening in daylight, trace where air moves with a tissue strip, and check again after rain or a cold night.
For a small backyard coop, I’d rather see a plain, dry wall that can be inspected than a neatly lined wall hiding a leak. That’s a judgment call, but the reasoning is simple: insulation can slow heat loss only after the envelope is sound, while it can’t stop water entering through a bad roof seam. Repair first; then decide whether the remaining cold exposure actually justifies the extra material and maintenance.
Make the call with a three-way check: insulate, repair, or leave it alone
Leave it alone if the coop is dry and sound, the roost is out of direct drafts, and your adult hens appear to be coping. A cold indoor reading by itself doesn’t prove the walls need insulation.
Repair first if you find roof leaks, wet bedding, condensation, damaged panels, or moving air across the roost. Recheck after the repair. If the flock is still exposed to severe or prolonged cold and the coop sheds heat quickly, a safely enclosed insulation retrofit may be reasonable. There isn’t one indoor temperature that guarantees safety for every bird and building.
Insulation also won’t replace a winter water routine or veterinary care when a bird is unwell. It may slow how quickly a coop changes temperature, but it can’t promise drinking water will stay unfrozen. Check water regularly and use a plan suited to your local conditions.
This week, write down the overnight outdoor and roost-height readings for three cold nights. Each morning, check the roof, bedding, and air movement where your hens sleep. Then choose one action: leave a sound coop alone, repair the fault you found, or get local guidance before planning an insulation retrofit. If the heater question is still on your mind, the guide to do chickens need heat in winter is the next decision to work through.
Quick questions
Should you insulate chicken nest boxes?
Usually, start by keeping nest boxes dry and out of direct drafts. Insulation alone can’t ensure eggs stay above freezing; how often you collect eggs and the conditions throughout the coop matter too.
Can you insulate a coop while hens are inside?
Don’t expose hens to cutting dust, fumes, loose fibers, or reachable insulation. Move them away from the work area during disruptive jobs, clean up, and cover the material fully before they return.
Will coop insulation keep drinking water from freezing?
Not reliably. Insulation slows heat transfer, but water can still freeze as the coop cools. Keep water checks and winter watering in your plan rather than relying on insulated walls.
Frequently Asked Questions
Should you insulate chicken nest boxes?
Usually, focus first on keeping nest boxes dry and out of direct drafts. Insulation alone cannot ensure eggs stay above freezing; collection frequency and coop conditions matter.
Can you insulate a coop while hens are inside?
Avoid exposing birds to cutting dust, fumes, loose fibers, or accessible insulation. Explain that moving hens out during disruptive work and fully covering the material before they return is the safer approach.
Will coop insulation keep drinking water from freezing?
Not reliably. Insulation may slow temperature change, but water can still freeze; readers need a separate winter water routine suited to their local conditions.