How to Stop Chickens Pecking Each Other: 7 Practical Fixes
Ten minutes can be enough to change a pecking problem into a wound-care job. If you see blood, separate the injured hen first. Repeated feather pulling, skin pecking, chasing, or cornering without blood still deserves action, but it calls for a different order of fixes.
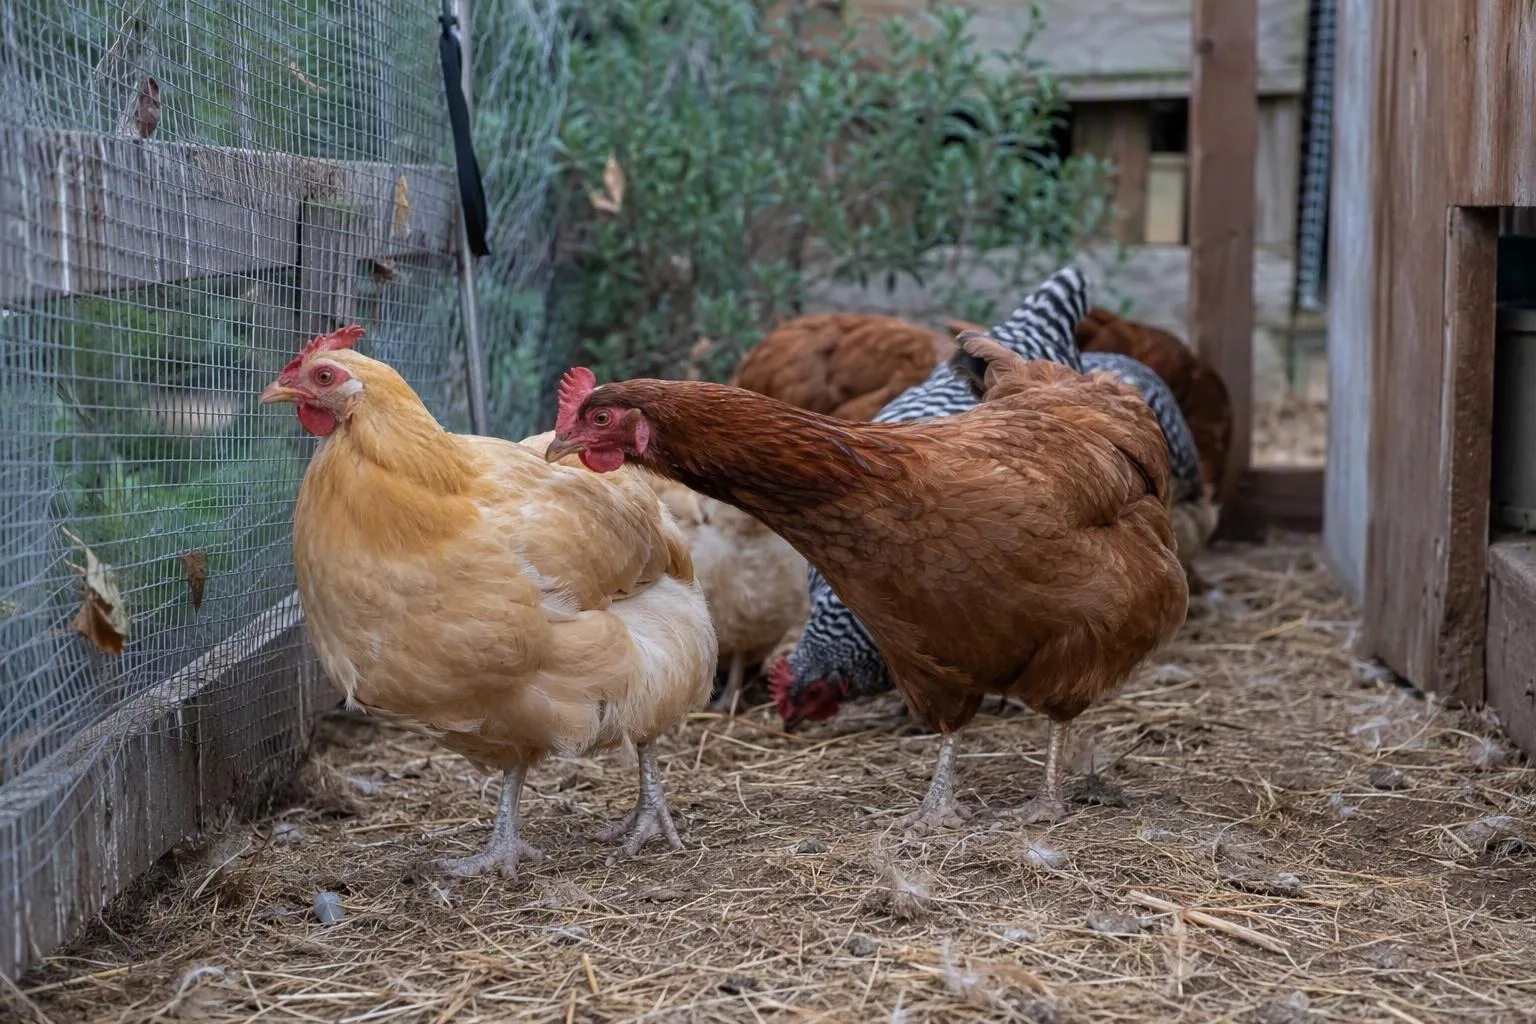
In my own small backyard flock, I once found a quiet hen pressed behind the drinker with a raw patch at the base of her tail. I moved her to a clean dog crate beside the run, gave her separate feed and water, and saw her settle enough to eat. That scene changed my rule: blood is not a pecking-order debate.
Work through these seven fixes in order. Protect the target, remove the flock pressure, then test a careful reunion.
Blood changes the job: isolate the injured hen first
Fix 1: separate the injured hen. Move her within the first 10 minutes of spotting blood, if you can do so safely. Choose a clean, quiet, predator-safe pen with her own feed and water. Isolating the target first protects exposed skin while you work out which bird started the trouble. Blood and bare skin give flock mates a clear place to keep pecking.
For a superficial wound, gently rinse away dirt with clean water or saline. Don’t scrub hard, pull off a scab, or probe a deep opening. If bleeding is active, hold clean gauze with gentle, steady pressure while you arrange veterinary advice.
- Deep, gaping, or puncture-like wounds.
- An eye injury or prolapse.
- Bleeding you cannot control with gentle pressure.
- Collapse, inability to eat or drink, or worsening lethargy.
If you’re unsure how deep the injury is, don’t guess; call a poultry veterinarian. Keep the recovery pen inside your normal chicken predator protection plan. A hen that is safe from flock mates still needs protection from raccoons, dogs, and other visitors.
The space math: 4 square feet inside, 8–10 in the run
Fix 2: measure usable space. Use at least 4 square feet of indoor floor area and 8–10 square feet of run area per adult hen as a starting point. These are working targets for a small backyard flock, not a substitute for your local rules or a promise that every breed will thrive at the minimum.
| Adult hens | Indoor floor | Run area |
|---|---|---|
| 3 | 12 sq ft | 24–30 sq ft |
| 6 | 24 sq ft | 48–60 sq ft |
| 12 | 48 sq ft | 96–120 sq ft |
Count only floor the birds can actually use. Nest boxes, feeders, waterers, solid partitions, and permanently crowded corners don’t count as open floor. A six-hen coop with 24 square feet on paper may offer much less once fixtures and blocked areas are included.
Go larger for heavy breeds, full-time confinement, wet climates, or long stretches when rain, snow, or heat keeps your birds indoors. Give each bird 8–12 inches of roost space. Arrange at least two routes away from a dominant hen. A visual break can divide a long sightline, but it must not create a dead-end trap. One nest box per 4–5 hens is a useful starting point for reducing queueing and guarding. A dry, well-aired coop also matters; your chicken coop ventilation plan should move damp air without blowing directly across the roost.
For a second husbandry check, compare your layout with Cooperative Extension guidance on feather pecking, stocking density, lighting, and flock enrichment. The useful question is not whether your coop looks roomy. It is whether the lowest-ranking hen can eat, drink, perch, and leave without crossing the same bully every time.
When one feeder becomes a guard post: split resources and add an outlet
Fix 3: split the food and water. For a flock of 3–12 hens, start with two feed stations and two water stations. Put them well apart and away from corners. A subordinate hen needs a route to food that doesn’t pass directly under the dominant bird’s beak.
Four inches of straight feeder edge per adult bird is a useful working target. Six hens therefore need about 24 inches of accessible edge, divided between stations if possible. For circular feeders, follow the manufacturer’s capacity guidance rather than guessing from diameter alone.
Watch one complete feeding period. Don’t rely on a quick glance. Look for a hen being blocked, driven away, forced to wait until the others finish, or losing weight despite feed being present. Water access matters just as much. A bird that cannot drink quietly may avoid the station altogether.
Fix 4: give the flock an outlet. Provide at least two distinct foraging or occupation points. Rotate safe perches, browse, or simple pecking surfaces so the birds have more than one place to investigate. Scatter only a small amount of scratch. It should occupy beaks without replacing complete feed. If aggression began after a bright lamp or a longer artificial day, remove or dim that trigger. Adding more light to a flock already keyed up can extend the time birds spend active and in contact.
Ration, mites, and illness: remove the hidden triggers
Fix 5: put the ration back on solid ground. Use a complete, age-appropriate feed as the base. When comparing layer labels, a rough working screen is around 16–18% crude protein, but the bag you actually buy matters more than a number copied from a different product. Don’t turn a suspected deficiency into a guessing exercise with random supplements.
Keep treats, scratch, and kitchen scraps to about 10% or less of total intake. Protein or amino-acid imbalance can contribute to feather damage and pecking because feathers are costly tissue to replace. Extra calcium, corn, or unlabelled medication is not a universal answer. Correct the ration first, then investigate the bird and the environment.
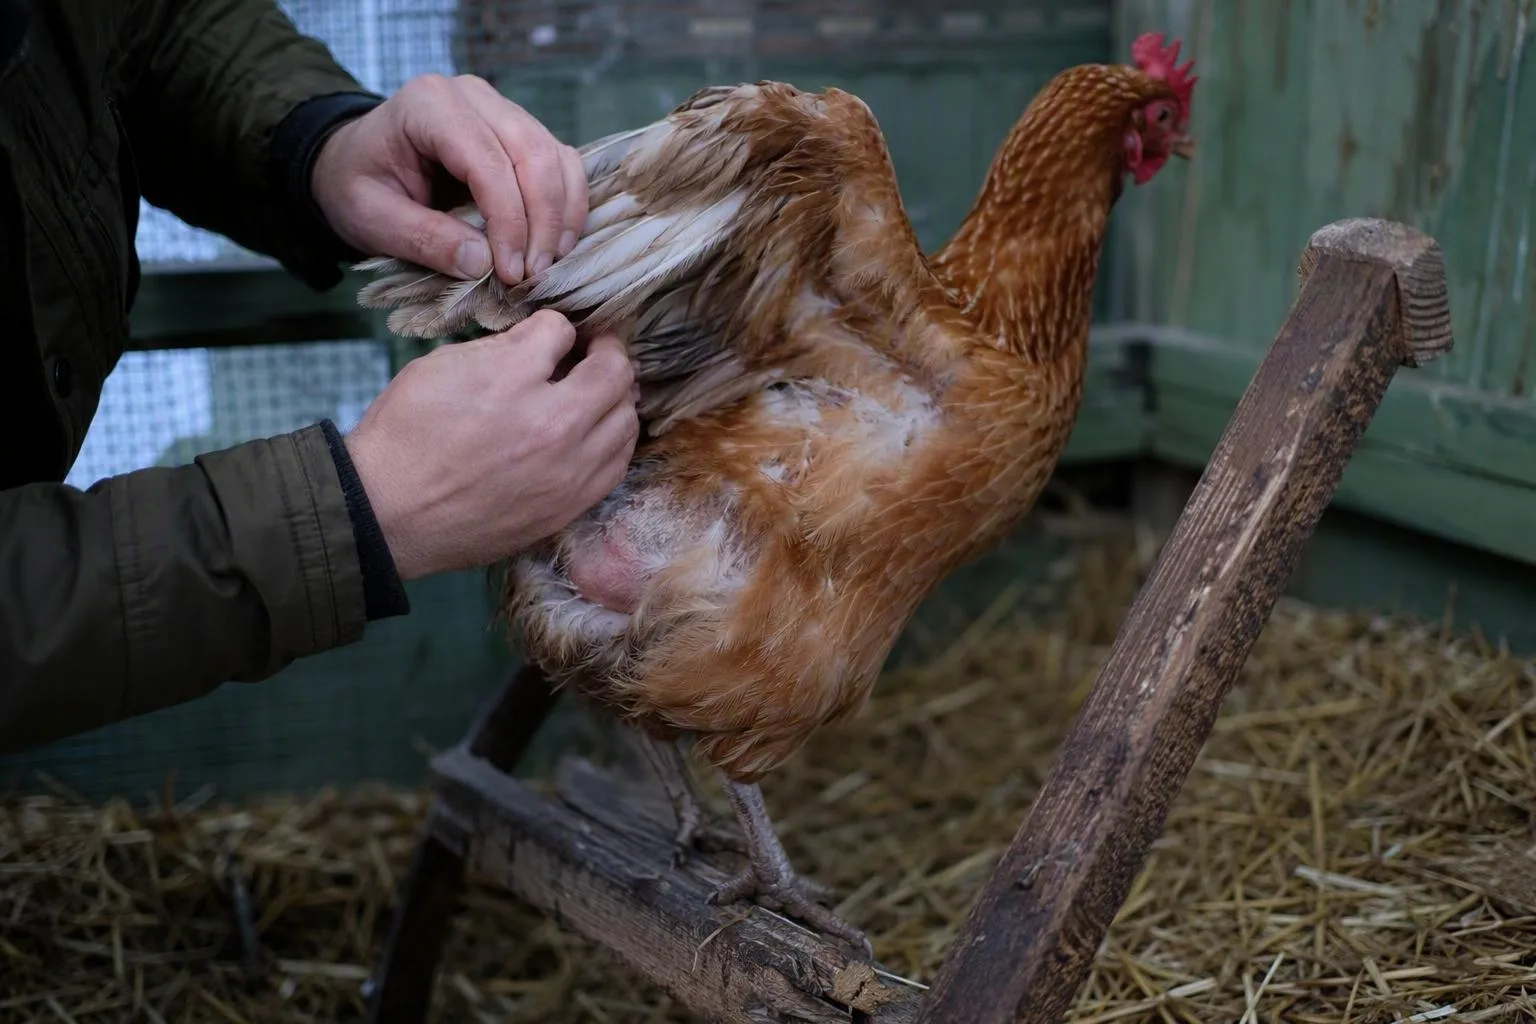
Fix 6: check for a health problem. Inspect the target for weight loss, a pale comb, diarrhoea, respiratory signs, lethargy, crusts, damaged feathers, or persistent itching. Check around the vent, under the wings, and along feather shafts. After dark, inspect roost cracks and joints with a flashlight. Red mites can stay hidden in those spaces during daylight, so a daytime glance can miss them.
Use label-directed parasite treatment when the diagnosis fits. If you’re uncertain which parasite you’re seeing, several birds are affected, or the flock is losing condition, ask a poultry veterinarian or local extension office for help. A useful companion is chicken mites treatment, especially if night inspection finds moving specks or irritation. For wounds and external parasites, compare your plan with veterinary reference guidance on chicken wounds, prolapse, and external parasites rather than inventing a dose.
A staged reunion beats a straight return
Fix 7: reintroduce in stages. Keep the separated hen out until the wound is closed, she is eating and drinking normally, and the flock can see her without repeated attacks. A bird that still attracts pecks through a barrier is not ready for face-to-face contact.
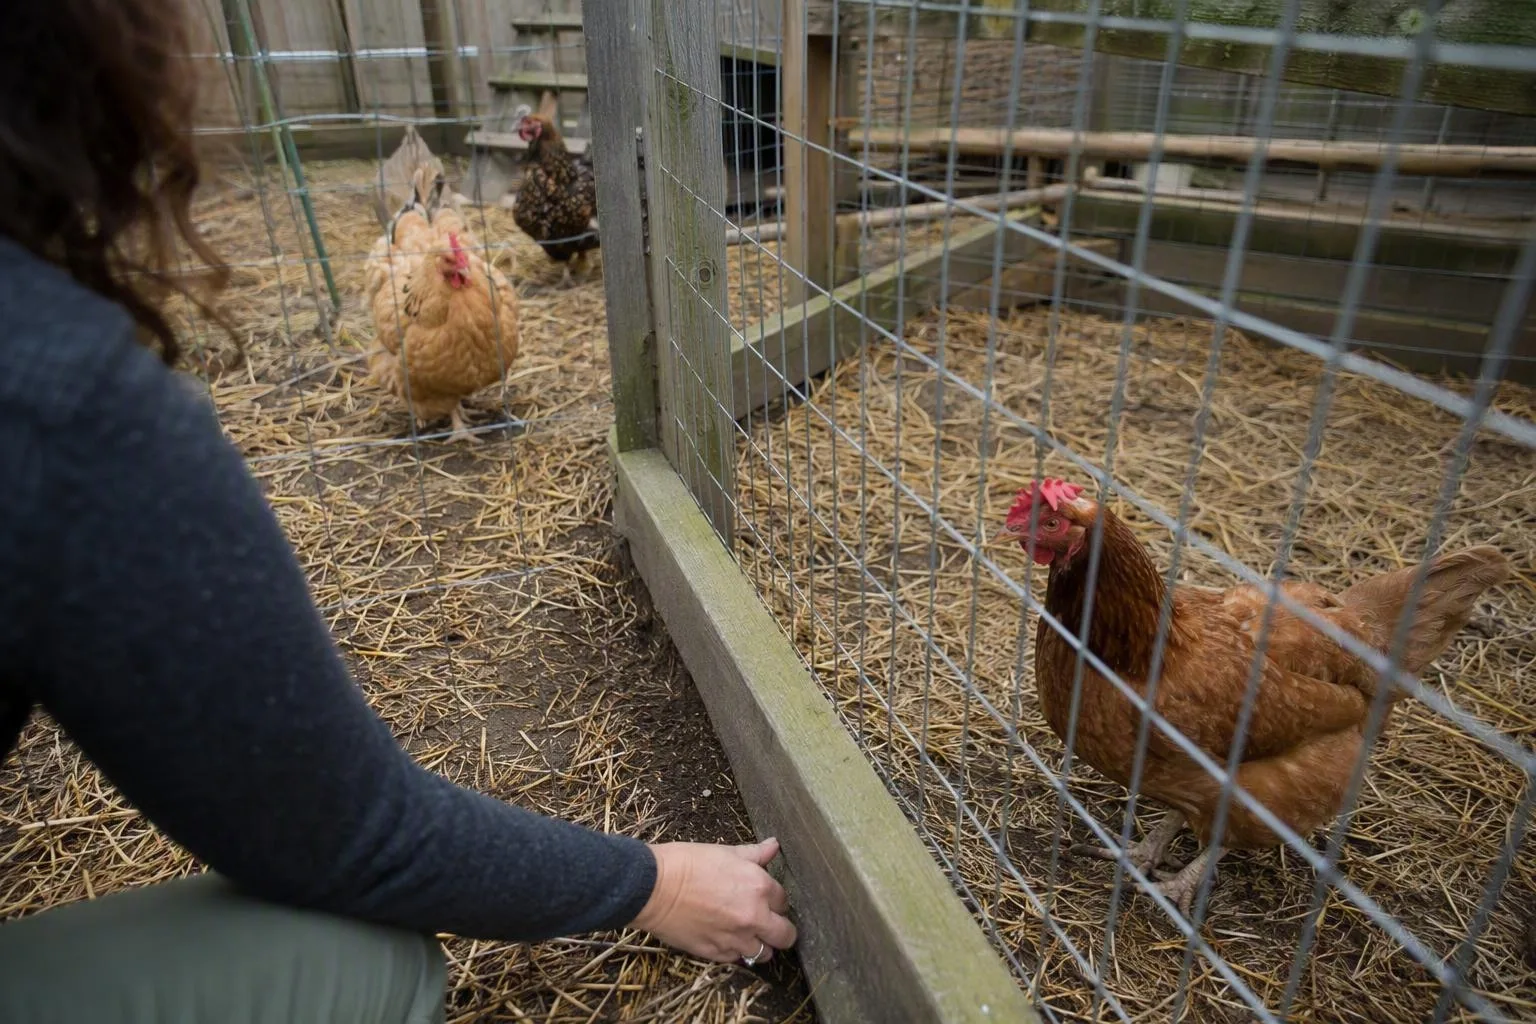
Use a secure wire partition for two or three calm days of see-but-don’t-touch contact. Then try a supervised reunion in daylight, in the largest safe area you have. Put the two feed stations, two water stations, escape routes, and visual breaks in place before opening the partition.
Watch closely for the first 30–60 minutes. A few ordinary rank pecks are different from repeated chasing, cornering, feather pulling, or renewed blood. If blood or repeated cornering starts, separate the birds and reset. Hoping they will work it out gives the aggressor more practice and the target less room to recover.
You can try a 24–48-hour time-out for a persistent aggressor, then reintroduce that bird under supervision. It may interrupt a pattern, but it isn’t a guaranteed cure. If the same hen resumes serious attacks, permanent management, rehoming, or veterinary advice becomes the humane next discussion. My judgment call is simple: a time-out is a test, not a treatment.
Your 48-hour reset plan—and the point where you call the vet
Use this as a written reset rather than trying to remember what happened in the run.
- First 10 minutes: separate the injured or targeted hen, control obvious bleeding, and provide feed, water, shelter, and predator security.
- Same day: measure usable coop and run space, add the second resource stations, remove a harsh light, and place a visual break or safe occupation point.
- That night: check every bird briefly and inspect roost cracks for mites.
- Next 24–48 hours: record who reaches feed and water, whether new blood appears, and whether the target hides, loses weight, or stops normal activity.
- After reunion: use the wire partition first, then supervise daylight contact for several days.
Success means no fresh skin injury, no repeated targeting, and normal access to food and water. If blocked access is the main trigger, I’d expect the target to spend more time feeding and drinking normally after the stations are split, with fewer fresh pecks over the next day or two. If that doesn’t happen despite clear access, look harder at illness, parasites, lighting, or the identity of the aggressor.
Call a poultry veterinarian for recurrent bleeding, prolapse, inability to eat or walk, breathing trouble, marked weight loss, or a bird that is becoming less responsive. More than one sick bird points to a flock-level problem that deserves professional help, not just a new perch.
This week, measure your usable indoor and run space, divide each total by your flock size, and write down where every feeder, waterer, perch, and escape route sits. That one-page map will show you the next fix. Keep it beside your chicken mites treatment notes so a pecking problem doesn’t become a guessing game.