Deep Litter Method Chicken Coop: Setup, Depth and Cleaning
For six hens, a deep litter method chicken coop needs roughly 24 square feet of usable indoor floor, a solid, leak-resistant base, high ventilation, and a dry starting layer about 4–6 inches deep. You can build that layer toward 8–12 inches, but only while doors, roosts, nest boxes, and air openings still work safely.
That is the useful answer, not the romantic one. Deep litter is controlled moisture management. It isn't permission to leave a wet floor until spring. If the lower layer stays dry and loose, you add small amounts of clean bedding. If it cakes, smells of ammonia, or grows mold, you correct the cause and remove material.
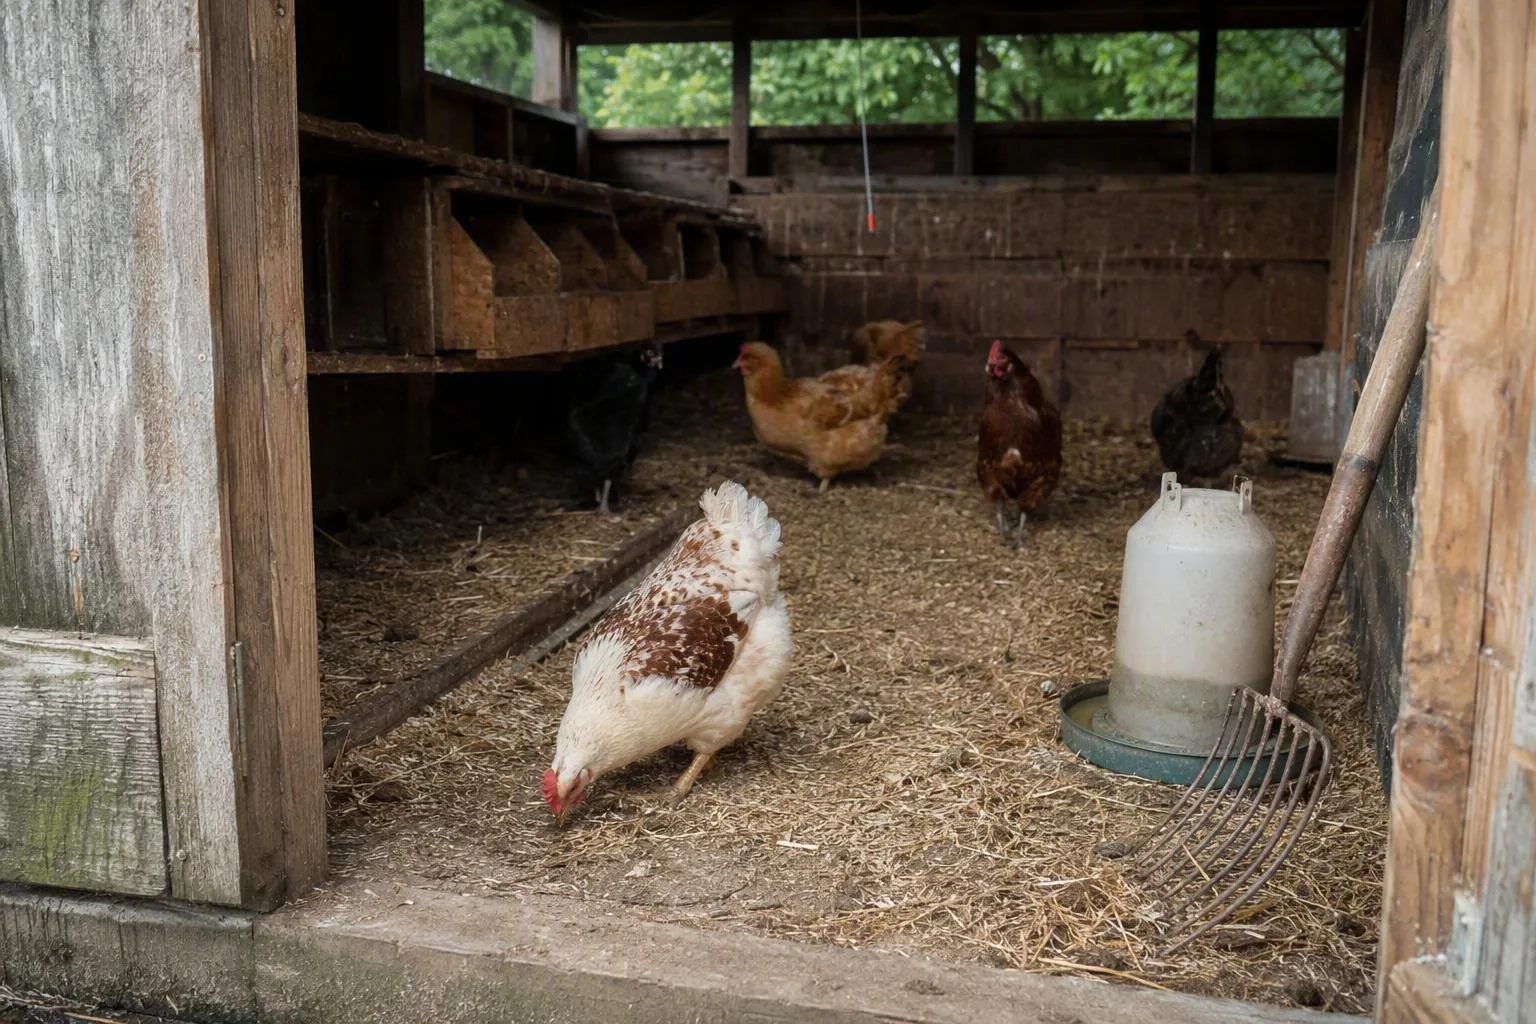
Build the coop around the litter: a solid floor, about 4 square feet per hen, and dry air
Before bedding goes in, make the coop capable of staying dry. Start with these four checks:
- Space: Count usable floor area, not the space taken by nest boxes, feeders, or permanent shelves.
- Floor: Use solid plywood, concrete, or another durable surface that doesn't wick moisture from below.
- Weather barrier: Stop roof leaks, splashback, and ground runoff before trying to solve dampness with extra shavings.
- Ventilation: Put protected openings above roost height so damp air can leave without blowing directly across resting birds.
For a flock of 3–12 adult hens, about 4 square feet per hen gives a planning range of roughly 12–48 square feet indoors. Before you buy timber, answer how much space do chickens need for this flock, then subtract the floor occupied by fixtures. If your birds spend long wet spells indoors, treat four square feet as a starting floor rather than a generous target. More usable room gives spilled water and droppings more space to dry before they become a solid patch.
A solid floor matters because deep litter sits in contact with it for a long time. An earth floor gives groundwater and rain-soaked soil a route into the bedding. If your existing floor is plywood, seal joints and the lower edges before installation. Raise a low doorway or add a threshold if rain runs inside. Check the corners after a storm; a coop can look dry on a sunny afternoon while the bedding is absorbing water from one wall.
Ventilation is not the same as a draft. Warm, moist air needs a way out above the birds. Air moving directly across their backs at roost level is a different problem. Cover openings with predator-resistant mesh, and don't close every vent in winter. The separate question, do chickens need heat in winter, comes after you have solved moisture and airflow.
My own readiness check is simple: I kneel at roost height with the doors shut, look toward every wall, and feel for a direct stream of air. Then I inspect the floor after rain. If I can find the leak before the hens do, the litter has a chance; if I can't, more bedding is just hiding the design fault.
The depth numbers: start at 4–6 inches and build toward 8–12 only when the coop can hold it
Start with about 4–6 inches of dry, absorbent bedding spread evenly across the floor. That gives you enough material to catch droppings while leaving a visible baseline. It also lets you see which areas get wet instead of burying the first problem under a deep pile.
Add roughly 1–2 inches at a time. Do it when the surface is thinning, the lower layer is beginning to show, or a normally loose area is becoming compacted. Build toward 8–12 inches only if the door still opens freely, the roost remains easy for birds to reach, nest boxes stay clean, and ventilation openings aren't blocked by the rising floor.
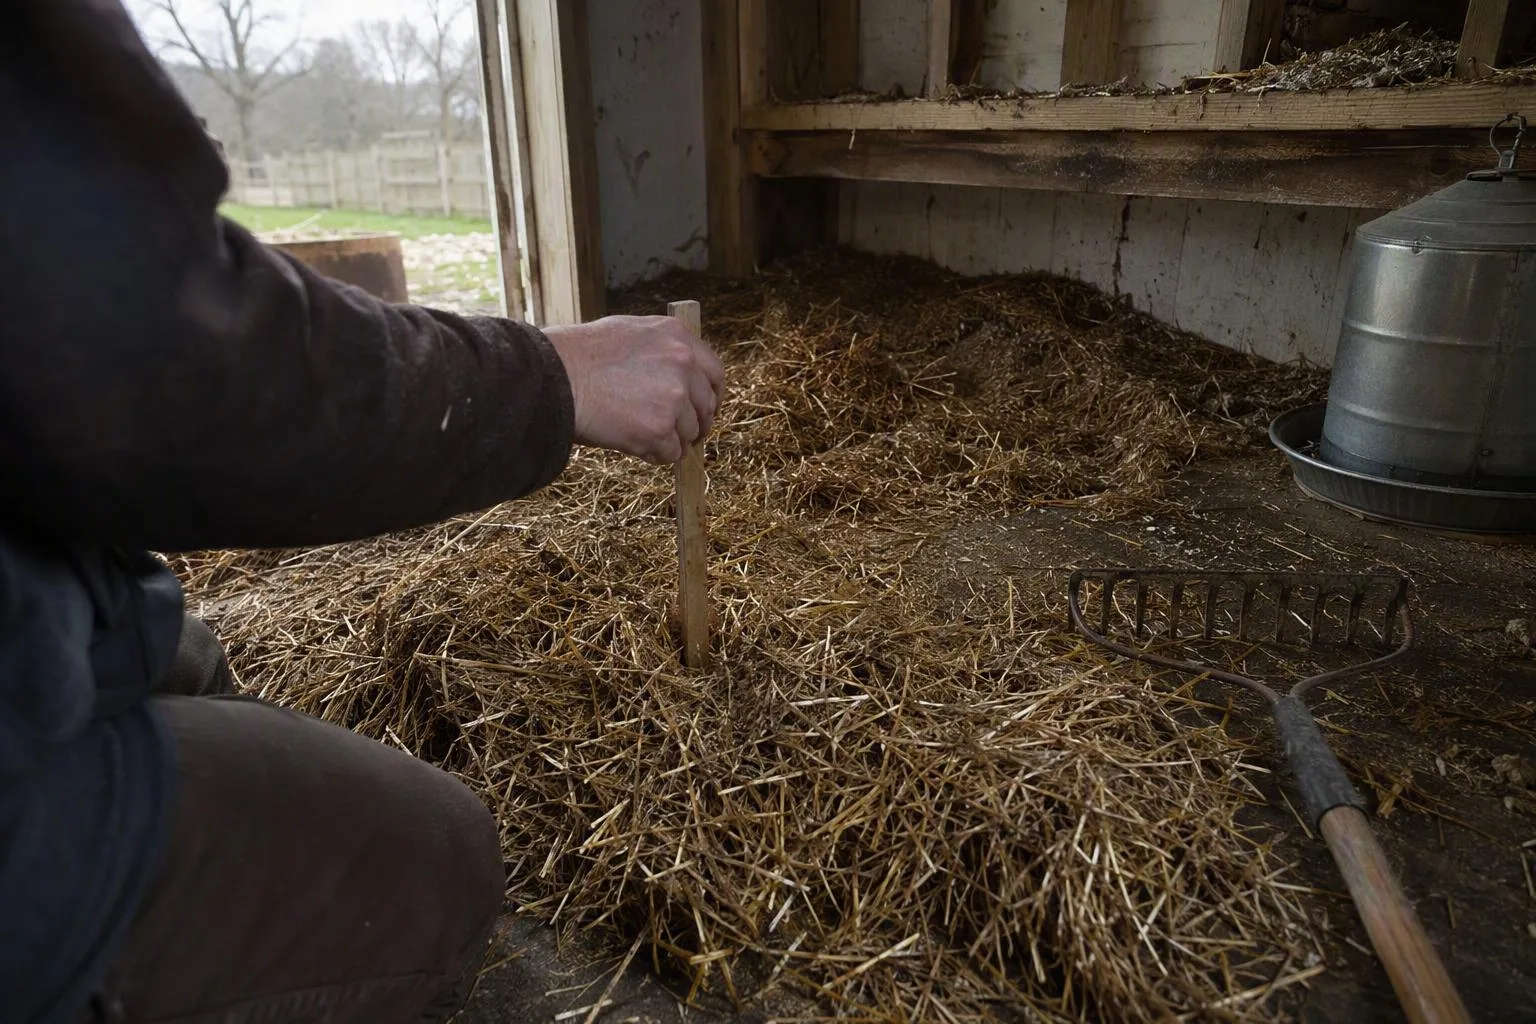
Use this calculation for ordering material:
Floor area in square feet × bedding depth in feet = loose bedding volume in cubic feet.
| Depth on a 4 × 6-foot floor | Depth in feet | Approximate loose volume |
|---|---|---|
| 4 inches | 1/3 foot | 8 cubic feet |
| 6 inches | 1/2 foot | 12 cubic feet |
| 8 inches | 2/3 foot | 16 cubic feet |
| 12 inches | 1 foot | 24 cubic feet |
Those are loose-volume calculations before settling. Bagged bedding compresses, and different bags hold different labeled volumes, so use the package volume rather than guessing from the bag count. A 24-square-foot floor at 6 inches needs about 12 cubic feet before compaction; at 12 inches, it needs about 24 cubic feet.
My preference is dry, coarse pine shavings because I can see wet spots and rake the surface without turning the whole floor into powder. Straw can work in a small coop, but inspect beneath it regularly if it mats around droppings or drinker spills. Never use visibly damp or moldy material to save a bag. A cheap dry layer is useful; a contaminated layer is a problem you have paid to carry indoors.
Your 10-minute maintenance decision: stir, top up, or remove?
Run a ten-minute check every 2–3 days in a small backyard coop, and repeat it after wind-driven rain or a drinker accident. You aren't looking for a spotless floor. You're looking for a dry lower layer and a surface that still moves when the hens scratch.
- Look first. Check under the roost, around the drinker, along outside walls, and beside the doorway. These are the places where concentrated manure, spills, and rain show up first.
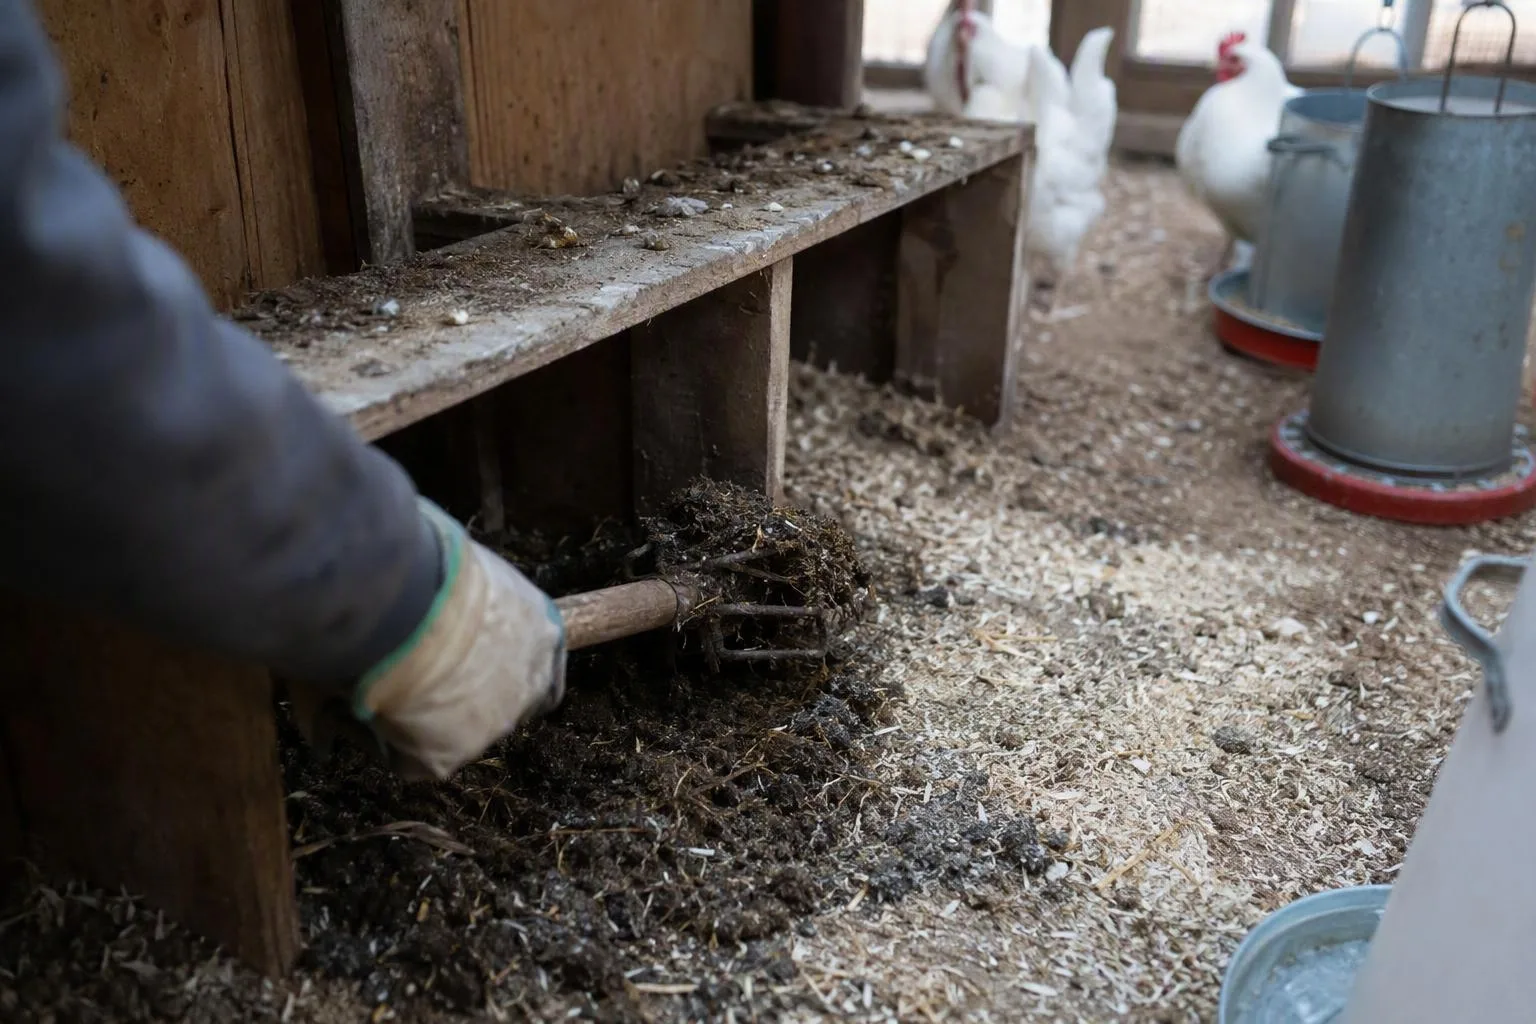
- Test the texture. Loose bedding should shift under a rake or gloved hand. A hard, dark cake needs to be lifted out. Don't cover it just because the surrounding surface looks clean.
- Check at bird-head height. Smell for ammonia and look for condensation on cold walls or the roof. If the air is sharp, stop adding material and find the moisture source.
- Choose one action. Stir a dry uneven surface, top up a thinning layer, or remove a wet patch. Doing all three automatically can make a manageable floor dusty and unnecessarily deep.
A droppings board under the roost is a useful compromise for a small flock. Scrape it daily or every 2–3 days, depending on how quickly it fills. Removing that concentrated manure keeps the wettest load out of the floor litter and gives you a quick view of what your birds are producing.
Stir shallowly. Break the surface crust and move clean material over a thin dirty spot, but don't churn the full depth each morning. Deep turning brings damp lower bedding to the air, creates dust, and makes it harder to tell whether moisture is actually being controlled. This is where I make a judgment call: if the lower layer is dry and the smell is neutral, I leave it alone rather than perform a ceremonial rake.
Add 1–2 inches of dry bedding when the surface is thinning or beginning to cake in isolated places. Remove material when it feels wet, stays stuck together, or smells strongly even after airflow is improved. The method is working when you can keep the floor dry with small corrections instead of repeatedly burying the same wet area.
Failure signals you can read before cleaning day: ammonia, wet cakes, mold, and flies
A cleaning day shouldn't be the first time you discover a failing litter system. Use the sign you can see or smell, then follow the likely cause before reaching for another bag.
| What you notice | Check first | Action now |
|---|---|---|
| Ammonia smell or eye irritation | Wet manure, poor high-level airflow, or a leak | Remove the wettest layer, inspect the roof and drinker, and improve protected ventilation. |
| Wet, dark, hard clumps | Drinker spill, wall leak, or compacted bedding | Lift out the patch to a dry base. Fix the water source before topping up. |
| Visible fuzzy mold or stale damp bedding | Old material has stayed wet | Remove it without stirring. Replace with dry bedding and improve drying. |
| Flies gathering around the floor | Exposed droppings or wet organic material | Scrape the droppings board, remove wet litter, and clean feed or water spills. |
| Fine dust hanging in the air | Powdery bedding or excessive stirring | Stop churning, remove the dustiest material, and check high-level airflow. |
Ammonia is a coop-correction signal, not a smell you should train yourself to ignore. Wet manure produces the odor, and weak air exchange lets it remain around the birds. If removing wet material and improving ventilation doesn't settle it, empty the affected litter rather than layering over it.
A coop correction is not bird treatment. Persistent coughing, nasal discharge, swollen eyes, marked lethargy, or breathing difficulty deserves a poultry veterinarian or a local extension office. Move affected birds to clean, dry air while you seek advice, but don't assume every respiratory sign came from bedding. Compare your setup with university extension guidance on poultry housing ventilation, litter moisture, and ammonia control if you need a second housing check.
Emptying the litter: seasonal timing, safe disposal, and the point where composting begins
Use the condition of the lower layers as your cleanout threshold. As a planning projection, a dry, uncrowded, well-ventilated backyard coop may fit one or two full empty-outs per year. A damp, crowded, or poorly ventilated setup may need partial removal much sooner. The calendar is less useful than your hand, nose, and a look beneath the surface.
- Choose a dry, mild day. Move your birds to a secure temporary area, and wear gloves and a dust mask if the bedding is dusty.
- Remove the litter in layers. Take out wet cakes and visibly moldy sections rather than mixing them through clean material.
- Scrape the floor and inspect seams, corners, the doorway, and the wall below the drinker.
- Repair leaks or splash points before replacing bedding. If the floor is damp, let it dry rather than sealing the moisture underneath a new layer.
- Return a clean 4–6 inch base and restart the same check-and-top-up routine.
I prefer to clean on a mild day with a dry forecast. I don't strip a coop to a bare, damp floor just before a freezing night. That leaves the birds standing over a cold surface while the new bedding has not yet had time to settle. If a full cleanout is urgent, restore a dry base before the hens return and keep the temporary housing safe.
Move used litter to a separate compost area, not beside the drinker or feed store. Manure is nitrogen-rich; shavings, dry leaves, shredded cardboard, and straw supply carbon. Mixing those materials gives the pile a better balance than adding fresh manure to the coop floor. Keep the pile managed according to local conditions, and check extension guidance on composting poultry manure and carbon-rich bedding before using finished compost in a food garden.
Three side cases worth keeping separate
Can you use deep litter in nest boxes?
Keep nest boxes separate from active floor litter. Use a clean, dry nesting material and replace it when soiled. I treat a nest box as a cleanable egg-collection area, not as another place to build the manure layer.
Is deep litter suitable for chicks in a brooder?
Not automatically. Chicks need a dry, non-slip surface that you can inspect closely. An adult-coop layer built toward 8–12 inches can make footing, spill checks, and heat management harder for newly hatched birds. Use a chick-specific plan and the guide to brooder temperature for chicks rather than transferring the adult routine unchanged.
Should you add fresh manure to make deep litter work?
No. Let droppings accumulate naturally, remove concentrated wet manure with a droppings board, and add dry carbon-rich bedding as needed. Adding fresh manure increases the wet organic load before the floor has shown that it needs it; composting belongs in the separate pile.
Deep litter works by controlling moisture, not by postponing every cleaning decision.
This week, measure your usable coop floor, multiply it by the number of hens you plan to keep, and mark the 4–6 inch starting depth on a wall or door frame. Then seal one leak, confirm your high vents are clear, and put a dry bedding check on your calendar for two days from now. If chicks are part of the plan, finish the next piece of the setup with brooder temperature for chicks.
Frequently Asked Questions
Can you use the deep litter method in nest boxes?
Keep nest boxes separate from the floor litter. Use a clean, dry nesting material and replace it when soiled, because nest boxes need a cleaner and more easily changed layer than the active coop floor.
Is deep litter suitable for chicks in a brooder?
Not automatically. A brooder needs a non-slip surface and closely managed, dry bedding; the adult-coop deep-litter depth and maintenance routine should not be transferred to newly hatched chicks without adjustment.
Should you add fresh manure to make the deep litter method work?
No. Let droppings accumulate naturally in the bedding and add dry carbon-rich material as needed. Adding fresh manure increases moisture and ammonia and belongs in a separate composting system.