Raising Meat Chickens: A 10-Week Plan for Your Backyard
Six chicks can go from a cardboard-box brooder to a 12-square-foot indoor pen and a 48- to 60-square-foot run. A 10-week calendar gives you a workable target, but it isn’t a promised harvest date. I treat week 10 as a decision point, not a birthday: strain, weather, bird condition, and processor availability get the final say.
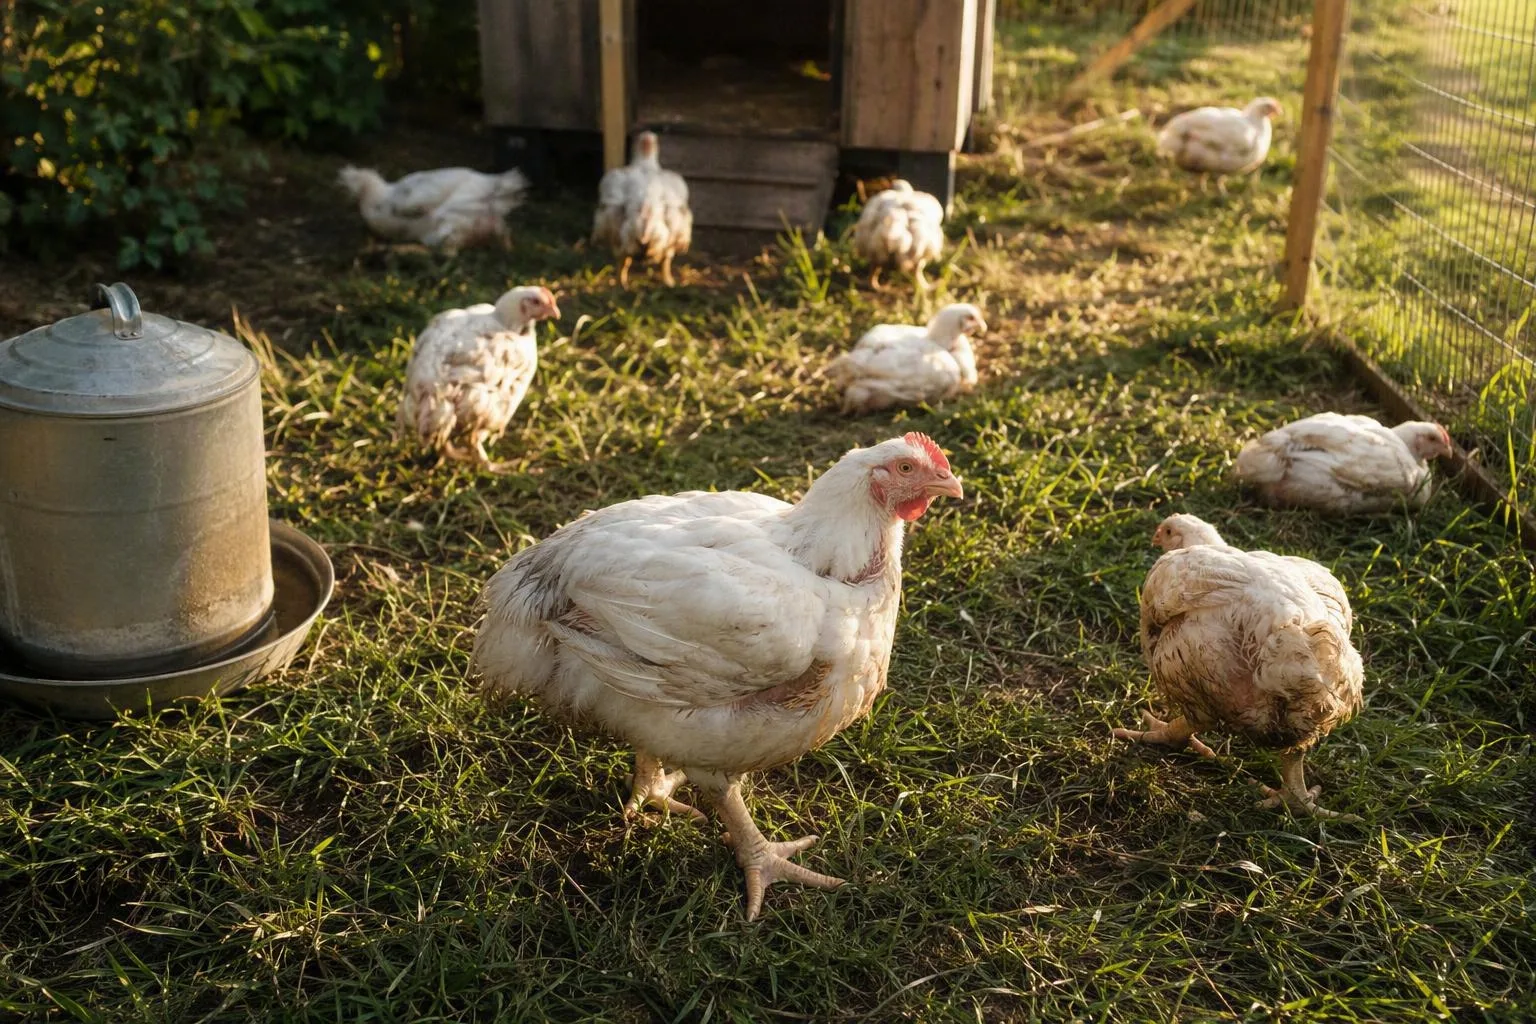
Before hatch day: choose the bird, the number, and the finish date
Start with the strain, not the calendar. Fast-growing Cornish Cross-type broilers may fit a 7- to 10-week planning window. Slower-growing or heritage meat birds often need longer. Use the hatchery’s strain guidance as your starting point, then adjust for the size of carcass you want and how the birds are moving.
Before you order, check your local rules on keeping and processing poultry. Call processors in your area and ask about their booking window, minimum batch size, transport requirements, and instructions for feed withdrawal. A 10-week plan is not useful if the nearest processor has no opening that week.
Freezer space matters too. Six birds are still six birds, regardless of whether your order contains males, females, or a mix. Mark the proposed pen with painter’s tape before you commit to a headcount. If the taped area already feels tight, order fewer chicks or enlarge the housing before hatch day.
Build the system in two stages: brooder first, grow-out pen second
Your brooder and grow-out pen solve different problems. For the first few weeks, allow about 0.5 square feet per chick, then work toward roughly 1 square foot per chick by week 3. For finished fast-growing birds, plan at least 2 square feet of dry indoor floor and 8 to 10 square feet of outdoor run per bird.
That makes six birds a minimum of about 12 square feet indoors and 48 to 60 square feet outside. Use more space in hot, wet, or poorly drained conditions. More floor area gives wet bedding somewhere to spread out instead of turning one corner into a permanent damp patch.
Build the run around the problems your yard actually presents. Use strong latches, half-inch hardware cloth over openings that need fine mesh, and a roof or taut netting where hawks are a concern. Add shade that stays shaded as the sun moves. Keep ventilation high and open without creating a wind tunnel at bird level. A dry sleeping section is worth more than decorative coop features. For the latch, mesh, and roof details, open best chicken predator protection before you buy hardware.
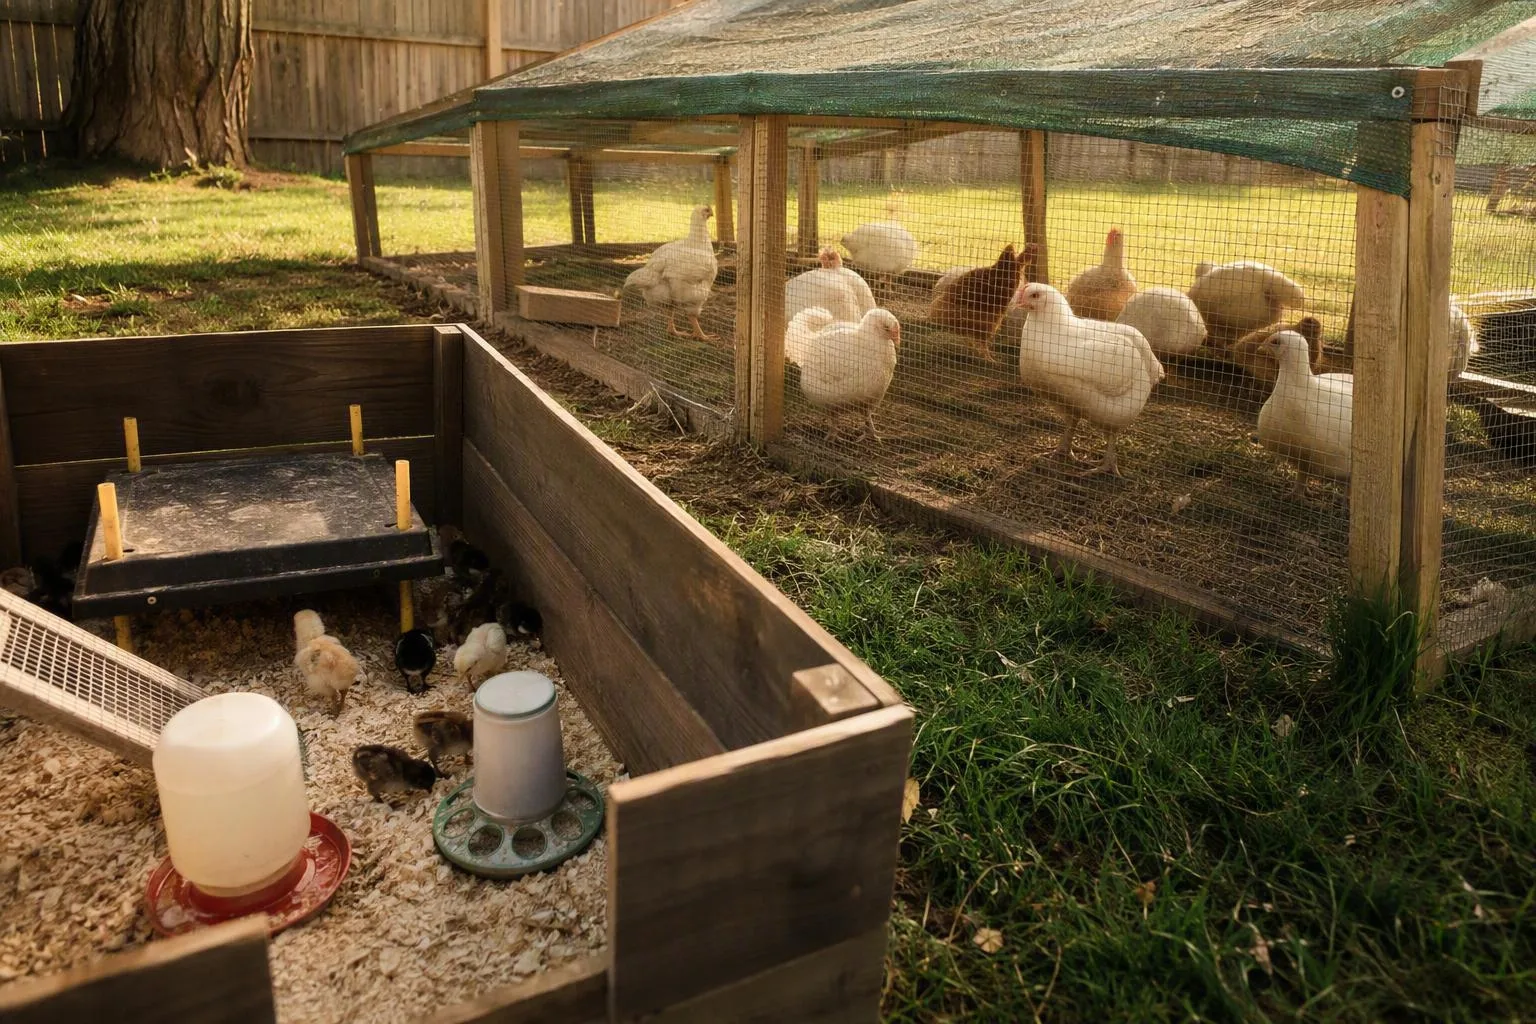
Weeks 0-2 — make warmth, water, and complete feed boringly reliable
Set brooder temperature at 90-95°F (32-35°C) at chick height during week 1. Lower it by about 5°F (3°C) per week as the chicks feather and behave comfortably. Measure where the chicks stand, not beside the heat source and not against the brooder wall.
Behavior is the useful second thermometer. Chicks pressed into a tight pile are asking for more warmth or less draft. Chicks spread as far from the heater as possible, panting, are too hot. A loose, active group that walks between warmth, feed, and water is closer to the target. Leave a cooler area so they can choose their distance from the heat.
Cover the floor with a non-slip surface for the first days. Smooth cardboard can let legs slide. Replace damp bedding promptly. Put clean water and broiler starter feed where every chick can reach them without climbing over a crowded corner. Check water height morning and evening, and look for spilled feed that is becoming wet.
Use a complete broiler ration rather than trying to balance protein, minerals, and energy with kitchen ingredients. Treats and scratch can displace the ration without supplying the same balance. The feeding baby chicks guide is useful for the same early-stage checks, even though meat chicks grow on a different schedule from future layers.
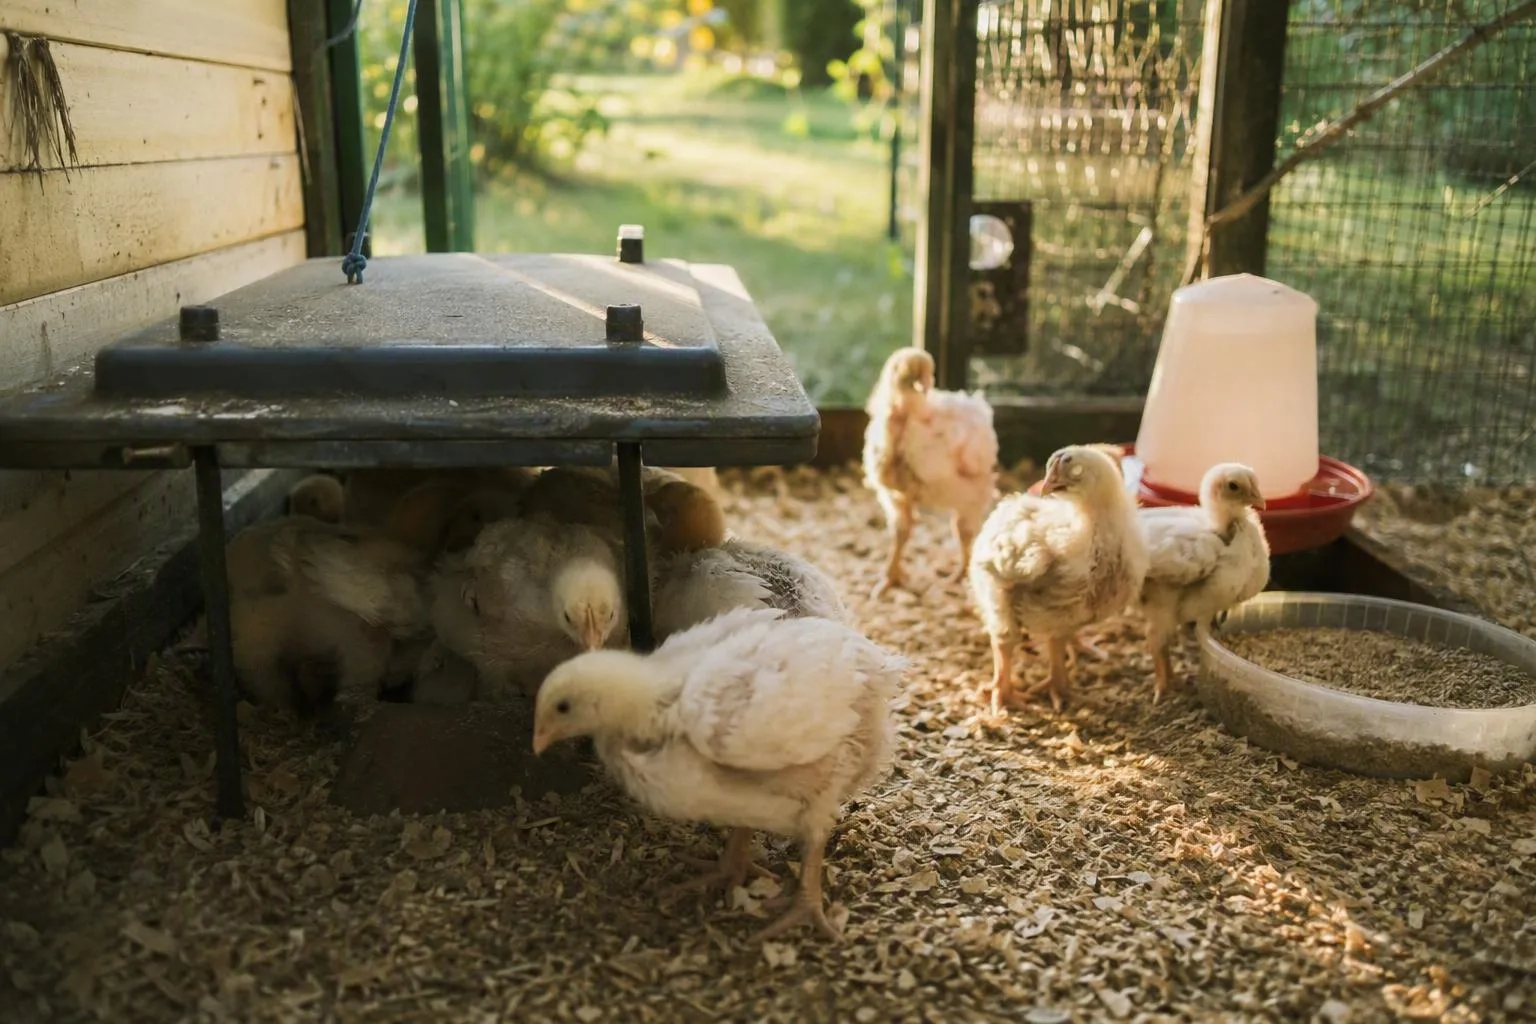
Weeks 3-4 — the move outdoors is a weather decision, not a calendar date
Don’t move chicks outdoors simply because a calendar says week 3. Look for good feather coverage, a dry and draft-protected sleeping space, and weather that will not leave them chilled overnight. Wind, rain, shade, and the overnight low matter more than the date printed on your planner.
Move them during daylight. Put feed and water near the shelter at first, then watch where they settle. Check them after the first night and again early the next morning. If they are tightly piled, damp, or reluctant to leave the sleeping area, improve shelter and warmth before making another move.
Free-ranging is optional. It may provide exercise and access to vegetation, but it also adds fencing, parasite, crop, and predator management. It does not replace a secure run, shade, dry floor, complete feed, or dependable water. If you let the birds range, keep the protected pen available so they can retreat.
Weeks 5-6 — follow the feed curve and keep the pen dry
Feed use rises as broilers grow. For planning, allow roughly 18-25 pounds (8.2-11.3 kilograms) of complete feed per fast-growing broiler through 10 weeks. Treat that as a working range, not a promise. Strain, weather, wastage, activity, and the date you process can move the result.
Follow the product label when changing from starter to grower or finisher feed. Don’t home-formulate a ration from grain, and don’t casually restrict feed because the birds look large. If a feeding change is needed for your strain or management system, use the label or ask a poultry veterinarian. Record each bag opened. The weighing habit explained in How much feed for 20 chickens per day makes your next batch easier to estimate.
Raise the feeder as the birds grow so they can eat without scraping bedding into it. Keep at least two dependable water points for a small flock, especially in warm weather. Check nipples, cups, and drinkers for flow rather than assuming they work. Remove wet bedding around drinkers, reduce feed spills, and inspect a few birds each week for steady movement, clean feathers, and easy access to resources.
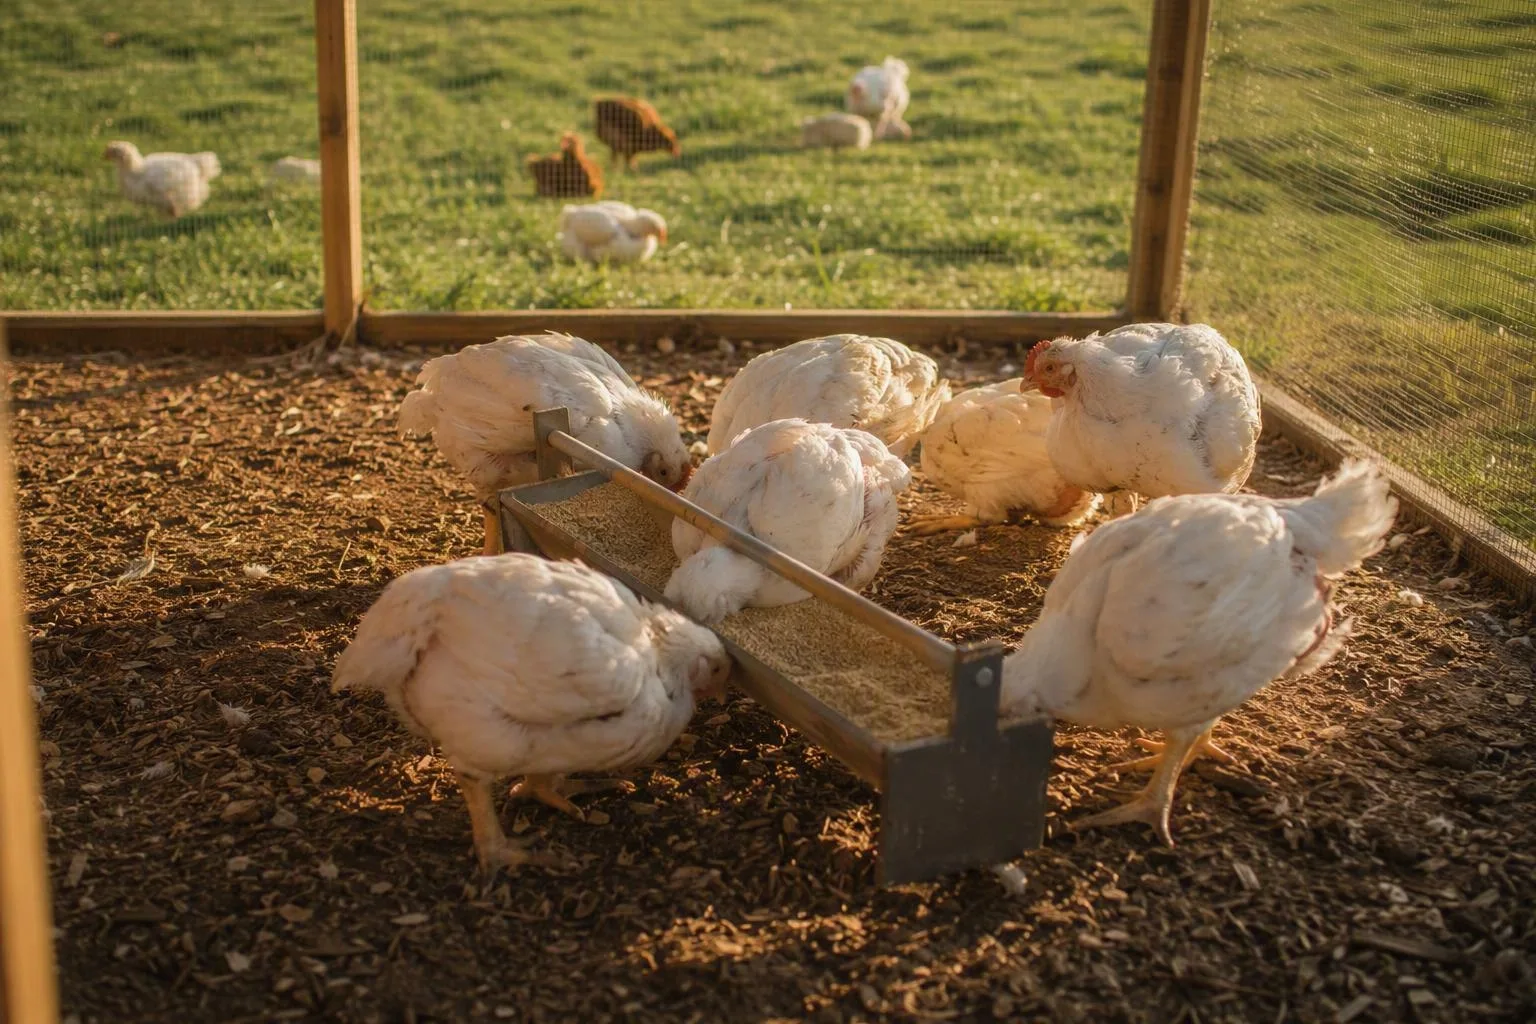
Weeks 7-8 — use a two-minute health check every day
Watch the flock before you handle any bird. Each bird should be able to stand, walk to feed and water, breathe without obvious effort, and stay reasonably clean and dry. A quick check catches a housing problem while you can still fix shade, airflow, bedding, or access.
| What you see | Check first | Practical response |
|---|---|---|
| Panting or crowding | Heat, shade, airflow, water access | Add shade and airflow without blowing a draft at floor level; refresh water. |
| Wet litter or a sharp ammonia smell | Leaking drinker, poor drainage, crowded corner | Fix the leak, remove wet bedding, and enlarge or improve the dry area. |
| Limping or repeated sitting | Slippery footing, blocked feeder, injury, mobility | Improve footing and access; isolate only if needed for protection and seek advice if it persists. |
| Collapse, inability to stand, or severe breathing trouble | Not a simple pen adjustment | Contact a veterinarian promptly rather than improvising medication. |
One bird sitting briefly after eating is different from a bird that cannot reach water or rises only when pushed. If a bird deteriorates quickly, has severe breathing trouble, collapses, or cannot stand, stop treating it as a routine management issue. A veterinarian or local extension office is the right next call.
Weeks 9-10 — processing readiness is a checklist, not a birthday
At the finish point, compare the bird with its strain guidance and your intended carcass size. Check live weight, body condition, mobility, breathing, cleanliness, and whether each bird can reach food and water. A bird’s live weight is not the same as its dressed freezer weight. Sex, strain, feed use, and age all affect the final result.
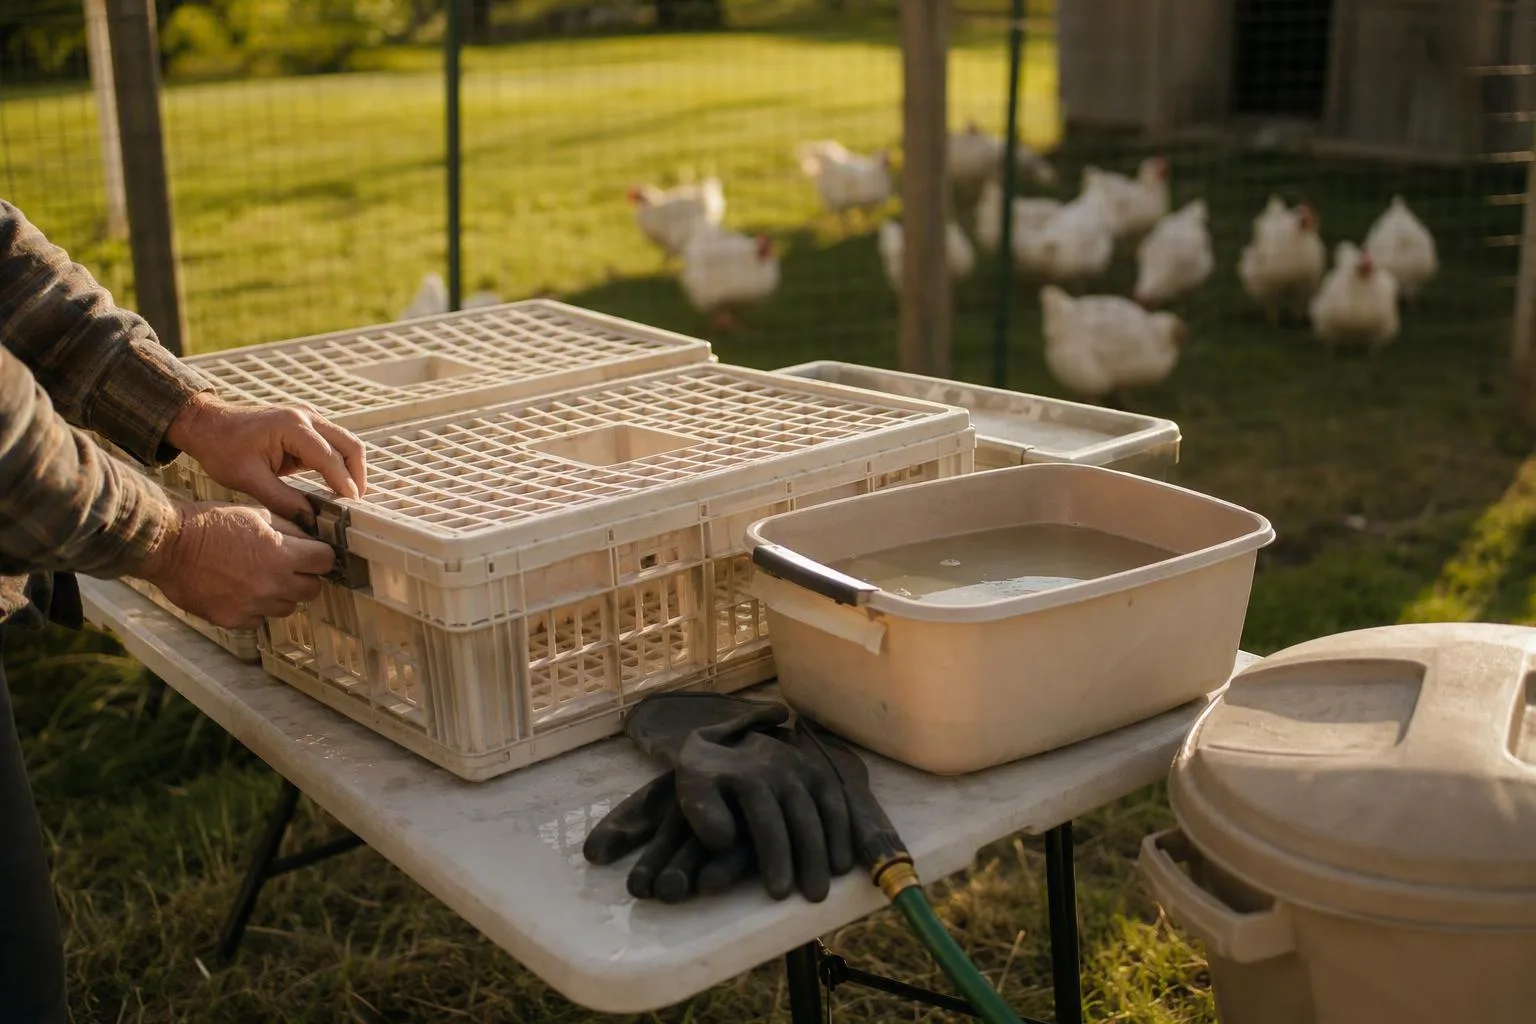
Book processing before the chicks arrive if you can. Confirm the processor’s minimum number, arrival time, crate requirements, and instructions for the final feed and water period. If you process at home, check your municipal and regional rules before the batch arrives. Arrange a clean work area, suitable equipment, potable water, and a humane handling plan. The USDA FSIS poultry guidance is a useful reference for safe handling after processing.
If any bird has received a treated product, follow the product label or veterinary instructions for the withdrawal period. Don’t invent a waiting time from memory. If the flock is not ready at week 10, extend the schedule only with active daily monitoring. Fast-growing strains can become harder to manage as they get heavier, so an extra week should have a reason, not simply happen by default.
Run the numbers before you order
Use this worksheet for a six-bird batch. These are planning assumptions, not prices the site claims to have paid: $3-$8 per chick, $20-$35 per 50-pound feed bag, 18-25 pounds of feed consumed per bird, $4-$10 per bird for outside processing, and $10-$30 for small-batch bedding. Replace each line with a current local quote.
| Item | Six-bird formula | Illustrative range |
|---|---|---|
| Chicks | 6 × $3-$8 | $18-$48 |
| Feed consumed | 108-150 lb × $0.40-$0.70/lb | $43-$105 |
| Bedding | Small-batch allowance | $10-$30 |
| Outside processing | 6 × $4-$10 | $24-$60 |
| Illustrative batch subtotal before housing | $95-$243 | |
The feed line uses consumed feed, not necessarily the amount you pay at checkout. Feed is commonly sold in whole bags, so a small batch may require buying more pounds than the birds eat during this cycle. Shipping, utilities, travel, losses, and local fees are not included in the subtotal.
Keep one-time setup separate. A reused or DIY brooder and grow-out system might be planned at roughly $100-$400, while purchased housing can cost more. For a small backyard batch, housing is a system cost rather than a cost that disappears after one chicken. That’s why I’d judge the project on whether you can reuse the pen, feeder, drinkers, and predator protection for another batch, not on feed alone.
Can you raise meat chickens and laying hens together?
I’d use separate housing where possible. Broilers, layers, and older hens differ in growth, activity, feed needs, and space use. If you combine them, provide enough floor space and make sure one group cannot monopolize the other group’s ration or water.
Do meat chickens need a rooster?
No rooster is needed for birds raised for the table. Both male and female meat chickens can be grown for meat. A rooster becomes relevant if you intend to breed or hatch fertile eggs.
Can you keep fast-growing meat chickens past 10 weeks?
You can, but don’t extend the calendar automatically. Continue only when the birds remain mobile, breathing normally, clean, and able to reach feed and water. Use strain guidance and the daily check to decide whether the extra time is reasonable.
Your next action this week: mark the proposed pen, measure the indoor and outdoor areas, and call one processor before ordering chicks. Then pair this plan with brooder temperature for chicks so the first 14 days are ready before the box arrives.
Frequently Asked Questions
Can you raise meat chickens and laying hens together?
Usually keep them in separate housing because broilers have different feed, growth, activity, and space needs. If you combine them, provide enough floor space and prevent one group from monopolizing the other's ration and water.
Do meat chickens need a rooster?
No. Both male and female meat chickens can be raised for the table, and a rooster is only needed if you intend to breed or hatch fertile eggs.
Can you keep fast-growing meat chickens past 10 weeks?
You can, but fast-growing strains may have increasing mobility, heat, or cardiovascular management concerns as they age. Use strain guidance and the daily health check rather than extending the schedule automatically.