Pasty Butt in Chicks: What to Do in the First 10 Minutes
Ten minutes can make a messy chick cleanup simple or turn it into a tug-of-war. Pasty butt in chicks needs warmth first, then a lukewarm softening of the material stuck around the vent. You’re aiming for an intact, open vent and a dry, alert chick—not a spotless backside at any cost.
If the chick is bleeding, has red tissue coming out of the vent, shows grey or black tissue, or is too weak to stand, skip the home cleanup and call a poultry veterinarian or local extension office. The steps below are for a chick with a surface plug that you can handle without a struggle.
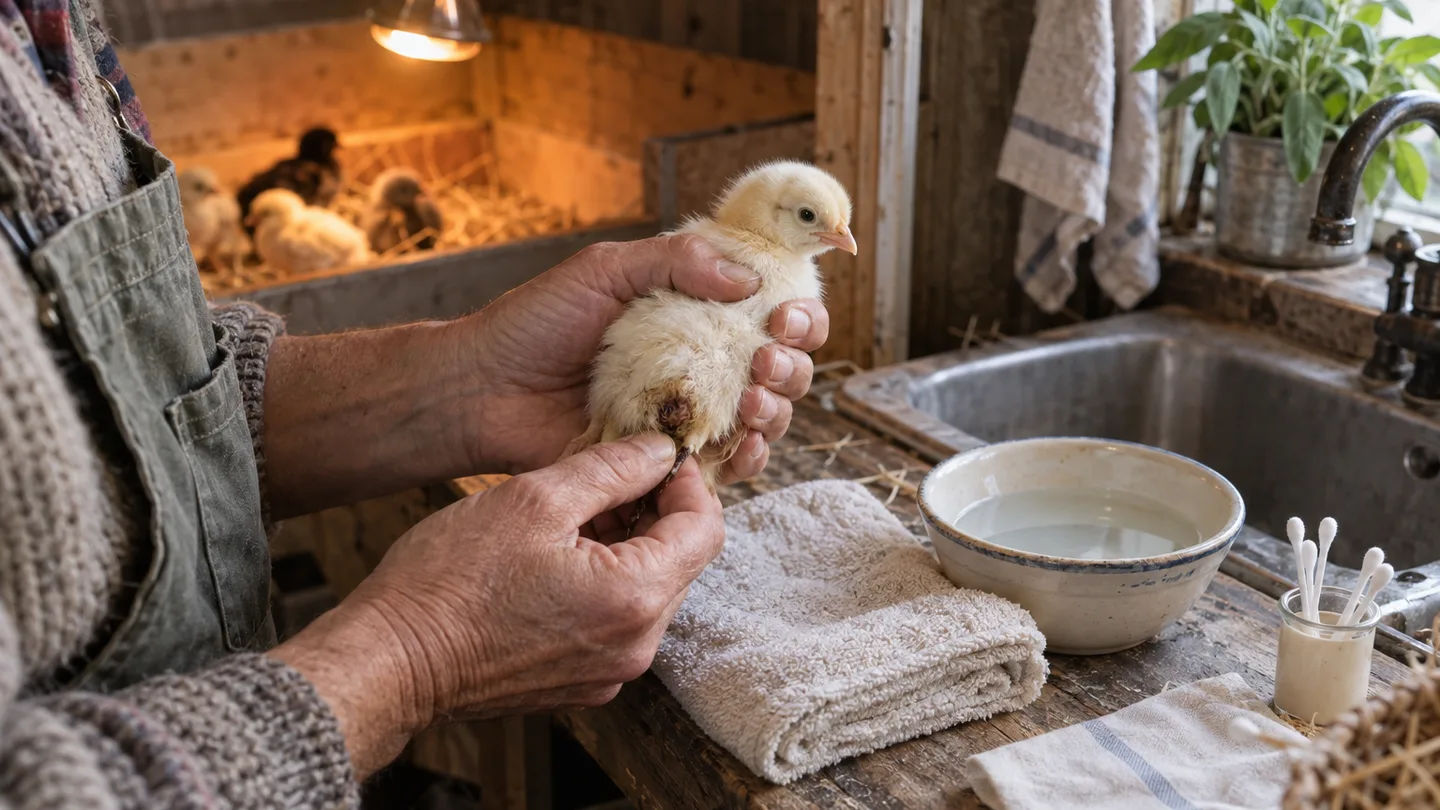
Minutes 0–2: Warm the chick and grade the vent before you touch the plug
Move the chick to a warm, quiet spot before you wet anything. That can be the warm side of a correctly set brooder or a small towel-lined holding box placed beside it. In my own brooders, I run the warm side at about 90–95°F at chick height during the first week, with room for the chick to move toward a cooler area. That’s my starting setting, not a universal dial. I use it because a newly hatched chick has limited feather insulation, while an escape area lets it choose a more comfortable spot.
For the wider setup, compare your arrangement with brooder temperature for chicks. Check the temperature where the chick stands, not several inches above its back. A reading that looks right at adult waist height may not describe the air around a small chick.
In my own small backyard brooder, I once lifted a newly shipped chick and found a hard, pea-sized crust at the vent. The chick could stand, but it was tucked down and quiet. My first instinct was to catch the dry edge and lift it. It resisted immediately. I stopped instead of tugging, warmed the chick, and softened the crust before touching it again. That pause is now part of my routine.
Before you reach for water, grade what you’re seeing. A simple plug looks like dried tan, brown, or greenish material stuck to the feathers or skin around the vent. The chick may still breathe normally, hold itself upright, and respond when you pick it up. Pink or irritated skin needs a gentler cleanup, but it is still different from tissue protruding through the opening.
Treat moist red or pink tissue coming from the vent as a possible prolapse, not as more dried poop. Stop if you see bleeding, grey or black tissue, a swollen abdomen, repeated straining, open-mouth breathing, or a chick that cannot stand. Those signs change the job from surface cleaning to veterinary triage. Keep the chick warm while you call for advice.
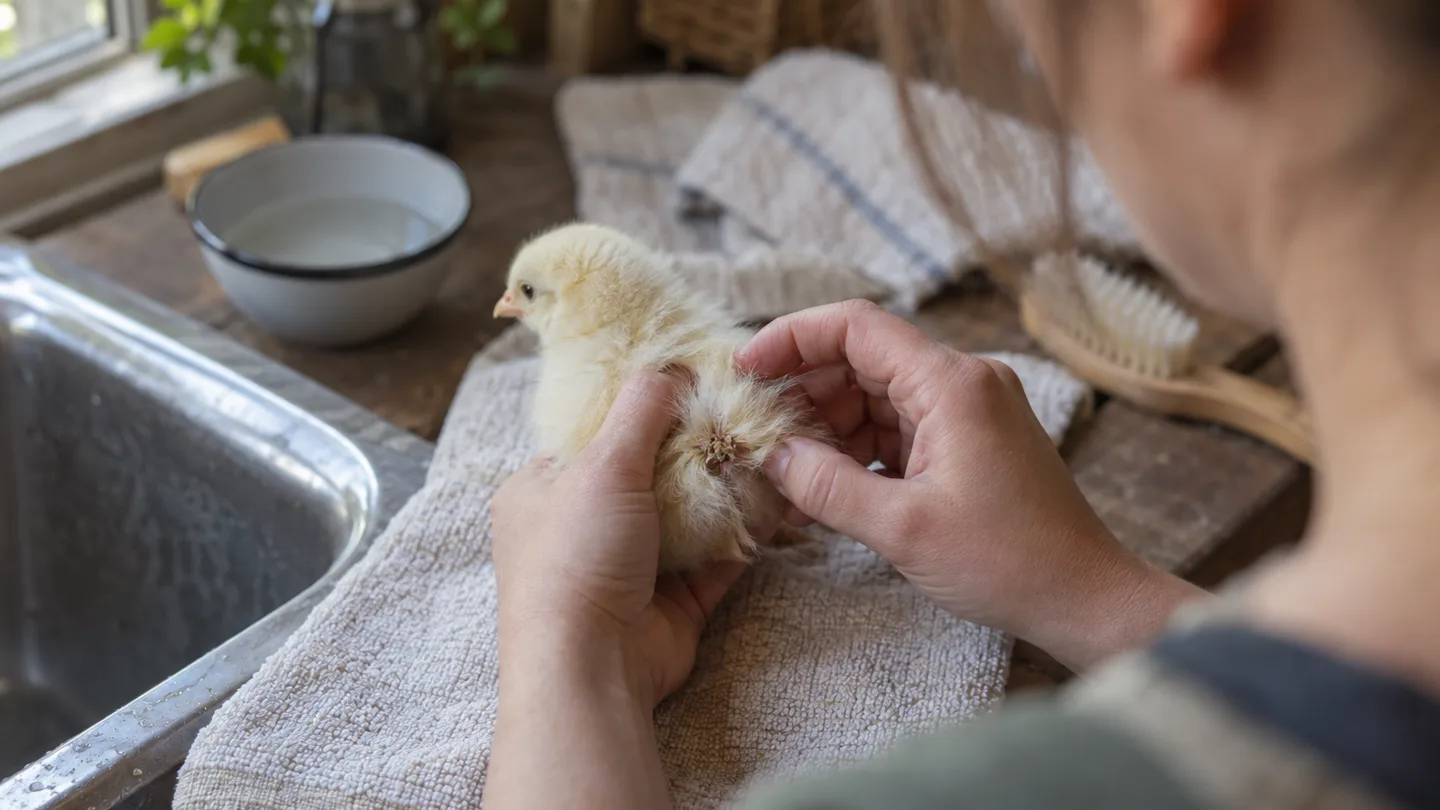
Minutes 2–8: The 5–10-minute lukewarm-water release
Prepare before you pick up the chick again. Wash your hands. Use a shallow container of lukewarm water that feels comfortable on your wrist. Keep a soft cloth or clean cotton pad nearby. You only need enough water to wet the soiled vent area, not enough to immerse the chick.
- Support the chick’s body and head. Hold it securely over the container, with the head well above the water. Keep the body steady without squeezing the abdomen. A second person can help if the chick is wriggly.
- Wet the stuck material, not the whole bird. Dab or briefly rest only the dirty vent area in the water. Keeping the damp patch small reduces the amount of wet feathering you need to dry afterward.
- Give the crust time to soften. I’ve found that five minutes is usually enough to start softening a small surface plug, and I give it up to ten minutes before reassessing. That is my own handling window, not a promise that every plug will release on that schedule.
- Loosen from the outside. Use wet fingertips or a soft cloth to work the material away from the feathers and skin. Start at the edges. If it slides away, let it come free. If it pulls at the skin, stop and wet it again rather than increasing force.
The goal is to soften and lift surface material. You are not probing the vent opening. Don’t use soap, household disinfectant, scissors, or tweezers. Soap and disinfectant can irritate already tender skin, while a sharp tool can turn a stuck crust into a cut. Dry material can also be attached to feather shafts or skin, so pulling on the visible edge may remove more than the plug.
If the plug still will not release after a careful soak, rewarm the chick and stop escalating the home fix. A longer fight is not automatically a better cleanup. Call a poultry veterinarian or local extension office, especially if the skin looks raw, the chick is tiring, or the blockage returns as soon as you clear it.
Minutes 8–10: Dry completely, protect the skin, and return to a 90–95°F zone
The cleanup isn’t finished when the plug comes away. Blot the wet area with a soft towel. Don’t scrub. Hold the chick in the warm zone until the vent and nearby feathers are fully dry, then look once more at the skin. You want the opening visible, the surrounding skin intact, and no fresh material sealing it again.
If the outer skin looks chafed but intact, you can choose to apply an extremely thin smear of plain petroleum jelly to the surrounding external skin. Keep it outside the opening. Never pack ointment into the vent. Petroleum jelly is a surface barrier, not a treatment for a weak chick, ongoing diarrhea, prolapse, or a recurring blockage. Avoid medicated creams unless the product label specifically permits that use or a veterinarian directs you to use one.
Once the chick is dry and alert, place normal chick starter and clean water within easy reach. For feeding details, see feeding baby chicks. Let the chick drink on its own. Do not squirt water into the beak or force fluids, because liquid can enter the airway if the chick cannot swallow properly.
Return the chick to the warm side of the brooder, using the 90–95°F setting I use during my own first week, with a cooler area available. Watch the chick for a few minutes. A useful first check is whether it can stand, breathe quietly, keep its head up, and move toward food or water. I recheck the vent after 30–60 minutes because that fits my own routine of checking between other backyard chores. At that check, the vent should still be open, the skin should not be increasingly swollen, and the chick should not be collapsing or repeatedly straining.
After the first cleanup: the 30–60-minute recheck and the signs that end home care
One cleaned plug does not tell you exactly why it formed. Hatch or shipping stress, chilling, overheating, dehydration, and a disrupted feeding or watering routine can all sit in the background. The visible crust is the endpoint you can see. It does not identify the underlying cause by itself.
If you have six chicks and one has a pasted vent, clean that chick first, then look at the other five. Check that every chick can reach the drinker. Look for damp bedding, a tipped waterer, a draft, or a heat zone that leaves no comfortable place to move away. If two or more chicks develop pasted vents, treat that as a brooder-check problem rather than repeatedly cleaning individual backsides.
For the rest of the day, I use the first 30–60-minute check as the decision point, then glance at the affected chick every few hours while the brooder is active. Seek veterinary or extension guidance if you see any of the following:
- the vent blocks again repeatedly the same day;
- the chick stays markedly weak, refuses to drink, or cannot remain upright;
- droppings are persistently watery or contain blood;
- the abdomen looks swollen or the chick keeps straining;
- tissue protrudes, bleeds, or turns grey, purple, or black.
Those are not good moments to keep experimenting with home products. Keep the chick warm and bring a clear description of what you saw, how long it has been happening, and whether other chicks are affected. For a second reference, compare your observations with university extension chick brooder guidance. For protruding tissue or repeated straining, use poultry veterinary guidance on cloacal prolapse rather than trying to push tissue back yourself.
Prevention is mostly a short daily check, not a complicated treatment plan. In my own first-week routine, I keep the warm side around 90–95°F at chick level, provide clean water that every chick can reach, replace damp bedding promptly, and look briefly at each vent once or twice a day. I don’t smear heavy ointment over every chick as a routine. I’d rather keep the bedding dry, the water accessible, and the brooder easy to observe.
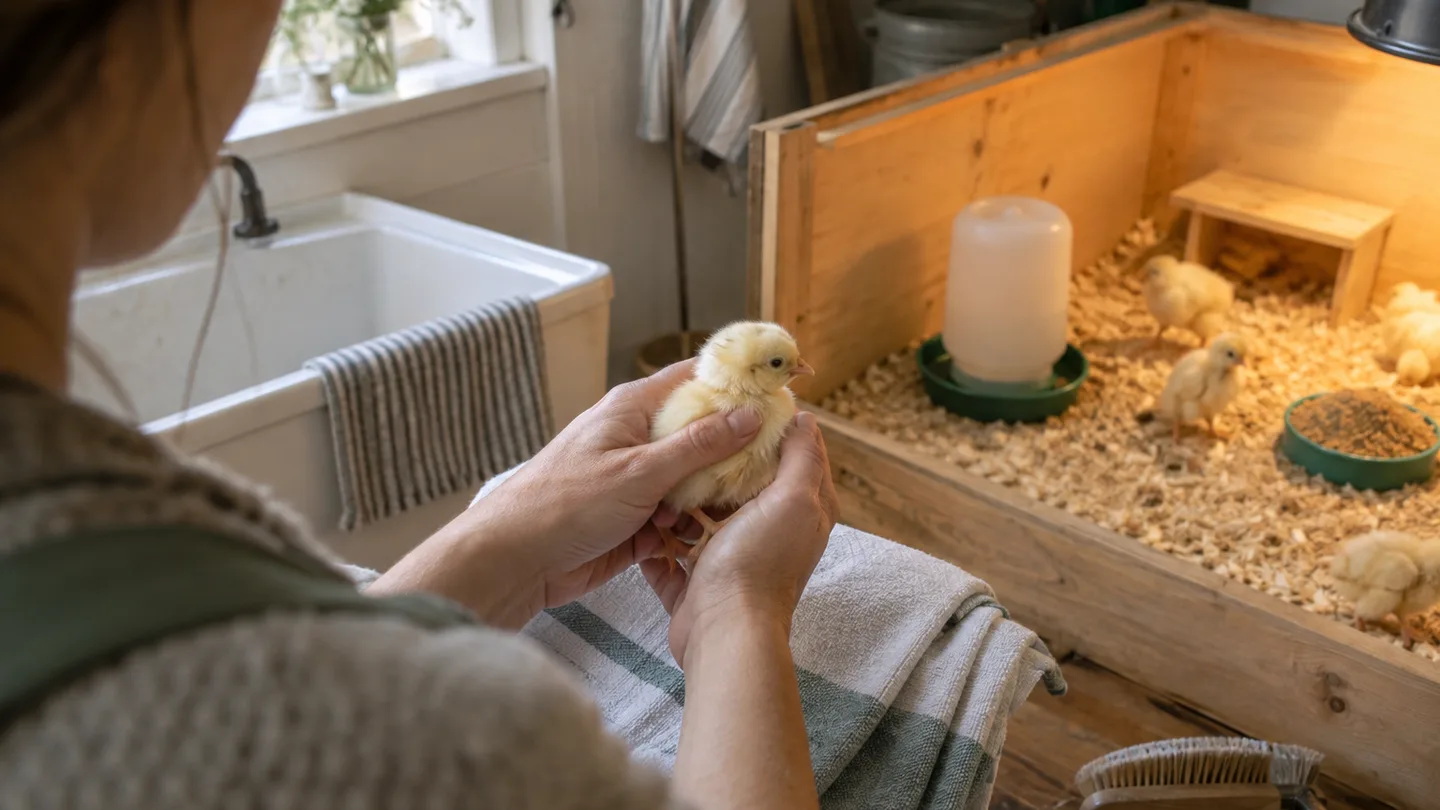
The useful rule is simple: protect warmth, soften before lifting, dry completely, and stop when the signs no longer look like a surface plug. Before this week ends, put a shallow dish, soft cloth, clean towel, and spare bedding beside your brooder so you’re not searching for supplies while holding a chilled chick. Then use raising baby chicks week by week to build the rest of your first-week check routine.