Incubator Humidity: 45–55% Before Lockdown, 65–70% After
At day 18, the useful humidity change is simple: move from 45–55% relative humidity to 65–70% and stop turning. Before that point, the lower band gives chicken eggs room to lose moisture and grow the air cell they need for hatching.
In my own small backyard setup, I once filled both water channels on day 1 because the display looked dry. By the next check, the window was misted and the air cell looked smaller than I wanted. I returned to one exposed channel, left the vents open, and changed only one thing at a time. That episode didn’t prove one channel is right for every machine. It taught me to use the egg as a second instrument.
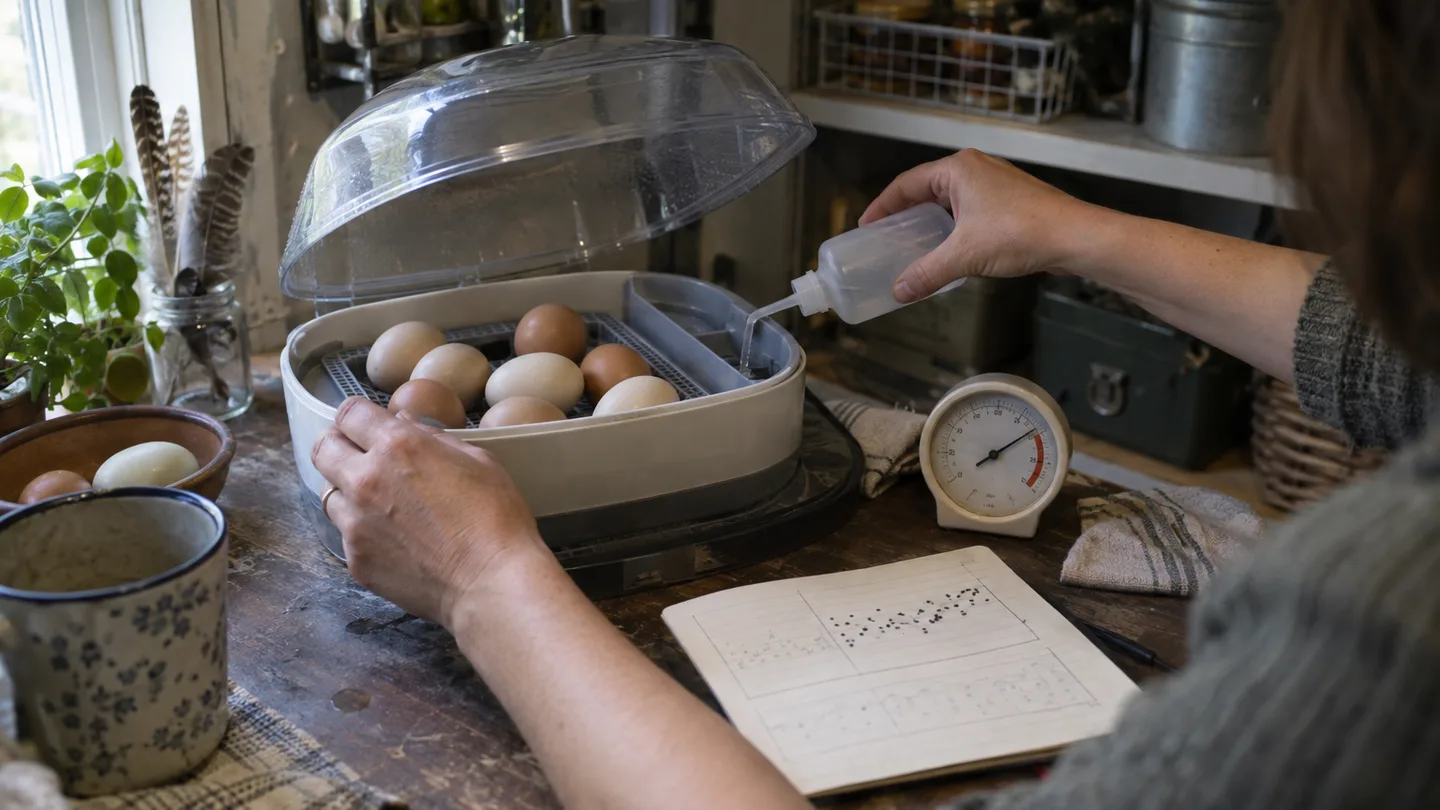
The working schedule: 45–55% on days 1–18, then 65–70% from lockdown
For standard chicken eggs in a ventilated incubator, use 45–55% RH as your starting band from setting through the end of day 18. At lockdown, raise the exposed water surface until the incubator settles around 65–70% RH. Keep that higher range through the main hatch window, usually around days 19–21.
| Stage | Humidity starting point | Main action |
|---|---|---|
| Days 1–17 | 45–55% RH | Turn eggs and watch the trend |
| End of day 18 | Raise to 65–70% RH | Stop turning and close for lockdown |
| Days 19–21 | Hold 65–70% RH | Keep the lid shut during pipping |
Those bands are a starting framework, not a promise that every incubator will behave identically. Room humidity, airflow, sensor error, incubator design, egg size, and shell porosity can all change the result. If your machine’s manual gives a specific channel or vent procedure, follow that hardware guidance while using air-cell development or egg weight to judge whether the moisture loss is on track.
Humidity controls egg water loss, not just a number on the display
An incubating egg slowly loses water through its shell. As that moisture leaves, the air cell at the broad end expands. By hatch time, the chick needs that air space as part of the normal transition from breathing through the shell to breathing air.
When you can weigh eggs from setting through day 18, roughly 11–14% total weight loss is a useful chicken-egg benchmark. The calculation is straightforward: subtract the day-18 weight from the starting weight, divide by the starting weight, and convert the result to a percentage. That gives you a direct check on moisture loss instead of asking one small sensor to tell the whole story.
Too little humidity can produce excessive water loss and an air cell that grows too large. Too much can leave a smaller-than-desired air cell because the egg has not lost enough moisture. Neither result means the hatch is automatically lost, but each tells you to review the trend and make a measured correction.
The display is useful. It simply isn’t the final judge. A sensor can read 50% while sitting too close to a water tray, a heater, a wall, or a strong stream of air. The egg shows what that reading is doing inside the chamber.
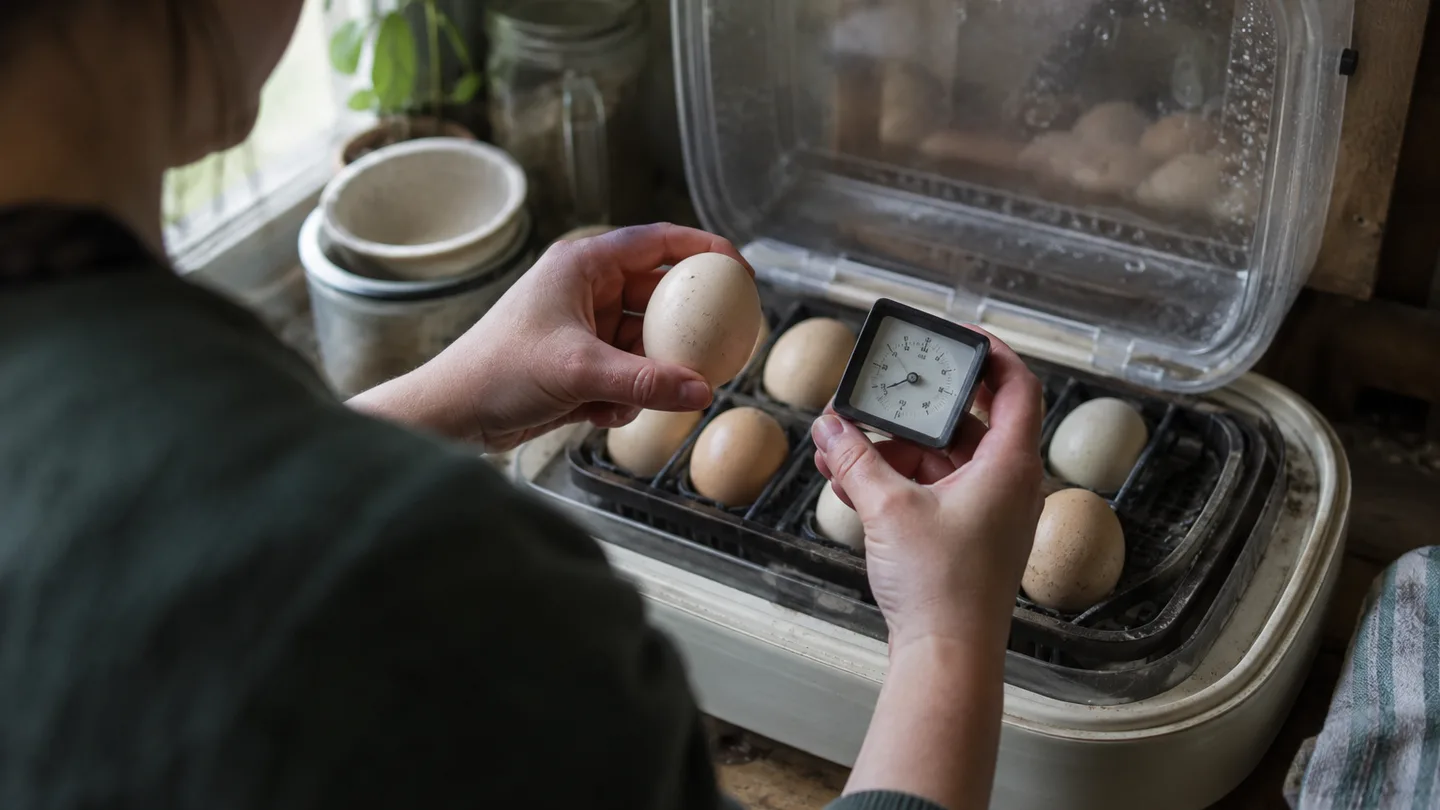
Before adding water, verify the hygrometer at egg height
Before you adjust incubator humidity, check that you’re measuring the air around the eggs rather than a warmer or wetter pocket elsewhere in the cabinet.
- Place the sensor at roughly egg height, where it won’t touch an egg, tray, wall, heater, or water.
- Keep it out of direct airflow from a fan or vent. A sensor in the stream can react faster than the eggs do.
- If you have a second hygrometer, run both together in the same position. A consistent difference gives you an offset to record.
- For a simple reference check, use a sealed container with damp salt and the sensor suspended above it. A stable setup should read near 75% RH at ordinary room temperature. Record how far your sensor sits above or below that reference.
In my checks, I leave the salt reference undisturbed for several hours rather than opening it repeatedly. That is a personal practice, not a universal laboratory procedure. The useful part is the comparison: if the sensor reads 70% in the reference, I know its incubator readings need to be interpreted differently from a sensor that reads close to 75%.
Do this check before setting eggs if possible. Correcting a known offset is calmer than pouring in water every time the display moves by two points.
Days 1–7: hold 45–55% while the first readings establish your baseline
During the first week, aim for 45–55% RH and resist constant tinkering. Take readings at consistent times and write down the room conditions beside them. A dry heated room may make the water level fall quickly. A cool room can make the same chamber behave more slowly.
At about day 7, use candling eggs as a short inspection rather than a reason to leave the lid open. You’re looking for developing veins and an early air cell at the broad end. It may still look small. The useful comparison comes later, so don’t make a large humidity change because of one uncertain view.
A brief fluctuation after opening the lid is less concerning than a reading that stays outside the target band for hours or days. Close the incubator, let the chamber settle, and record the direction before you react.
Days 8–18: use the air cell or egg weight to decide whether 45–55% is working
By day 14, candling gives you a better correction point. Compare the air cell with its earlier shape and size. If you weigh eggs, record them at setting, around day 7, around day 14, and again at day 18. The path matters more than a single number.
A smaller-than-expected air cell or lower-than-expected weight loss points toward excessive humidity. Reduce the exposed water surface slightly and keep the vents operating as the incubator manual directs. A very large air cell or greater-than-expected weight loss points toward insufficient humidity. Add a little exposed water surface rather than flooding the base.
Make one adjustment, then give the chamber time to show a trend. Repeatedly lifting the lid, adding water, removing water, and moving the sensor can create the unstable conditions you’re trying to fix. If you’re following a broader how to incubate chicken eggs routine, put humidity checks alongside turning and temperature checks in the same log.
Lockdown at day 18: raise the exposed water surface to reach 65–70%
At the end of day 18, finish the last turning cycle, stop turning, and prepare the incubator for lockdown. Raise humidity by increasing the exposed water surface. That may mean filling a second channel, adding water to a shallow reservoir, or using the tray arrangement specified in your machine’s manual.
Increasing surface area works better than spraying the eggs. Spraying adds a temporary wet layer without giving you reliable control of chamber humidity. Keep the vents open. The incubator still needs adequate air exchange, and closing vents to hold a humidity number creates a different problem.
Prepare everything before closing the lid: clean water, a small pouring cup, the brooder, and a way to record the lockdown reading. The exact water channels belong to the manufacturer's incubator instructions, especially on compact models where a small change in surface area can move the reading quickly.
My preference is to make the transition once, then leave the machine alone. If the display settles at 67% and the vents are open, that is a better situation than chasing 70% by opening and closing the lid.
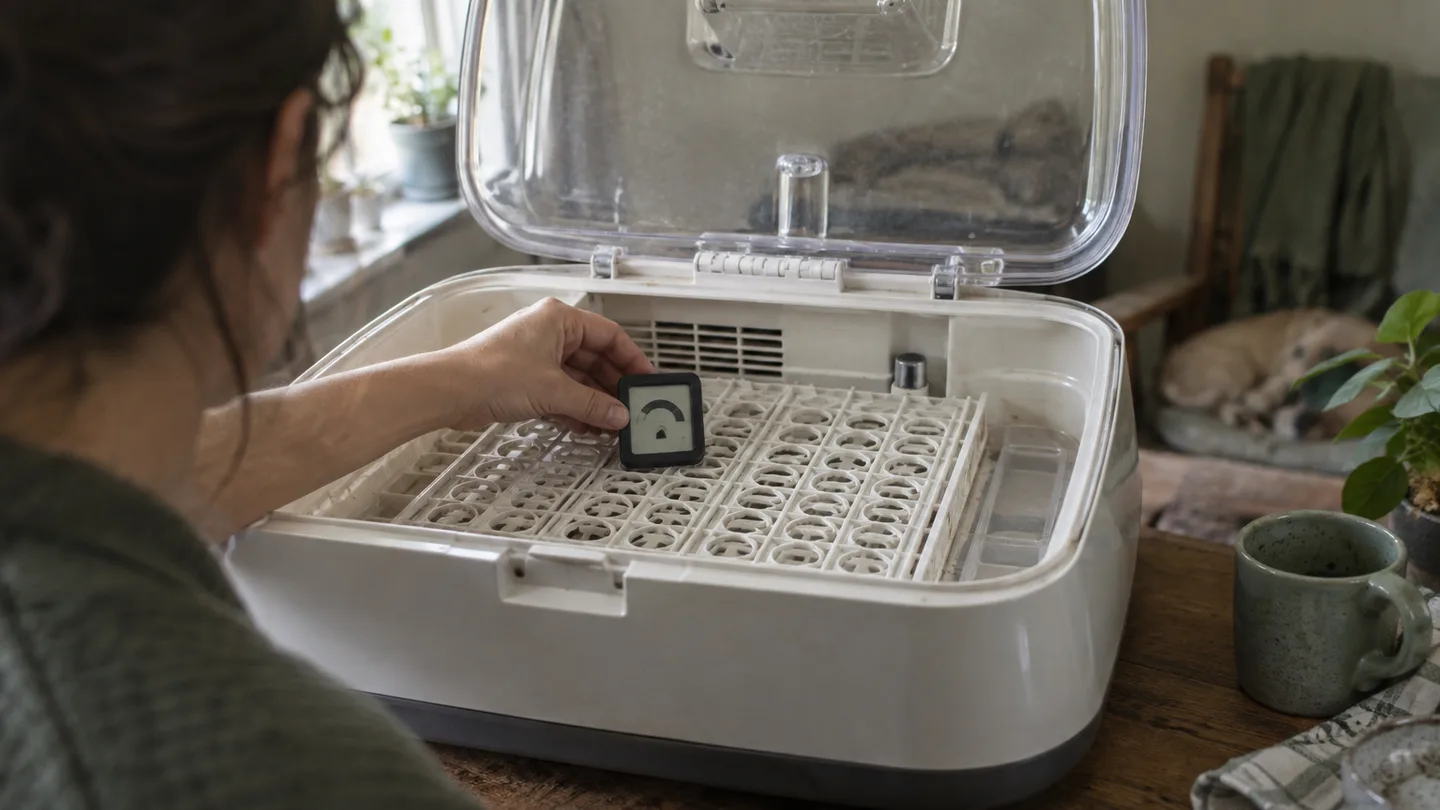
Days 19–21: keep 65–70% steady while pips become hatchlings
Once lockdown begins, the goal is a stable, humid hatch environment. When a chick pips, the inner membranes are exposed to the chamber air. Opening the lid can cause a quick RH drop, and that drop can dry those membranes before the chick has finished turning and pushing free.
Don’t treat every one- or two-point display movement as an emergency. If the reading falls below 65%, add water through the designed channel if you can do so without a long opening. If you must open the lid briefly, refill cleanly and close it again. If the reading rises above 70% with heavy condensation, don’t seal the vents or remove every drop of water at once. Reduce the exposed surface modestly and watch the trend.
A pipped chick may take a long time to finish hatching. Slow progress by itself is not a reason to peel shell away. Keep the environment steady unless you have a clear equipment problem or a welfare concern that needs experienced veterinary or extension advice.
When humidity is off: a symptom-to-cause table for low, high, and unstable readings
Use the table as a checking order, not as a diagnosis carved in stone. Humidity interacts with temperature, airflow, shell quality, and sensor placement.
| What you see | Likely mechanism | Safest first move |
|---|---|---|
| Below 45% before lockdown for a sustained period | Too little exposed water, a dry room, or an offset sensor | Check sensor position, then add surface gradually |
| Above 55% before lockdown for a sustained period | Too much exposed water, poor airflow, or a cool chamber | Reduce water surface modestly and keep vents open |
| Below 65% after lockdown | Not enough exposed water or a lid opening | Refill the designed channel and close the lid |
| Above 70% with persistent condensation | Excess surface area or a cool viewing window | Check temperature and reduce surface slightly |
| Unusually small or large air cell | Moisture loss has been too low or too high | Use the next correction point rather than making several changes |
| Sticky-looking chick | Review both pre-lockdown moisture loss and hatch humidity | Don’t assume one display reading explains the hatch |
Condensation deserves a careful reading. It can mean the chamber is near saturation, but it can also form because the window is cooler than the incubator air. Treat it as a prompt to check temperature, vents, water surface, and sensor placement—not proof that every egg is too wet.
The same rule applies to a sticky chick. Excessive moisture loss before lockdown can leave the air cell too large, while poor humidity during pipping can dry exposed membranes. Look at the whole timeline. Repeatedly opening the lid to chase a single reading is often worse than accepting a short-lived spike and keeping the chamber closed.
Dry rooms, altitude, and still-air incubators can change the starting point
A heated winter house or naturally dry climate can make exposed water evaporate faster and make refilling more frequent. That does not automatically mean you should seal the vents. Use a larger water surface if the eggs show excessive weight loss or oversized air cells, and keep the air exchange your model requires.
At higher elevations, lean more heavily on egg weight and air-cell development instead of assuming that the same display setting is ideal. Still-air incubators deserve the same caution: temperature and humidity can vary by height, so place the sensor where the eggs sit and follow the model’s instructions for still-air operation.
That is also where extension guidance on chicken-egg incubation can help you compare air-cell development and weight-loss practice with your local conditions. Generic ranges are useful starting points. Your eggs provide the local evidence.
Your 21-day humidity log: test the sensor this week, then prepare the brooder
Before setting eggs, make a one-page log with space for room temperature, room RH, incubator RH, water added, candling notes, and egg weights if you have a scale. Test the hygrometer with a sealed salt reference. Run the empty incubator for about 24 hours so you can see how quickly the machine settles. Mark day 18 clearly, and prepare the brooder before hatch day rather than during it.
Your concrete action this week is simple: verify the sensor and start the humidity log before the eggs go in. Then review brooder temperature for chicks, because the humidity schedule ends when the chick leaves the shell and the next care problem begins.