How to Incubate Chicken Eggs: A Day-by-Day 21-Day Guide
At 99.5°F, a forced-air incubator can still produce a poor hatch if the eggs are turned irregularly, the temperature is chased after every small dip, or the lid is opened during lockdown. This day-by-day guide to how to incubate chicken eggs gives you a workable routine from the empty test run through the first move to the brooder.
Use the temperatures and humidity ranges as starting settings, not sacred numbers. Your incubator design, room temperature, shell colour, egg size, and thermometer accuracy can all change what you see.
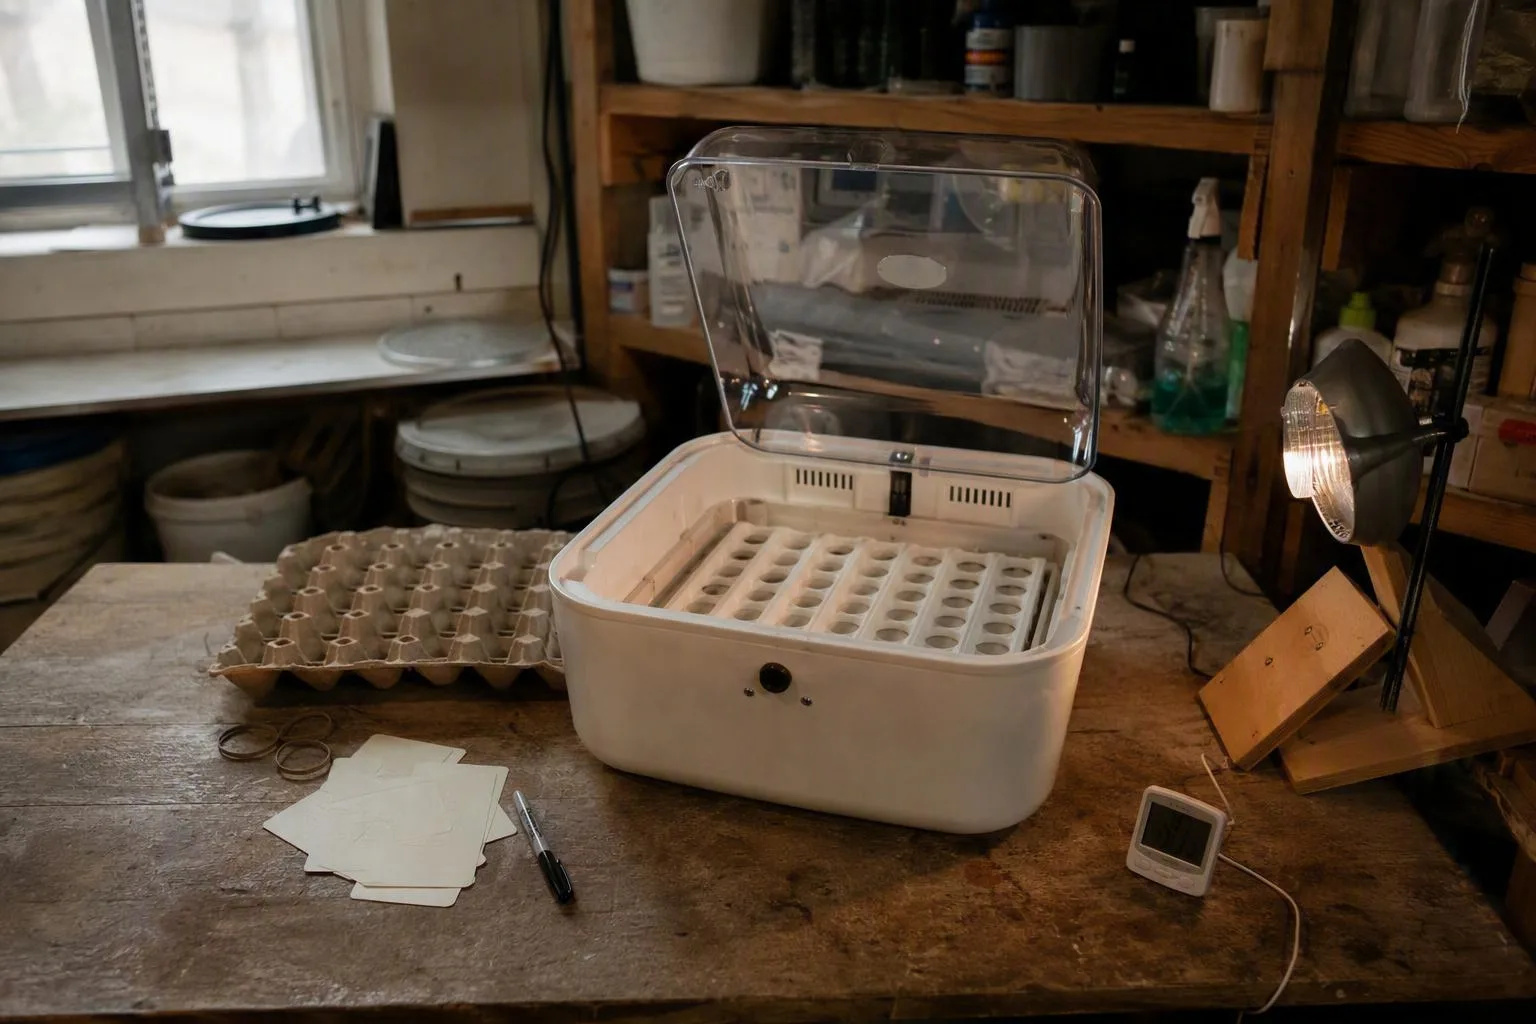
Before day 0: stabilize the incubator and choose eggs that can hatch
Treat the empty run as part of incubation, not wasted time. Run the incubator for 12–24 hours before setting eggs. Let it reach a steady temperature, then check whether the reading stays in range while the heater cycles. A forced-air model is usually started near 99.5°F (37.5°C). A still-air model is commonly started around 101–102°F (38.3–38.9°C), with the thermometer read at the top of the eggs. Still air forms warmer and cooler layers, so probe height matters.
- Put the thermometer or probe at egg height. Don’t leave it touching the heater, wall, or water tray.
- Fit the turning tray before eggs arrive. Confirm that it tilts without pressing shells against the sides.
- Identify the water channels in the manual. You need to know which channel produces your lower setting and which adds more moisture.
- Leave the vents available for adjustment. Chicks need fresh air near hatch, so don’t seal the incubator to hold humidity.
- Start the brooder before setting eggs. Have heat, dry bedding, a shallow drinker, and chick starter ready for every chick you might hatch.
In my own small-backyard routine, I write the set date on the incubator log before an egg goes in. I learned to stop treating the display as the whole story. A unit that has not settled gives you no useful baseline, and a normal post-loading temperature dip is easy to mistake for a crisis.
Choose clean, uncracked, normally shaped fertile eggs from a flock that includes a rooster or from a supplier selling hatching eggs. Store them pointed end down in a cool room, roughly 55–65°F, and aim to set them within about seven days. Keep them away from direct sun and large temperature swings. An egg from a hen kept without a rooster will not develop a chick, no matter how accurate your incubator is.
For a second check on equipment details, use University extension incubation guidance and your incubator manufacturer's model manual. The manual wins for sensor placement, tray fit, vent controls, and water channels because those parts differ between models.
Days 0–6: set, mark, and turn the eggs on a schedule
Set each egg pointed-end down if your tray is designed for upright eggs. If your incubator uses a flat floor, lay the eggs on their sides with the broad end slightly higher if the design allows it. Mark opposite sides with a pencil X and O. The marks aren’t for the embryo. They stop you from turning the same way every time.
Begin a repeatable turning routine as soon as the eggs are settled. My minimum is three turns a day. For hand turning, three to five turns works well as a practical target. An odd number means the egg rests on a different side overnight, rather than returning to the same position each evening. Turn gently through a similar angle each time. If your automatic tray is fitted correctly, check that it completes its movement without scraping shells.
Expect the temperature display to fall after cool eggs enter the incubator. The eggs absorb heat, and the heater may need time to bring the whole chamber back up. Don’t immediately increase the set point. Overcorrecting can create a hotter period after the eggs have already started recovering.
Keep a short daily log:
- morning temperature and humidity reading;
- turning times or an automatic-turner check;
- water added, if any;
- power cuts, opened lids, or unusual room temperature;
- your candle dates: day 7 and day 14.
A log turns a disappointing hatch into something you can diagnose. Without one, every possible cause starts to look equally likely.
Day 7 candling: read veins, the air cell, and a clear egg
At day 7, candle with a small bright light in a dark room. Work quickly. Hold the light against the broad end or under the egg, depending on your candler, and look for a dark spot with branching veins spreading through the contents. A developing embryo may move, but movement is not required for a useful candle.
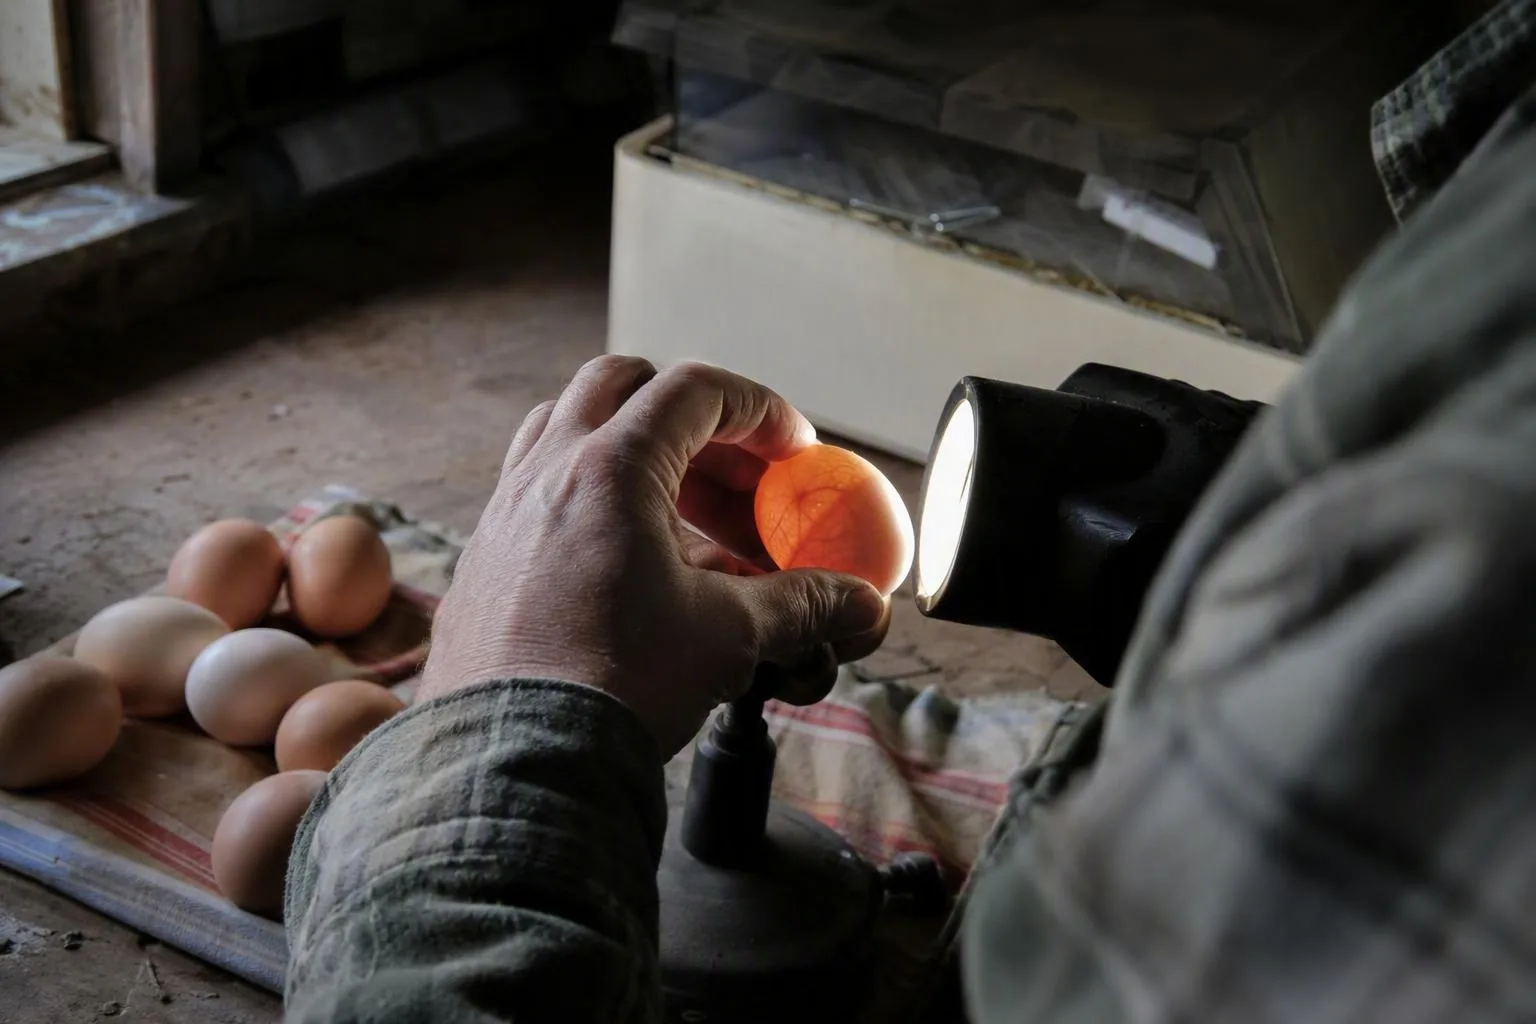
A clear egg has no visible vein network or developing shadow. A blood ring looks like a reddish circle or broken ring inside the shell. A cracked or leaking egg should be removed because it can contaminate the incubator. If you see a definite blood ring, discard that egg rather than returning it to the tray.
Uncertainty deserves another check. Dark brown, blue, or heavily speckled shells can hide early development. A slow-looking egg may simply be harder to read. Mark it, return it, and candle again around day 14. Don’t discard an egg from one uncertain glimpse just because it doesn’t look like a textbook photograph.
Keep our candling eggs guide beside the incubator if you want a slower comparison of clear eggs, veins, blood rings, and air cells.
Days 8–14: hold a starting humidity range and check development again
For days 0–18, begin around 40–50% relative humidity and watch the eggs rather than trying to force one number. In a small incubator, a little water can change the reading quickly. Humidity is controlled mainly by exposed water surface and ventilation, not by filling every channel automatically.
Keep a forced-air temperature near 99.5°F and continue turning. If you hand turn, keep the same schedule from week one. If an automatic tray is operating, make sure eggs still have room to tilt and that condensation or bedding has not blocked its movement.
At the day 14 candle, compare each egg with its earlier appearance. You’re looking for a larger, darker embryo, a stronger network of vessels, and an air cell that has enlarged as moisture leaves the egg. Egg size, shell porosity, room humidity, and incubator design change the picture, so air-cell development is more useful than chasing a perfect online outline.
An unusually small air cell suggests that the egg has lost less moisture than your setup calls for; an unusually large one suggests more moisture loss. Make a modest humidity adjustment and watch the next trend. Don’t empty the tray or flood the incubator based on one reading from a cheap hygrometer.
That is the middle-game judgment call: steady conditions beat constant fiddling. A stable incubator with a slightly imperfect reading is often easier to manage than one that swings between corrections.
Days 15–18: finish turning, prepare the brooder, and start lockdown
Days 15–17 are still incubation days. Continue turning and keep checking temperature, water, and ventilation. Use day 18 as the changeover point. At the start of day 18, stop turning. Remove or disable the turner if your model requires it, and lay the eggs flat only if the incubator’s design and manual allow that arrangement.
For lockdown, raise humidity to about 65–70% as a starting range for the final three days. Add water to the specified channel or channels. Don’t pour water across the floor or flood the fan area. Keep the vents open according to the manual. A chick needs air as it moves from internal pipping to external pipping, and sealing vents to protect a humidity number creates a poor trade.
Day 18 is a changeover, not a finish line.
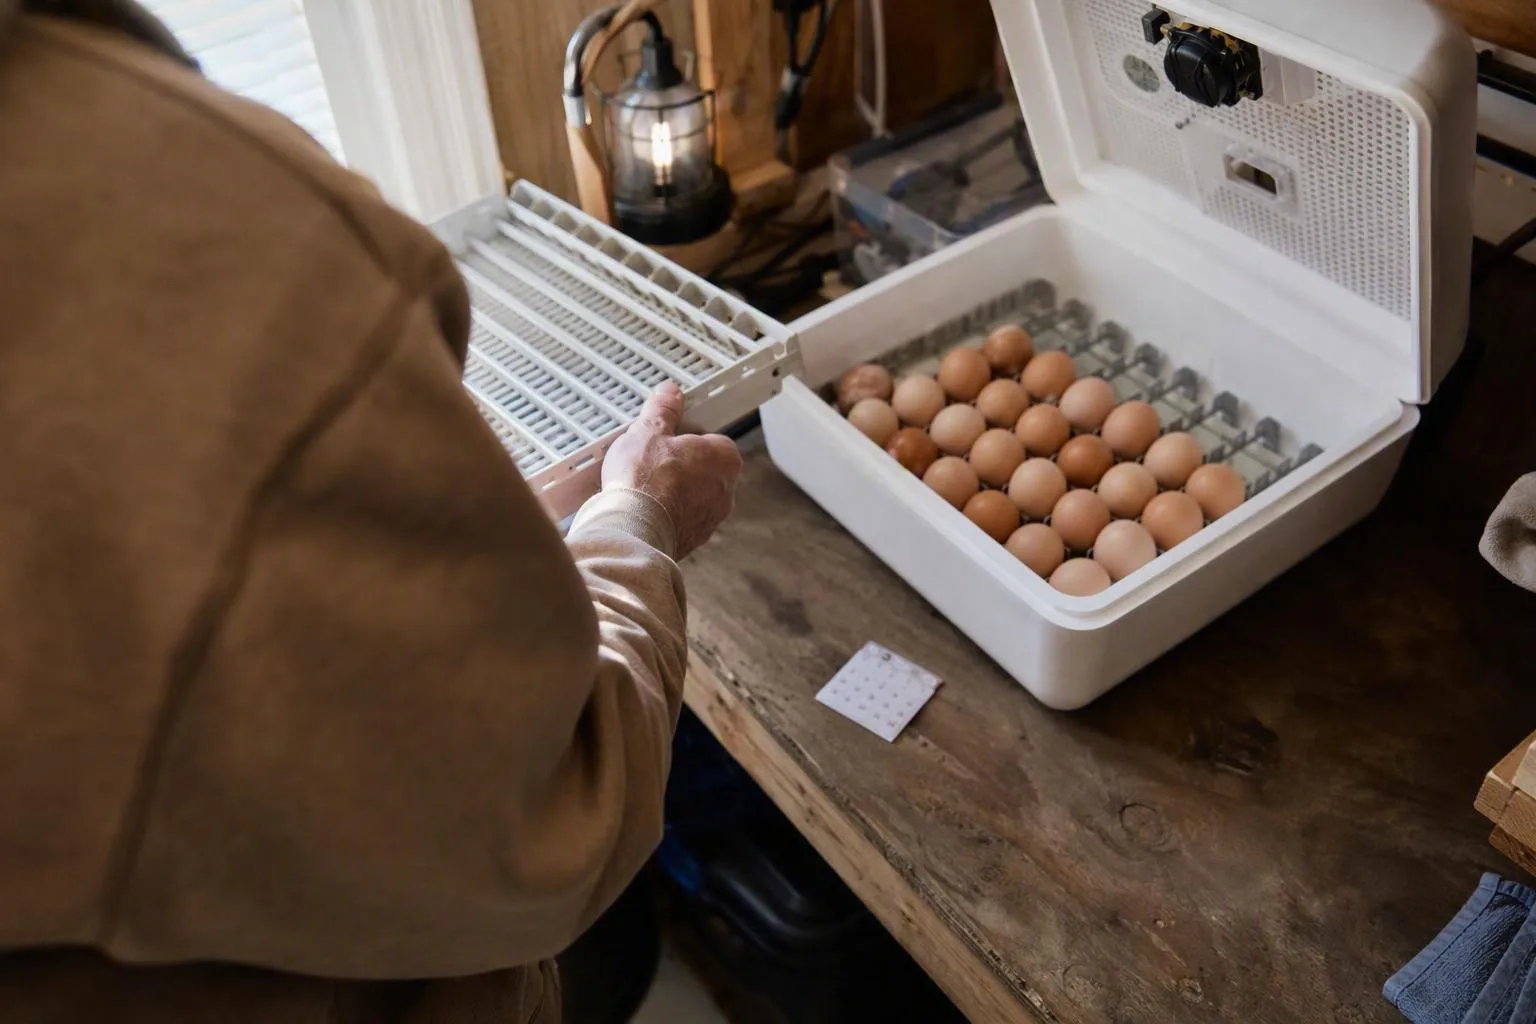
Before lockdown, the turner is moving, the eggs are tilted, and you can make routine checks. After lockdown, the eggs are still, the humidity is higher, and the lid should stay closed unless there is a genuine equipment problem. Put the brooder in place now. At chick level, start around 90–95°F, then let the chicks’ behaviour help you fine-tune the height or heat source.
Your brooder temperature for chicks matters, but behaviour gives the faster warning. Chicks pressed tightly beneath the heat are asking for more warmth. Chicks spread far away, panting or holding their wings out, are asking for less. Chicks moving, resting, and eating across the available space are giving you a better signal than a thermometer mounted at the wrong height.
Days 19–21 and the first day out: let the hatch take its time
Near hatch, the chick may make an internal pip into the air cell before you see a hole in the shell. External pipping comes next, followed by a slow cut around the shell called zipping. A pause of many hours after the first external pip can be normal for an individual chick. Plan around day 21, but keep the incubator available through days 20–22 when earlier temperature history and equipment variation may have shifted development.
Keep the lid closed once pipping begins. Opening it can change the warm, moist hatch environment quickly. That matters most when a chick has pipped and the inner membrane is still exposed. Resist the urge to help because the shell has not changed for an hour. Time alone does not tell you that a chick is stuck.
Move a chick when it is dry, active, and able to stand, commonly within 12–24 hours of hatching. A newly hatched chick can rest while it dries. When you move it, use a quick transfer to the preheated brooder. Check that it can reach water and feed without climbing or falling into either one.
For the first inspection, look at behaviour. An alert chick that walks, rests, pecks, and returns to the warm area is easier to assess than one that is limp, bleeding, gasping, or unable to stand. Separate concerns such as a persistent leg problem, severe weakness, breathing trouble, or bleeding from the hatch area from ordinary wetness and fatigue. A vet or local extension office is the right next call for a chick in distress, especially before you attempt shell assistance or medication.
If day 23 arrives with no hatch, review the chain rather than opening eggs at random. Check thermometer calibration, egg storage age, whether turning stopped on time, whether the automatic tray actually moved, and your temperature history. A low average temperature can delay development; a high period can damage it. If you need to investigate unhatched eggs, get local veterinary or extension guidance instead of assuming that one visual sign proves the cause.
Three questions that come up before the first hatch
Can grocery-store eggs hatch? Don’t plan a hatch around ordinary grocery eggs. Eggs from a flock kept without a rooster cannot develop, and grocery eggs may have been refrigerated or handled for eating rather than selected for hatching. Use fresh fertile eggs from a known flock or a reputable hatching-egg supplier.
What if the incubator loses power? Keep the lid closed, preserve ventilation, and restore the normal setting when power returns. Don’t compensate by overheating the chamber. The likely effect depends on how long the eggs stayed cool and how quickly conditions return, so record the interruption for your later hatch review.
How many eggs should you set? Stay within the incubator’s rated capacity so eggs can turn and air can circulate. Plan brooder space for every egg you set because fertility and hatch results vary. Capacity is not the same as the number of chicks you can comfortably raise.
This week, choose a possible set date, read your model manual, and run the empty incubator for one full night. Put a thermometer at egg height, make a turning log, and get the brooder ready before you order eggs. Once the hatch is underway, the next practical step is raising baby chicks week by week.
Frequently Asked Questions
Can grocery-store eggs hatch in an incubator?
Usually not: most grocery eggs are unfertilized, and refrigeration and handling reduce viability. Use fresh fertile eggs from a flock with a rooster or a reputable hatching-egg supplier.
What should I do if the incubator loses power?
Keep the lid closed, preserve ventilation, and restore the normal target temperature without trying to compensate by overheating. The likely effect depends on how long the temperature stayed low and how quickly it returns to range.
How many eggs should I set if I want a certain number of chicks?
Stay within the incubator's rated capacity so eggs can turn and air can circulate, then plan brooder space for every egg set because fertility and hatch results vary and no hatch rate is guaranteed.