How to Keep Chicken Water From Freezing: 7 Safe Fixes
At 32°F (0°C), water has reached the point where ice can start forming. A small drinker sitting in shade with wind moving across it can become unusable long before your afternoon forecast sounds alarming. The safe answer to how to keep chicken water from freezing is to plan for the coldest hour and the number of hours below freezing, then match the fix to how often you can check the coop.
For a flock of three to twelve hens, a passive fix may cover a brief skim of frost. Repeated nights below freezing call for rotation, insulation, or active heat. The aim isn't to make one gadget work in every winter condition. It's to give your birds drinkable water at the times they need it.
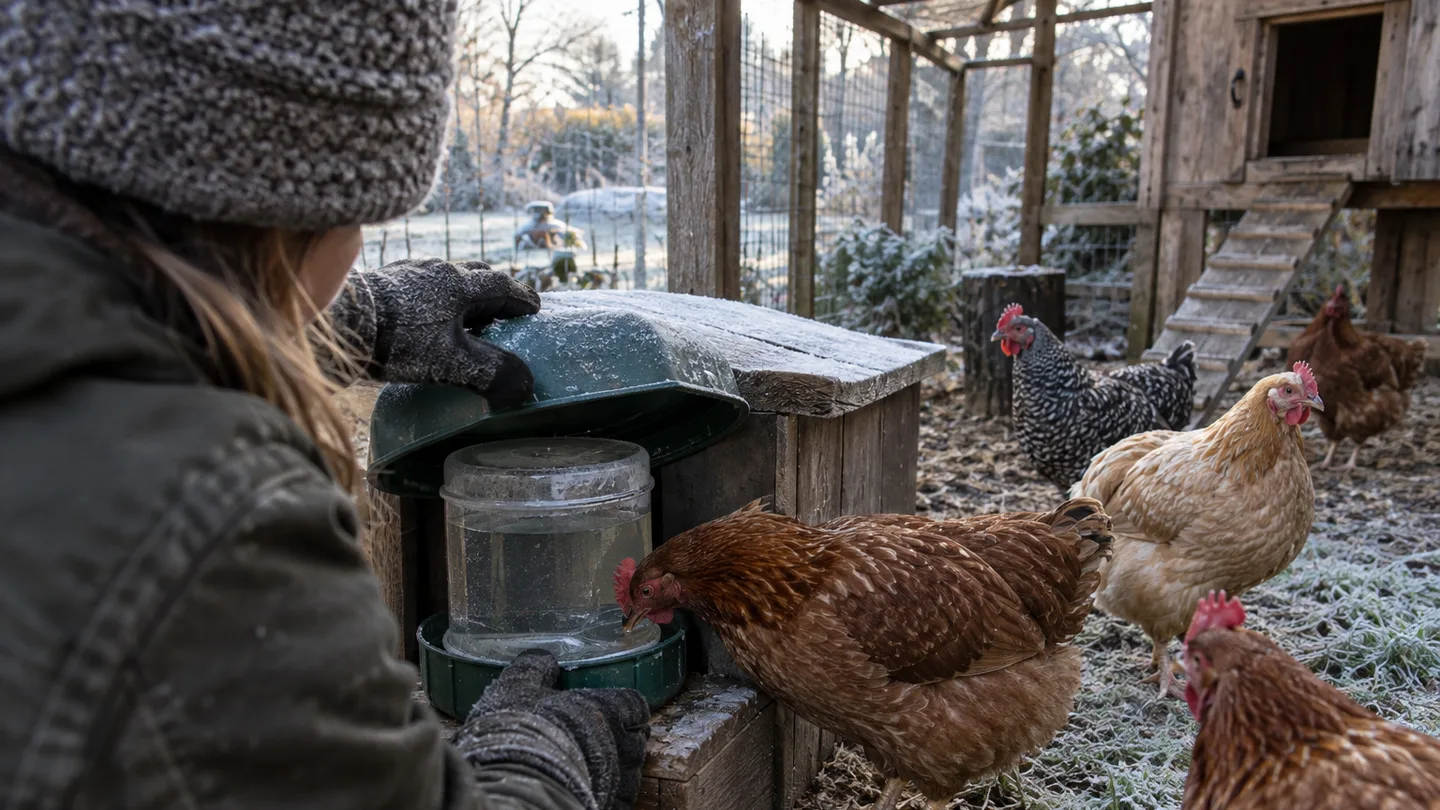
Start at 32°F (0°C), then plan for the coldest hour—not the afternoon forecast
I've learned to treat the afternoon forecast as background information, not a water plan. The useful question is what the drinker will look like at first light, after hours of cold, shade, and wind.
Use this simple decision rule:
- Brief, light freeze: shelter, sunlight, insulation outside the drinker, or a larger rubber container may buy enough time between checks.
- Several freezing hours: rotate two waterers or add a midday inspection.
- Repeated hard freezes: choose a purpose-built heated waterer or a manufacturer-matched heated base.
A fix that slows ice is not the same as a fix that prevents it. If the drinking opening is sealed with ice, or your hens cannot reach the water, that setup has failed even if liquid remains inside the reservoir.
The safety gate: four things to reject before you add heat
Before you add heat, make four checks non-negotiable. Use outdoor-rated equipment approved for the job. Use a GFCI-protected power source. Keep cords away from litter, rain, standing water, and pecking. Set the waterer level and stable so birds cannot tip it or pull the cord into the bedding.
- Read the product instructions first. An extension cord is acceptable only when it is outdoor-rated and the product instructions permit it. Keep every connection protected from weather as the instructions direct.
- Keep heat at the waterer, not scattered around the coop. A listed heated waterer or matched base is easier to inspect than a homemade arrangement of bulbs, stones, or heating pads.
- Leave the heater's vents and cooling space clear. Do not bury a base in litter or wrap it in insulation unless the label specifically allows that installation.
- Reject chemical shortcuts. Salt, antifreeze, chemical deicers, open flames, heated rocks, and improvised bulbs do not belong in chicken water or beside dry bedding.
If you are checking the electrical side, use current outdoor electrical safety guidance as a second set of eyes on the outlet, cord, and weather protection. Your birds should be able to drink without standing in a wet, crowded corner.
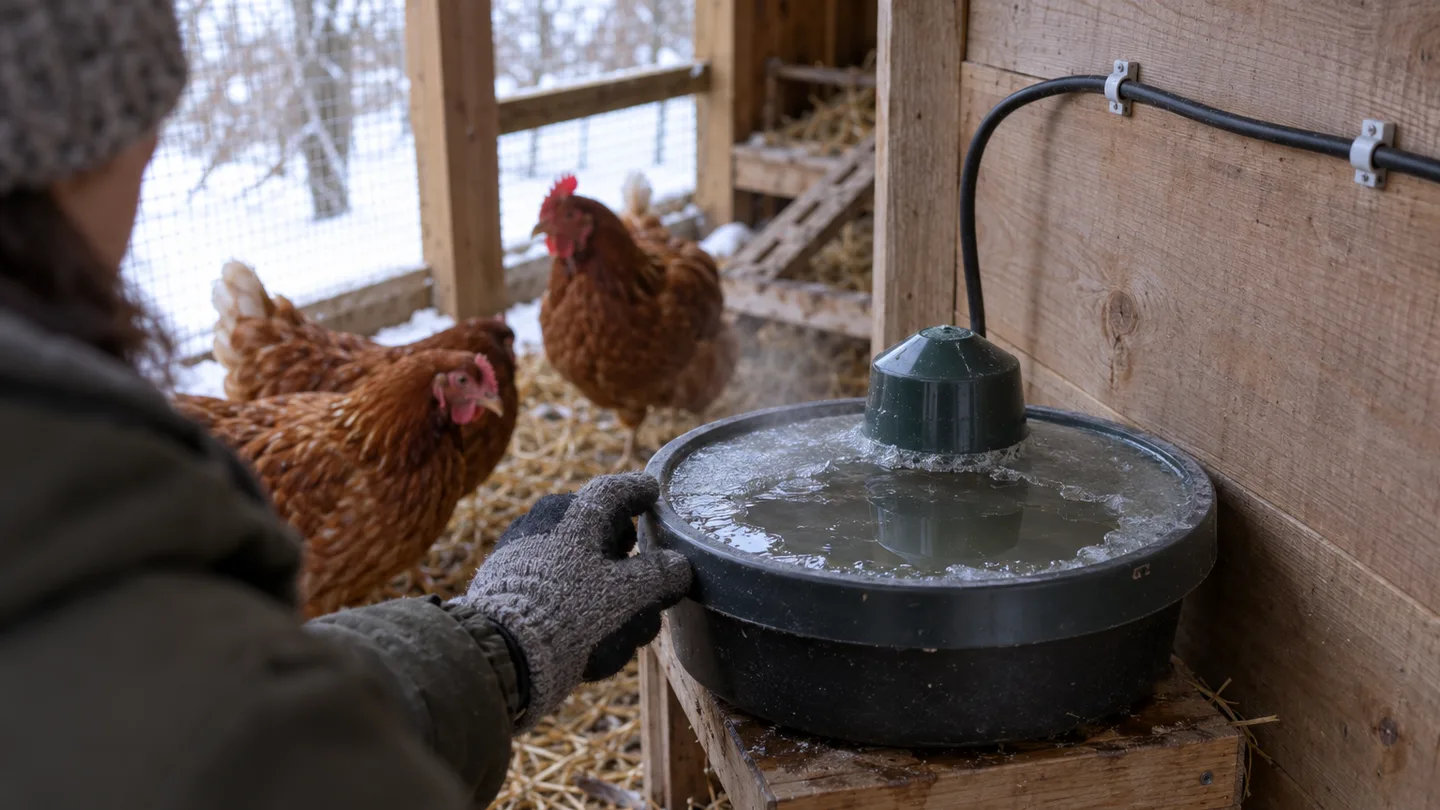
Fix 1 — choose a thermostatic heated waterer for repeated freezes
If your overnight lows stay below freezing for several nights, a purpose-built thermostatic heated waterer is usually the lowest-labor option. It is designed to warm the reservoir or drinking area when temperatures drop, rather than running at full output every minute.
Choose by the actual setup you have:
- Match the reservoir size to the number of birds and the interval between your checks.
- Look for a thermostat, outdoor approval, and clear cord-routing instructions.
- Confirm that the unit is intended for the location, bedding, and type of drinker you plan to use.
- Make sure every hen can reach the drinking point without climbing over the heater or crowding another bird.
Nameplate wattage is the unit's rated draw when the heating element is operating, not necessarily its continuous daily use. A simple estimate is watts × hours ÷ 1,000 × your local electricity rate. For example, an 80-watt unit running for 12 hours uses 0.96 kilowatt-hours during that period before you apply your local rate. Check current local electricity prices rather than relying on an old estimate.
Inspect the drinking opening at every check. A heated reservoir can still have a frozen nipple, cup, or outlet. Stop using the unit if the cord is damaged, the base is wet where it should be dry, or a smaller bird cannot reach the water.
Fix 2 — put a matched heated base under the drinker you already own
A heated base can make sense when your current drinker is sound, easy to clean, and the manufacturer sells a base intended for that model. It lets you keep the container you already know how to fill without placing a heating element inside the water.
Match the base to the drinker's diameter, material, capacity, and shape. A base made for one narrow plastic drinker is not automatically safe under a broad metal container. Keep the unit level, protect it from wet litter, and leave the ventilation and cooling space specified on the label.
Do not wrap blankets, foam, straw, or other insulation around a heating base unless the instructions specifically allow it. Insulation can trap heat where the base was designed to release it. If the fit is loose, the container rocks, or the base gets buried as birds scratch, choose a different arrangement.
The advantage is flexibility. The limit is compatibility. A matched base can be useful, but it is not a universal heater for every bucket or tub in your shed.
Fix 3 — rotate two waterers at dawn and late afternoon when you have no outlet
Without electricity, use two identical, easy-to-clean waterers and make the swap part of your winter routine. Put out the thawed drinker at the first morning check. Bring the other one in or swap it into place before evening, while there is still enough light to see ice, cracks, and wet bedding.
- Keep the spare indoors or in another protected place where it can thaw fully.
- At dawn, empty the frozen drinker and provide the thawed one.
- Before dusk, replace it with the second thawed drinker.
- Add a midday check if the forecast stays below freezing or the wind is strong.
My own rule for a small backyard flock is to design for the check I can reliably make, not the gadget I hope will work unattended. If you leave before daylight, a morning swap is not really your routine. Choose active heat or arrange another person to check the birds.
Rotation is best for short or moderate freezes. It may fail during a long stretch in the 20s°F or colder, especially if both waterers sit in exposed wind. Never pour boiling water into a frozen plastic drinker or strike the ice with a tool. Let the container thaw gradually, then replace it if you find a crack.
Fix 4 — use a three-sided windbreak, winter sunlight, and a raised drinking spot
Placement can slow freezing without turning the coop into a sealed box. Put the waterer in a covered, three-sided shelter that blocks the prevailing wind while leaving the access side open. Keep normal coop ventilation working above and around the birds. A windbreak should reduce moving air at the drinker, not trap damp air inside the sleeping area.
Use the sunniest safe location available. In the Northern Hemisphere, a south-facing spot often gets useful winter sun, but actual shade from fences, buildings, and trees matters more than the compass rule. If practical, raise the vessel a few inches off frozen ground on a stable stand. It should remain easy for the hens to reach and hard for them to tip.
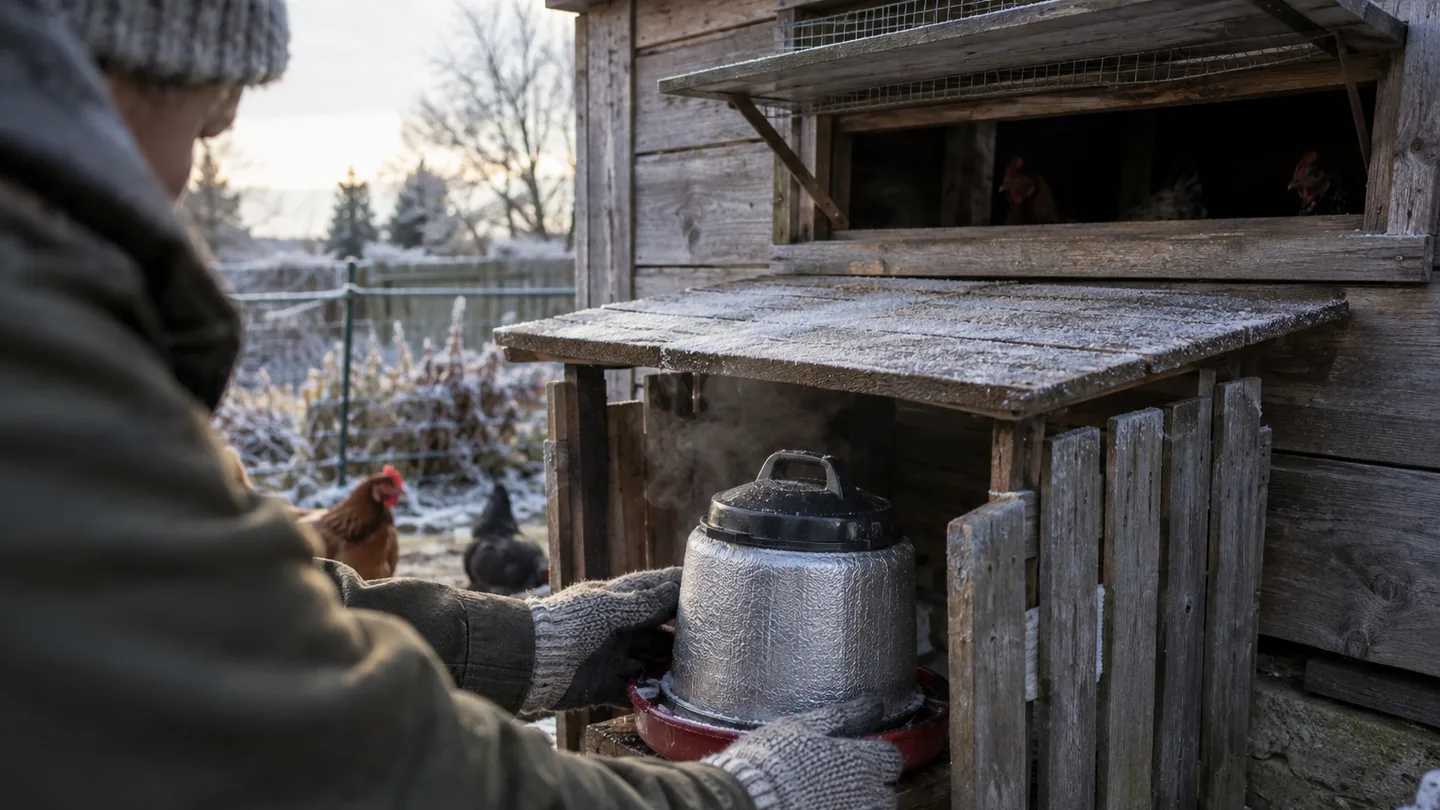
Fix 5 — insulate the sides and base, never the drinking opening
An insulated outer sleeve can delay ice formation. Build around the sides and bottom of the drinker, keeping the insulation outside the birds' reach. Leave the drinking opening uncovered unless the manufacturer provides an approved insulated design. Protect the sleeve from rain and scratching, and never block vents on a heated base.
Think of insulation as buying time, not cancelling winter. It slows heat loss from the water to the cold air. It cannot supply heat once the water and container have cooled to the surrounding temperature.
Test the setup for two mornings before trusting it. Fill the waterer as usual, place it in the intended location, and check the ice condition at dawn. Compare the result with your uninsulated setup if you can. If the opening still freezes, add shelter, move the container into better sun, shorten the interval between checks, or switch to active heat.
Fix 6 — switch to a larger, dark rubber container that is easy to flex and empty
A larger reservoir generally freezes more slowly than a small one when the exposed surface and conditions are otherwise similar. Dark material may collect more daytime warmth in direct sun. Flexible rubber is useful because you can often flex the container outdoors and dump the ice without hitting it or cracking a brittle plastic drinker.
This is a time-buying change, not an overnight guarantee. Choose a container that stays stable, gives every adult hen comfortable access, and does not create a deep open-water hazard for chicks. Keep it out of the mud. During a freeze, dump the ice, rinse away any debris, and refill with fresh drinkable water.
Replace a container with a split rim, sharp edge, or damaged base. A cheaper drinker is not a saving if it leaks into bedding or leaves the birds without water.
Fix 7 — add a backup station and a freeze-check schedule that survives a power cut
One waterer is a single point of failure. For a small flock, use two separate drinking points when space allows, or keep one primary waterer and one thawed backup ready to carry out. Put them where one fallen perch, spilled feed pan, or power problem cannot block both.
During freezing weather, check at minimum in the morning and late afternoon. Add a midday check for a hard freeze, strong wind, or power outage. Look at the actual drinking point, not just the reservoir. Ice on a nipple or cup is enough to remove access.
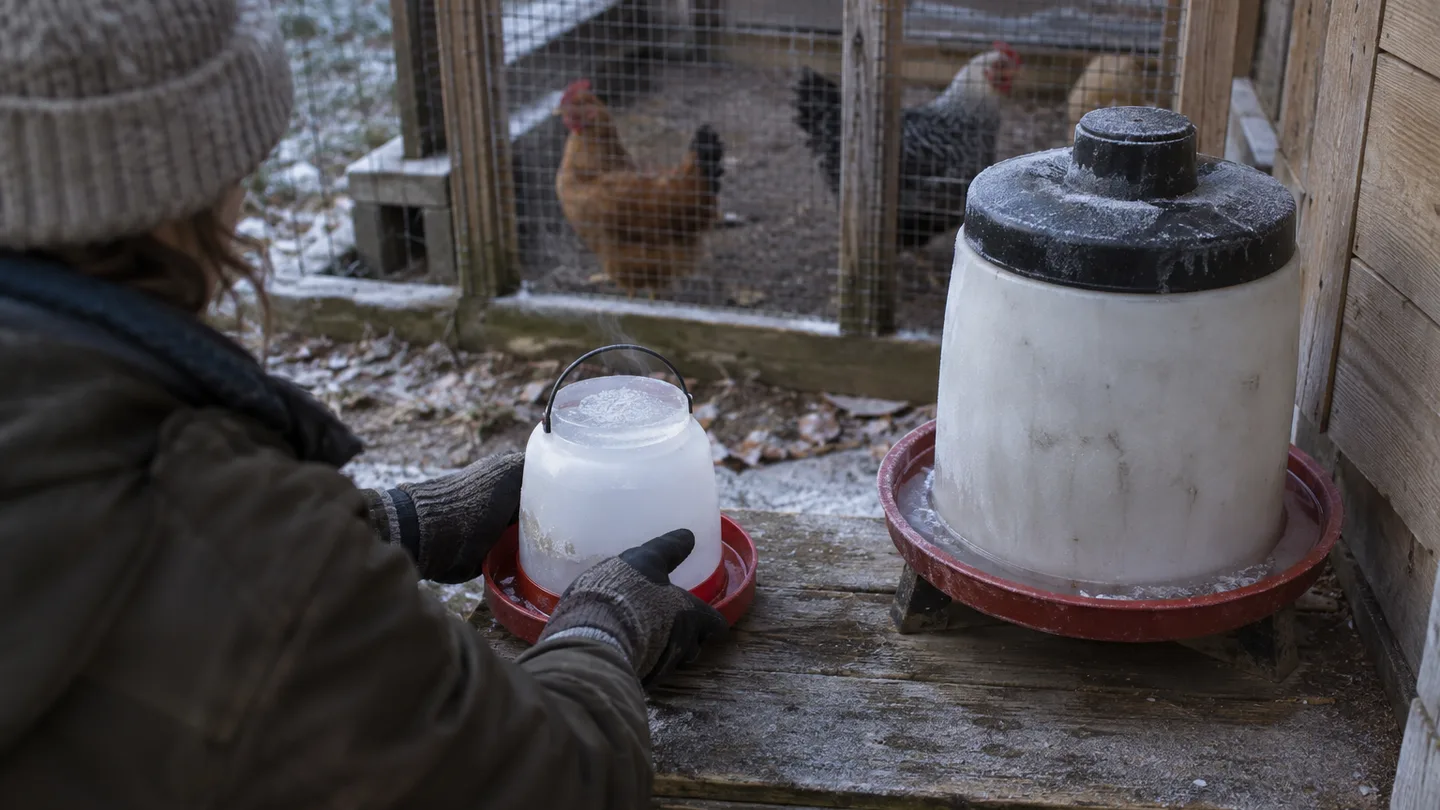
Use this decision path:
- Repeated hard freezes and limited checking time: choose a purpose-built heated waterer or matched heated base.
- Lighter freezes and a reliable check routine: combine a windbreak, insulation outside the drinker, and a larger flexible container.
- No outlet and frequent access: rotate two waterers, with a midday check when conditions worsen.
- Any setup during a power cut: put out the thawed backup immediately rather than waiting to see whether the primary drinker recovers.
For the wider winter setup, review chicken coop ventilation so the shelter blocks wind without trapping damp air. If you are also asking do chickens need heat in winter, keep that question separate from water access: a dry, well-ventilated coop and a dependable drinker solve different problems.
Three quick safety questions
Can I add salt, sugar, or antifreeze to chicken water?
No. Do not use salt, antifreeze, chemical deicers, or heavily sweetened water as freeze prevention. Give your birds plain, drinkable water and solve the cold with placement, rotation, insulation, or approved equipment.
Can chickens eat snow instead of drinking water?
Snow is not a dependable replacement for liquid water. Keep accessible drinkable water available, especially during cold weather when the flock still needs to hydrate.
Is a heat lamp safe for keeping chicken water thawed?
Do not use an improvised bulb or heat lamp as a water-heating shortcut. Keep heat at the waterer with a listed product or matched base designed for that use, installed exactly as directed.
This week, write down your local overnight low, choose one fix that matches your checking schedule, and test it for two dawns. If the water is still accessible at first light, you have a winter routine. If not, move up one level—from placement to rotation, or from rotation to approved active heat.
Frequently Asked Questions
Can I add salt, sugar, or antifreeze to chicken water so it will not freeze?
No. Salt, antifreeze, chemical deicers, and heavily sweetened water are not safe or reliable freeze-prevention methods. Provide plain, drinkable water instead.
Can chickens eat snow instead of drinking water?
Snow is not a dependable replacement for liquid water. Keep accessible drinkable water available, especially during cold weather when birds still need to hydrate.
Is a heat lamp safe for keeping chicken water thawed?
Do not use an improvised bulb or heat lamp as a water-heating shortcut. Fire risk, damaged cords, and overheated bedding make a listed heated waterer or matched base the safer choice.