How to Catch a Chicken Without a Chase: 7 Calm Steps
Most backyard chicken catches go wrong before your hands touch feathers. You leave a gate open, walk straight at her, and give a quick hen an entire run to practise escape turns. For a routine catch, the easiest window is usually the first 10–20 minutes after your flock settles on the roost. If she is injured, weak, or in immediate trouble, catch her now rather than waiting for dusk.
The useful sequence is simple: remove exits, make the space smaller, approach from the side, cover both wings, and carry her close to your body. The surprising part of how to catch a chicken is that speed is rarely the thing that saves you. Good geometry does.
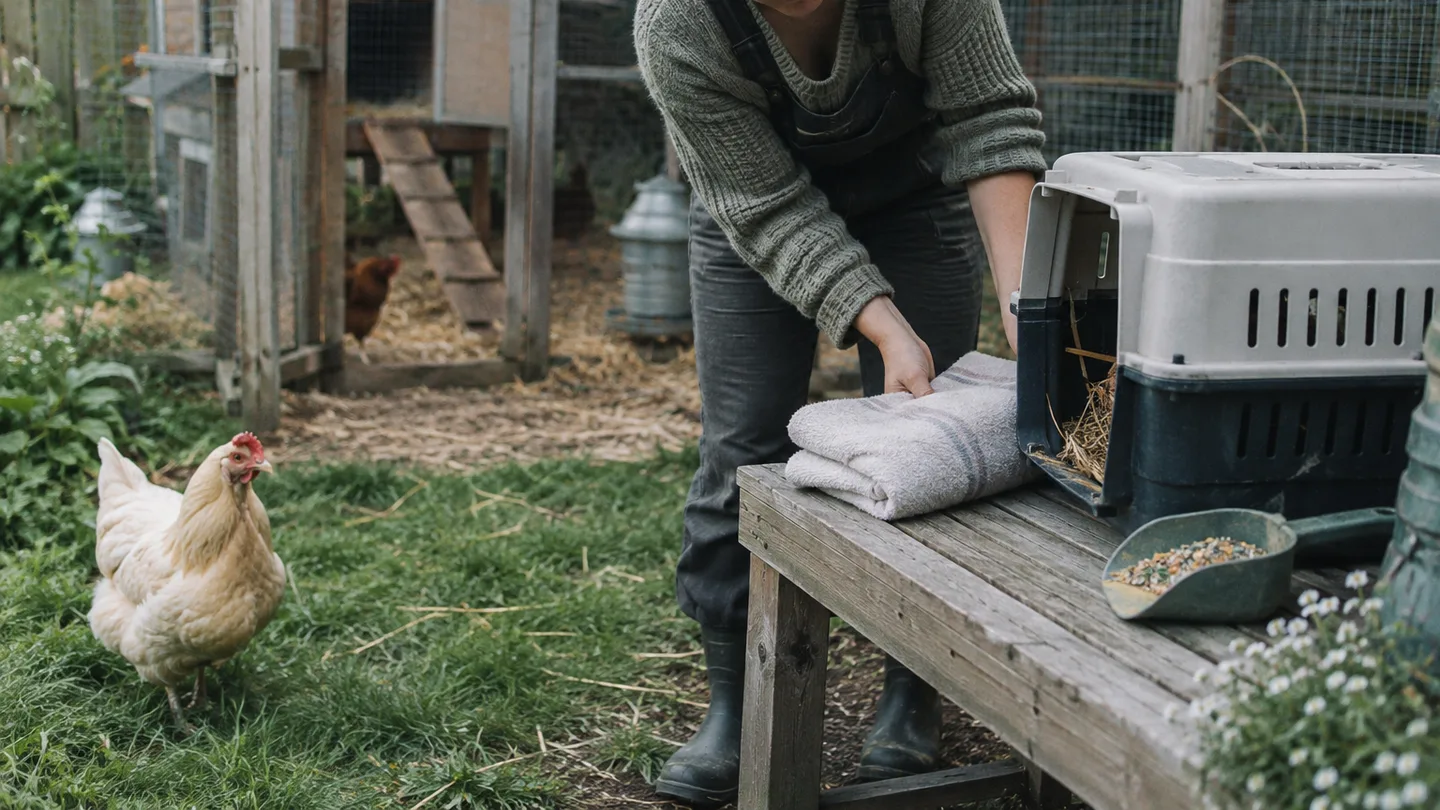
The 10-minute choice that prevents most chasing: daylight, dusk, or the roost
Start with the job. A quick health check needs a towel and a place to set the bird down. Moving a hen needs a ready crate. Separating a bully needs a second pen or divided run. An injured bird needs the least walking and the fewest hands possible. Your plan should be ready before you start the catch.
For a healthy bird, I’d choose the first 10–20 minutes after the flock settles on the roost. They’re still, the run is quiet, and there’s less room for a hen to turn the job into a sprint. A dim headlamp or torch helps you see feet, wire, and the path to the crate without flooding the coop with bright light. Aim the beam at the floor or wall rather than straight into a bird’s face.
To catch a chicken at night, use enough light to see what your feet and hands are doing. Full darkness is not a safe handling method if you cannot see a loose foot, sharp edge, threshold, or bird underfoot. A sleepy hen is easier to secure than a fast hen, but a hidden obstacle can still hurt both of you.
My own small-backyard rule came from one avoidable mess. I once opened the run gate before putting the crate and spare panel where I could reach them. The hen made a loop around the feeder, then another around the waterer, and the flock joined in. I stopped trying to be quicker, closed the gate, slid the panel across the open side, and approached again. The catch went smoothly. She hadn’t become tame in the pause; I had removed the route that made her clever.
Set out a dim light, a soft towel, a ventilated crate, and a movable barrier. Add a second person when the bird is large, injured, or likely to struggle. That small bit of preparation is the foundation of calm chicken handling.
Steps 1–2: Shut the exits, then shrink the working space
Here is the part most people skip. You do not start by reaching for the chicken. You start by making escape less interesting.
- Step 1: Shut the exits. Close the coop door, run gate, garden gate, and any door into a shed or garage. Check the low gap under the fence and the space behind feeders. Put the crate just outside the lane but close enough that you won’t need to carry the bird across the yard. Loose gates and awkward corners are catching problems, so review your chicken coop requirements before the next handling job.
- Step 2: Shrink the working space. Use a solid board, poultry panel, piece of cardboard, or temporary garden barrier to make a short lane or corner about 2–3 feet wide, with one clear route toward the crate. The exact width can change with the bird and your equipment. The principle is to give her fewer turns, less room to build speed, and a visible end point. A broad, stable panel is better than driving her against wire, a low roof, a feeder bracket, or sharp equipment.
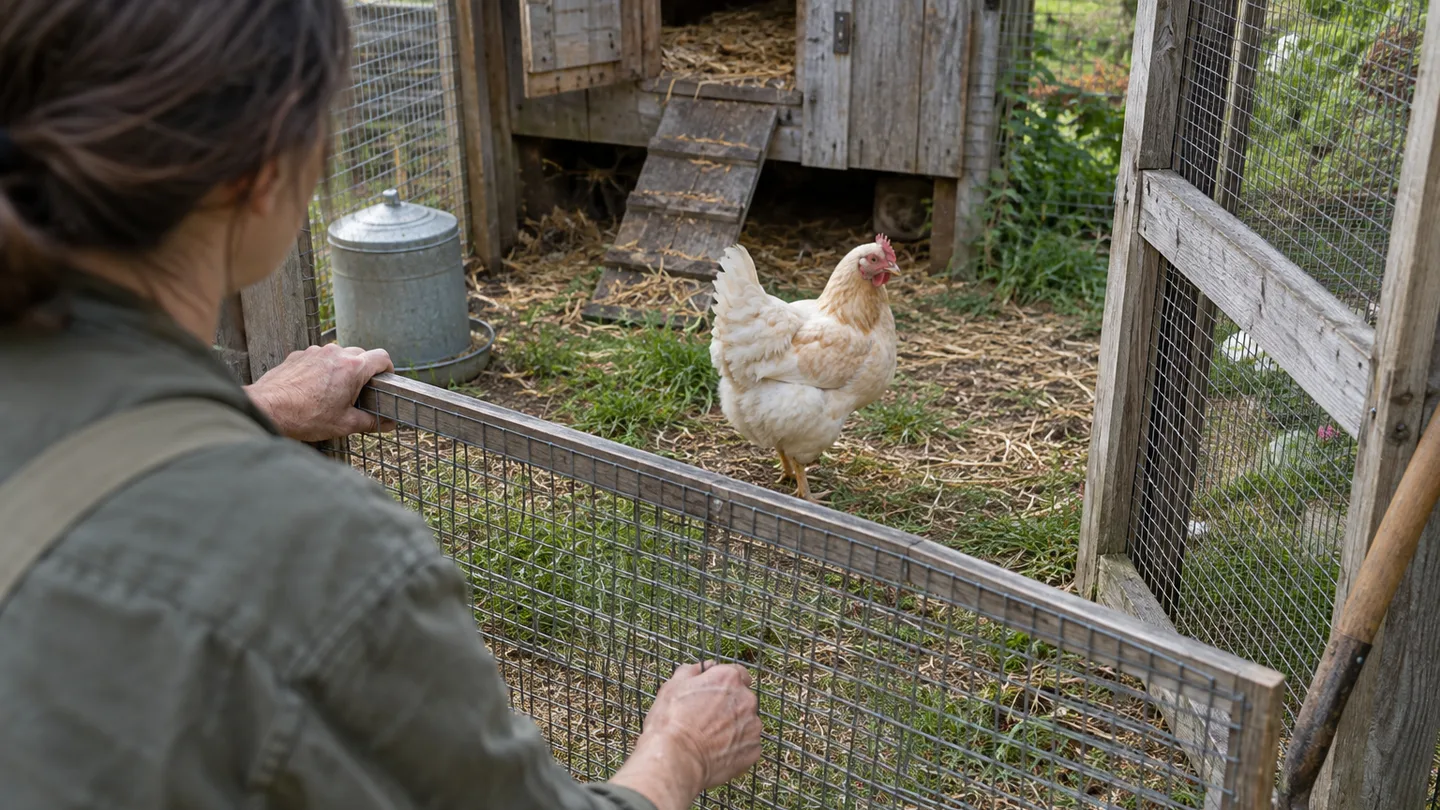
If the target bird is healthy, guide flockmates behind the panel or into the coop first. If she is weak or bleeding, don’t spend several minutes sorting everyone perfectly. Make a safe small space around her and secure her with as little movement as possible. The question behind how much space do chickens need matters for handling as well as comfort: a run with too many obstacles gives a nervous bird more ways to turn the catch into a flock-wide alarm.
Feed can help, but only as a lure into a confined area. Put a small amount inside a pen or crate, step back, and close the route once she enters. Repeated bait-and-grab attempts in an open run teach a wary hen to distrust the feed bowl and make your next catch harder.
Steps 3–4: Walk sideways, pause, and cover both wings in one motion
Once the lane is ready, your body language does most of the work. A direct approach puts pressure on the bird. Give her a side-on shape and a pause between movements.
Step 3: Walk sideways and pause. Face the bird at an angle. Keep your shoulders low, hands below shoulder height, and steps small. Move one or two steps, then pause for roughly 3–5 seconds. Watch her feet and head. If she turns away, stop before she accelerates. If the flock starts to bunch up, wait for them to settle or use the panel to keep them out of your route.
Don’t reach from above until you are close enough to finish the catch. Don’t lunge. A last-second fast movement can send a hen under a roost, behind a feeder, or through the gap you forgot to close.
Step 4: Cover both wings in one controlled motion. When you are within reach, place your hands over the folded wings and sides of the body, then support her underneath. Your aim is containment, not squeezing. Keep both wings against the body so she cannot gain lift, but leave the breast free to move. Never grab a tail, neck, wing tip, or single leg to stop her.
With a calm hen, a gentle scoop is enough. One hand settles over the wings while the other supports the breast and body from underneath. Bring her close to your torso as soon as she is secure. A bird that keeps sidestepping needs a better angle, not a faster hand. Put the panel between her and the open route, wait for the turn, and try again.
If she flaps before you have a hold, stop moving, lower your hands, and give her about 10–15 seconds to settle. Then approach from the side she is less likely to use as an escape route. If she flaps after you have contained the wings, crouch slightly, keep your grip broad, and support her until the motion slows. Avoid pinning her hard against the ground.
Step 5: Match the hold to the bird—quiet hen, flighty hen, or injured hen
There isn’t one best hold for every chicken. Match the restraint to what the bird is doing and why you caught her.
| Situation | Practical hold | What to avoid |
|---|---|---|
| Calm hen | Keep both wings folded, support the body with one hand, and steady the feet or hindquarters with the other. | Letting the legs dangle or squeezing across the breast. |
| Flighty hen | Use a towel over the back and shoulders for the few seconds needed to settle the wings; keep the face and airway uncovered. | Wrapping tightly around the chest, covering the head, or carrying her loose under the towel. |
| Injured hen | Use a small ventilated box or crate with a towel on the floor; support the body and move her as little as possible. | Forcing a leg or wing straight, making her walk, or repeatedly re-catching her. |
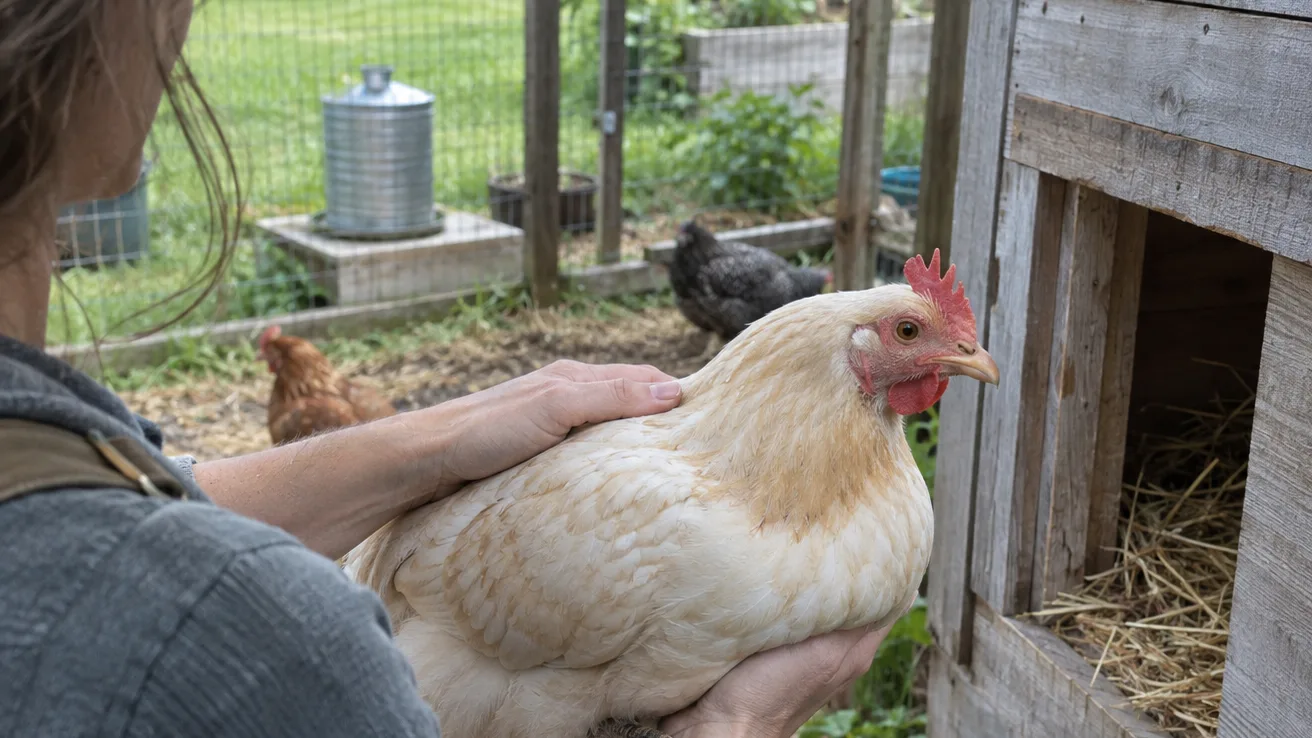
For a flighty bird, the towel is a short-term tool, not a bag. Lay it across the back and shoulders, keep the face visible, and use your hands around the fabric to secure both wings. The moment she is stable, lift her clear of obstacles. If her breathing becomes laboured, remove the towel and stop to reassess. Never use a wrap that restricts the breast.
An injured chicken changes the priority. You are not trying to achieve a neat hold or a perfect examination in the run. You are trying to prevent another scramble. Bring the crate to her, cushion the floor with a folded towel, and keep the body supported as you transfer her. If she cannot stand, don’t keep putting her down to see whether she can walk.
Stop home handling and seek veterinary advice for open-mouth breathing that does not settle, collapse, active bleeding, severe weakness, or an inability to stand. Those signs can make repeated attempts more harmful than helpful. A second person is also the safer choice for a big bird, a determined struggler, or any transfer where one person must open a crate while the other maintains support.
Before a difficult catch, compare your plan with University extension guidance on poultry handling and restraint. If the bird crosses those stop signs, look for avian-veterinarian guidance on emergency signs and transporting an injured chicken rather than improvising a long home treatment.
Steps 6–7: Carry low, do the check, and release before the flock learns the game
Once you have the bird, don’t turn a ten-second catch into a ten-minute wrestling match. Secure the wings, move with purpose, do the smallest useful check, and release or crate her.
Step 6: Carry low and close. Keep both wings folded against the body. Support the breast and body with one hand and the feet or hindquarters with the other, then hold her close to your torso. Carry her along the shortest clear route. A low carry gives you a quicker response if she kicks and reduces the distance she could fall if your grip slips.
For a short inspection, sit or crouch beside the run instead of standing with the bird held high. For transport, use a secure, ventilated crate that lets her stand and turn without being crowded. A towel on the floor helps prevent sliding. The crate should not be so large that she can be thrown from one side to the other if you need to move it.
Step 7: Do the check, then release calmly. Work from the outside in. Look at the feet for cuts, swelling, scabs, or hair and string wrapped around a toe. Check the vent for stuck droppings, swelling, or blood. Look over the crop without squeezing it. Scan the comb, face, and feathers for fresh wounds, unusual crusting, broken feathers, or insects close to the skin. You’re collecting clues, not trying to diagnose everything in the yard.
A routine chicken health check should take only a few minutes. If you need longer, place the bird in the crate and work in a quiet spot. That keeps your hands fresh and stops the flock from turning your examination into another chase. For suspected parasites or a recurring injury, write down what you saw and use a product only according to its label or veterinary direction.
To return her, squat near the flock, set her feet on the ground, keep your hands around the wings until she is balanced, and then step back. Don’t toss her forward. Don’t release her into a narrow doorway where another bird can pile on. Watch the first short stretch of re-entry. If she is being pecked, limping, or unable to settle, move her back to the prepared crate or pen and deal with that problem separately.
The rule worth saving is this: make the catch smaller before you make your hands faster. A barrier, a calm pause, and a supported hold will usually do more for your bird and your blood pressure than another lap around the run.
This week, stage the towel, crate, and movable panel beside the coop. Practise closing the exits and placing your hands over a calm hen’s folded wings without lifting her. If you’re still planning the setup, read chicken coop requirements and how much space do chickens need before you build the next corner; a catch-friendly run is easier to live with all year.