Chicken Enrichment Ideas for Small Runs: 9 Low-Cost Fixes
Four hens can turn a small run into a bare, boring rectangle long before you need to buy a toy. The better fix is not more clutter: give your birds safe jobs to do—search, scratch, perch, bathe, retreat, and peck—while keeping normal feed, usable space, and dry footing in view.
Use this as a build list, not a shopping list. Measure the run first. Then add two or three stations that solve a real problem instead of filling every corner.
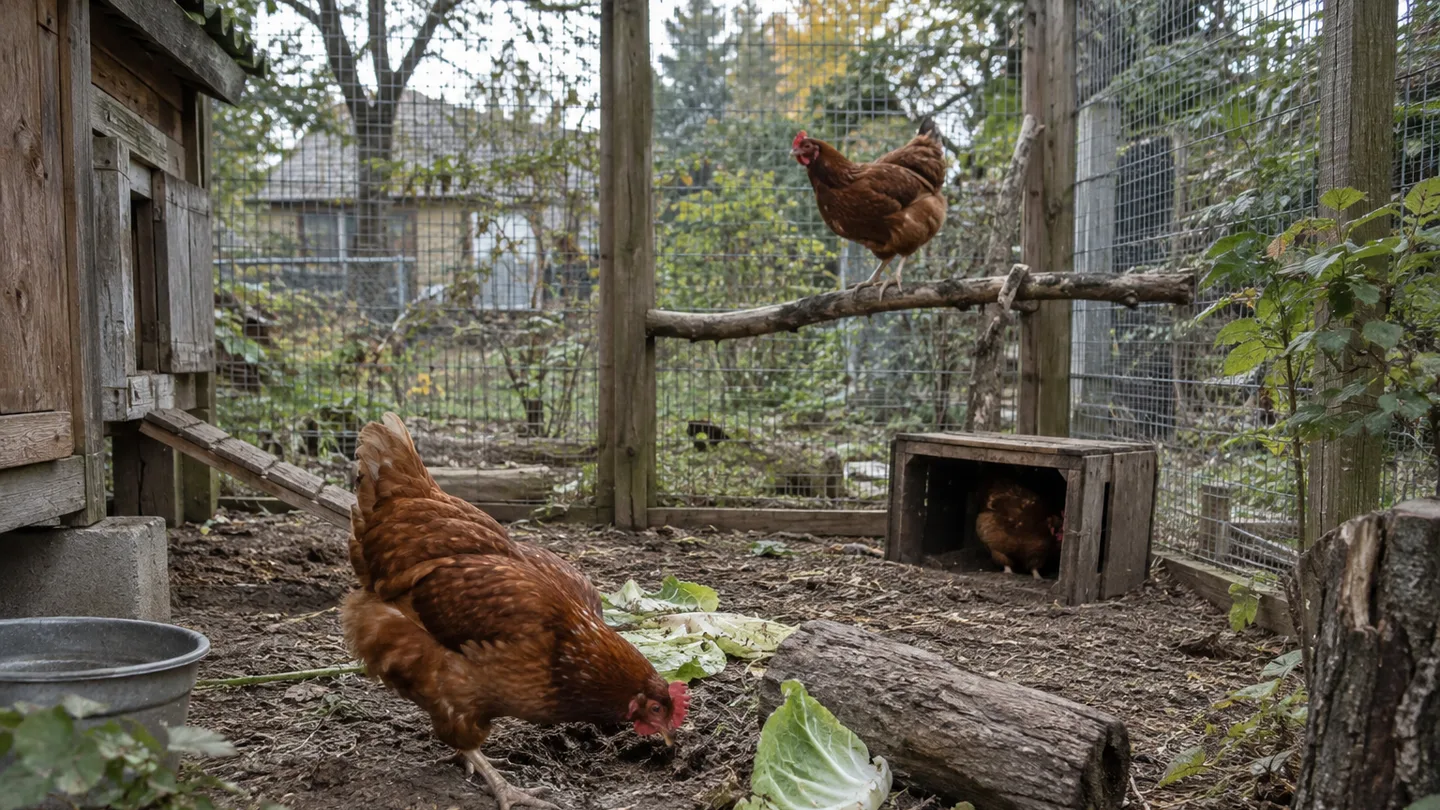
Start with the baseline: how many square feet and activity points can your run support?
Enrichment can make a run more interesting, but it cannot repair a cramped footprint, standing water, missing shade, or a latch that a raccoon can work. I treat those as housing jobs. Enrichment comes after the basics.
Measure the usable rectangle from inside edge to inside edge. Multiply length by width, then subtract permanent obstructions such as a fixed shelter, feeder stand, or broad platform. A 6-by-10-foot run has 60 square feet before deductions. A permanent 2-by-2-foot shelter takes 4 square feet, leaving 56 square feet for movement and activity stations.
For standard-size hens, my practical planning range is roughly 8–10 square feet of usable outdoor run per bird. That is a planning choice, not a measured minimum or a legal standard. Four hens therefore give me a 32–40-square-foot target. Bantams, heavy breeds, wet climates, frozen ground, and a flock that spends much of the day inside can move the decision. Check local rules and guidance rather than treating this range as a universal answer.
For three or four hens, I start with two separated activity points. A dry scratch patch at one end and a dust bath or feeder at the other is enough. Put them where one bird cannot stand across the only route between them. If the run is tighter, plan on more frequent cleaning and rotation because the same traffic is concentrated into less ground.
In my own four-hen run, I once left the feeder at the only dry end after a wet week. Two confident hens settled there, and a smaller brown hen waited near the gate. I split the same measured ration between two points. By the next feed cycle, she was crossing the run and feeding with the others. I would not call that a trial; it was one flock on one day. But it changed my rule: a toy changes what a hen does, while an extra access point changes what she can do when another hen says no.
The related guide how much space do chickens need is useful here because it separates coop floor area from outdoor run area. Those are connected, but they are not the same measurement.
Fixes 1–3: make part of the daily ration something your birds have to find
The first three fixes make eating and scratching take a little work without turning enrichment into a second diet. Use your birds’ normal feed wherever possible. If you add food for an activity, remove that amount from the regular feeder.
- Fix 1: scatter part of the normal ration. I use about 10% of the day’s measured ration as a practical ceiling for scatter feeding or a simple puzzle. That is my planning limit, not a promise that every flock will suit the same percentage. For four hens, divide that measured portion between two or three clean, dry locations rather than dropping it in one pile. The birds still receive the same total feed, but they have to walk, scratch, and look.
- Fix 2: create a leaf-and-straw scratch patch. Spread a loose 2–4-inch layer of clean, dry leaves or plain straw over a section of firm ground. A shallow layer gives the birds something to turn over without burying the feed so deeply that it sits unseen and damp. Rake or replace it when it becomes flat, wet, heavily soiled, or compacted. If the run is already muddy, fix drainage before adding more material.
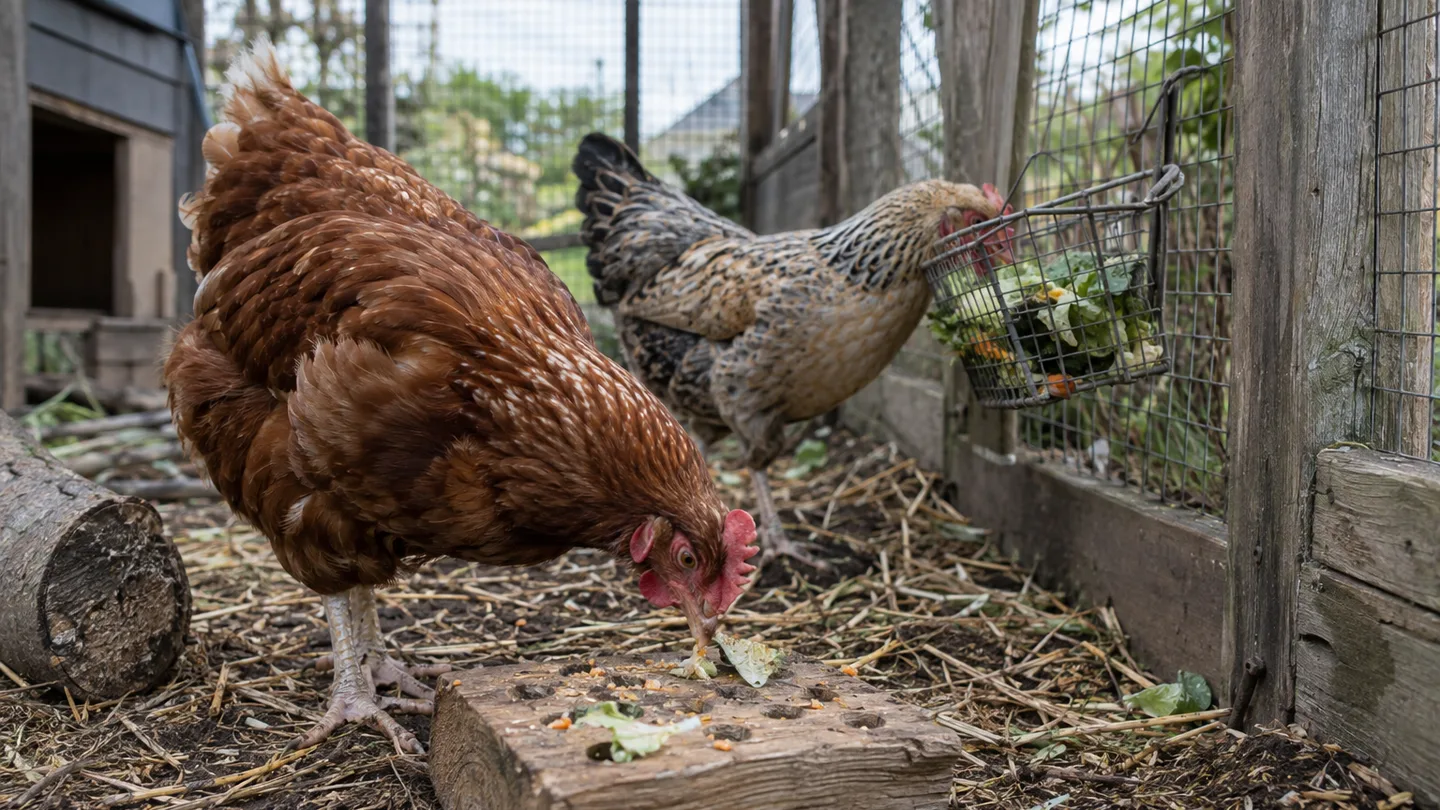
- Fix 3: use a shallow forage tray. A low tray or open box filled with dry litter can hold a few pieces of the measured ration. Use openings that release feed without trapping a beak or toe. The tray should be easy to lift, empty, and wash. A design that takes ten seconds to inspect is better than a clever contraption you stop checking.
Keep a simple material rule: no moldy food, pesticide-treated leaves, painted or treated wood, loose string, frayed fabric, or spoiled scraps. If you are changing the feed balance, check backyard poultry nutrition guidance from a trusted extension or veterinary source rather than guessing from a treat list.
Spreading feed across two or three locations increases the search route without increasing calories when you use the same ration. If the birds ignore the tray, check the basics first. Damp litter, a strong smell, an awkward opening, or a dominant hen guarding it can make a good idea unusable.
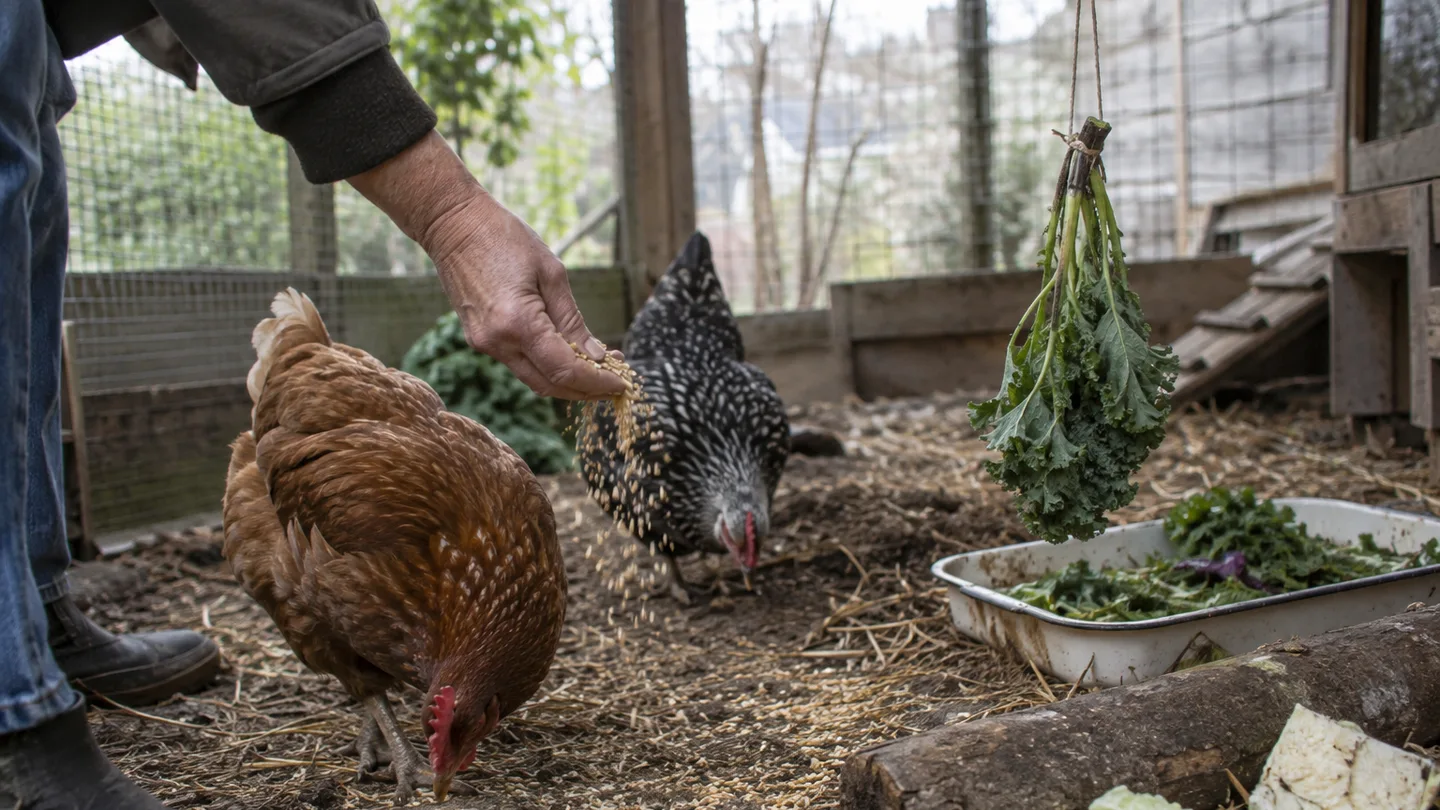
Fixes 4–5: use 12–24 inches of vertical interest instead of more floor clutter
Floor enrichment gets crowded quickly. Vertical interest lets a hen step up, look around, and change routes without taking another square foot. It only helps if the supports are stable and the jump is reasonable for the birds you actually keep.
- Fix 4: add a low, rounded perch. My practical range is 8–12 inches of perch length per hen when the bar is serving shared perching needs. I use about 1.5–2 inches as a practical diameter, with rounded edges rather than a sharp square corner. These are my small-run building choices, not measured minimums. Fasten both ends so the perch does not twist when a heavy bird lands.
Include at least one low option around 12–18 inches high for older, heavy, injured, or less agile birds. A higher perch can be useful for an active flock, but it should not be the only route to a preferred resting spot. If the structure is also intended for nighttime roosting, check how high should roosting bars be before you mount it permanently.
- Fix 5: hang a leafy green at beak-to-shoulder height. Use a leafy green you already know is suitable for your birds. Attach it with a rigid, secure fastener. Avoid loops, wire ends, loose cord, and anything that can wrap around a toe. The aim is a little reaching and pecking, not a swinging obstacle course.
Keep the green low enough that birds do not need to launch or collide to reach it. Remove leftovers within 24 hours, sooner in hot or wet weather. The longer food sits, the more opportunity there is for mud, manure, and spoilage to become part of the feeding surface.
Animal-welfare guidance on perches and dust bathing can give you a useful second opinion, but apply it to your flock’s size, age, footing, and mobility. A perch is enrichment only when the smallest or least agile bird can use the space safely.
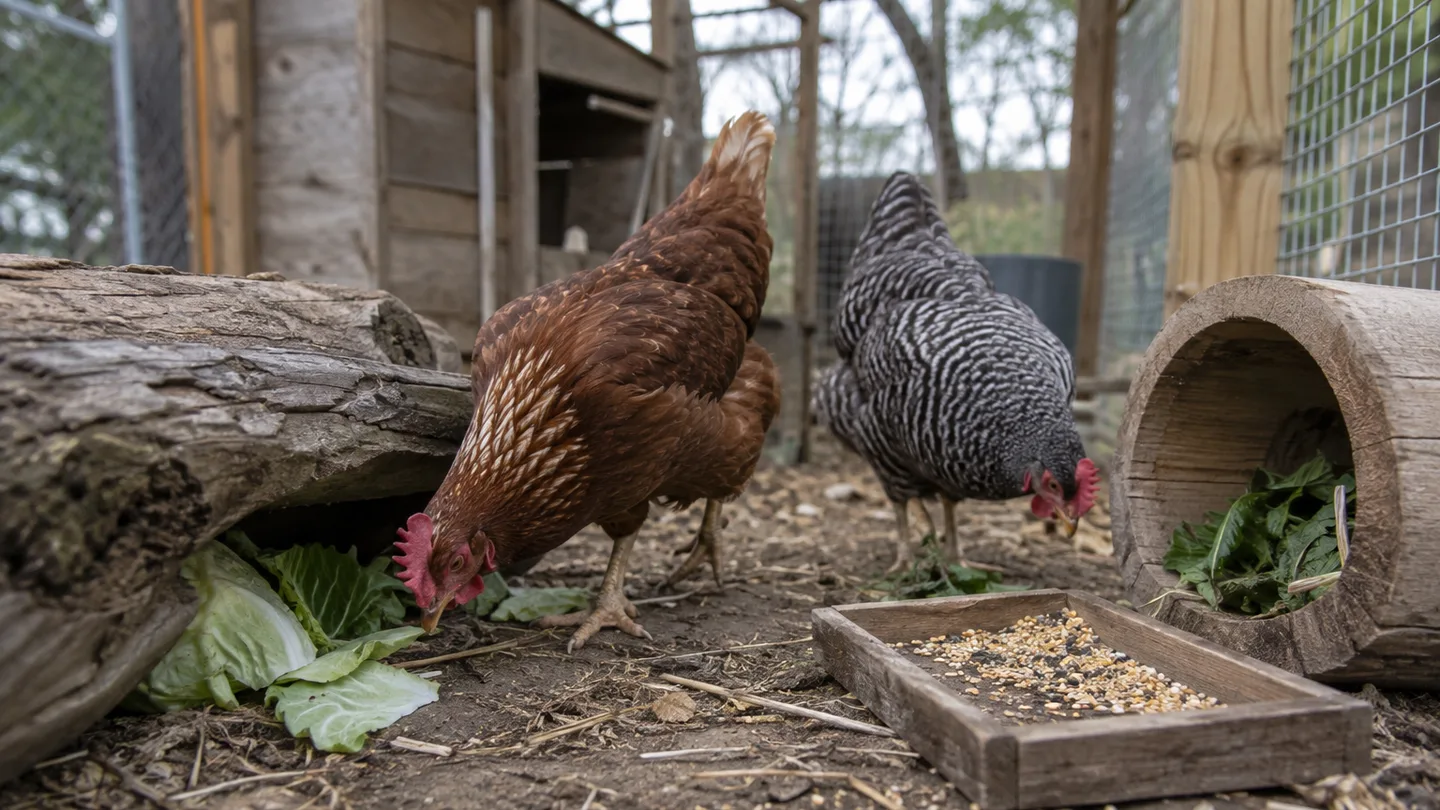
Fix 6: build a 2-by-2-foot covered dust bath that stays dry
A dust bath is not just a box of loose material. It needs enough room for a bird to crouch, shuffle, and work the material through its feathers without immediately hitting a wall.
For three or four hens, I would start with a roughly 2-by-2-foot footprint and 6–8 inches of loose, dry soil or a suitable sand product. That depth is my practical starting point, not a measured requirement. For a flock of 10–12, I would plan a larger bath or a second bath so several birds can use it without turning the edges into a traffic jam.
Cover the bath from rain. Place it where water drains away rather than toward it. Damp material compacts into a heavy patch that birds cannot work through properly. If the bath is wet after every storm, moving the box or adding a simple roof will do more than topping it up with fresh material.
I leave out clumping litter, treated sawdust, and dusty construction products. Use material you can identify, keep loose, and remove when it becomes saturated with manure. My refill trigger is simple: when the surface is wet, caked, foul-smelling, or no longer shifts under a bird’s scratching feet, I empty the worst of it and rebuild the dry layer.
If wet bedding is tracking from the coop into the run, treat that as a separate floor-management problem. The guide best bedding for chicken coop is the better next read than adding another object to the same damp corner.
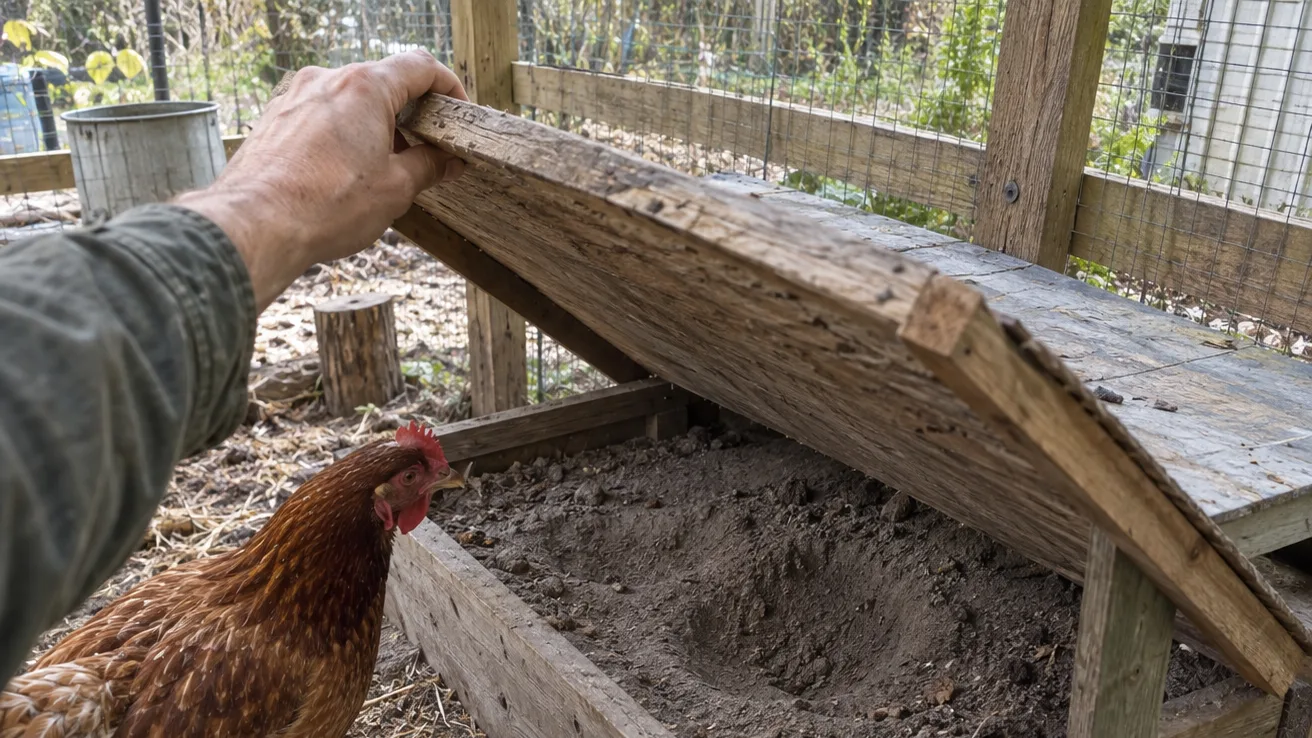
Fix 7: add one sightline break with two ways out
The seventh fix is a broad, stable object that interrupts the view across the run. It can be a low platform, a plain panel, or a short shelter with an open side. The point is not to give the flock one more thing to climb. The point is to give a lower-ranking hen somewhere to step behind or around.
For heavy or older birds, I prefer a feature around 12–18 inches high. I would go up to about 24 inches only for an agile flock and only when the surface is broad, braced, and dry. A wobbly pallet is not enrichment. It is a fall risk and a place for toes to catch.
Give the feature two clear exits. A bird should be able to leave from either side without squeezing through a narrow gap or passing directly under a dominant hen. Avoid sharp wire, unstable pallets, single-entrance boxes, and spaces too narrow for you to reach during an inspection.
If birds are competing for one feeder, one dry patch, or one exit, create another access point before adding another toy. That changes the run’s traffic pattern directly. A sightline break helps most when it is paired with a second route, not when it simply creates a dead end.
Fixes 8–9: turn safe scraps into a pecking block and a slow feeder
The last two fixes use plain objects that create repeated pecking without adding much cost. They are useful because you can inspect them quickly and remove them when the condition changes.
- Fix 8: add an untreated pecking block. Use a clean, untreated, splinter-free wood block or a short stump at ground level or low height. It gives birds a surface to investigate and can make an otherwise empty corner more interesting. Inspect it every few days. Remove it if it develops cracks, loose pieces, sharp splinters, paint, preservative exposure, or a soft rotten section.
- Fix 9: use a slow feeder for a measured portion. A food-safe container or purpose-built poultry treat ball can release pellets gradually. If you improvise, choose a rigid object with openings that release feed without catching a beak or toe. Secure it so it cannot roll under the fence or wedge against a wall. Supervise the first 10–15 minutes and watch how each bird approaches it.
Fill the slow feeder with part of the normal ration, not an extra serving simply because the feeder takes longer to empty. If a bird is shouldering others away, use two small slow feeders rather than making one harder to reach. The goal is controlled access and movement, not a contest.
My preference is boring equipment with a clear inspection rule. A plain block that you check is more useful than a complicated toy that collects wet feed, hides damage, or becomes impossible to clean.
The 7-day rotation: keep two or three stations active and diagnose the real problem
The run will not stay interesting if all nine fixes are left in place until they become dirty furniture. I keep two or three stations active, move or refresh one every 2–3 days, and remove perishable food within 24 hours. The exact order is flexible. This is the simple rotation I use as a starting point for four hens:
| Day | Active stations | What to check |
|---|---|---|
| 1 | Covered dust bath and leaf scratch patch | Dry footing, loose material, no manure buildup |
| 2 | Keep both stations | Turn the leaf layer and inspect the bath edges |
| 3 | Scatter part of the ration in two locations | Remove stale feed and confirm no bird is guarding both spots |
| 4 | Low perch and sightline break | Check supports, landing space, and two clear exits |
| 5 | Forage tray with measured feed | Look for wet litter, sharp edges, or trapped toes |
| 6 | Hanging green and slow feeder | Supervise the first use and remove leftovers promptly |
| 7 | Reset two stations for the next week | Clean, refill, move, or retire anything damaged |
Check active stations daily for wet feed, mold, sharp edges, splinters, loose fibers, and trapped toes. Refreshing one station at a time helps you see what your birds actually use. If everything changes on the same day, you learn less about which feature helped.
Normal enrichment behavior includes scratching, pecking, short climbs, dust bathing, brief chasing, and resting in a new spot. Persistent pacing, damaged feathers, repeated aggression, sudden disinterest, weight change, or a noticeable drop in laying deserves a pause. Check space, heat, parasites, feed access, and injury before adding more objects. Enrichment should not be used as a home treatment for a sick or injured bird. If illness or injury is suspected, contact a poultry veterinarian or local extension office.
Enrichment is not best chicken predator protection. Inspect the roof, mesh, door latch, and dig line as a separate job. A safer run gives enrichment a chance to work because the birds can use it without being exposed to an obvious entry route.
Your action this week: measure the usable run, subtract permanent obstructions, and install a two-station starter plan: one covered dry dust bath and one measured-ration forage station. After three days, inspect what stayed dry, what was ignored, and whether every bird could reach both points. Once that basic setup is working, the guide raising backyard chickens for eggs is a useful next step for matching enrichment with the rest of your daily flock routine.