Splay Leg in Chicks: What to Do in the First 24 Hours
If a newly hatched chick is standing like a little starfish, act during the first 24 hours—but don’t start by taping the legs. First warm and dry the chick, give it firm traction, and decide whether both legs are sliding sideways or one leg is injured. A soft, temporary hobble can help a structurally sound chick find its stance. It won’t repair a swollen joint, a twisted hock, or a chick too weak to eat.
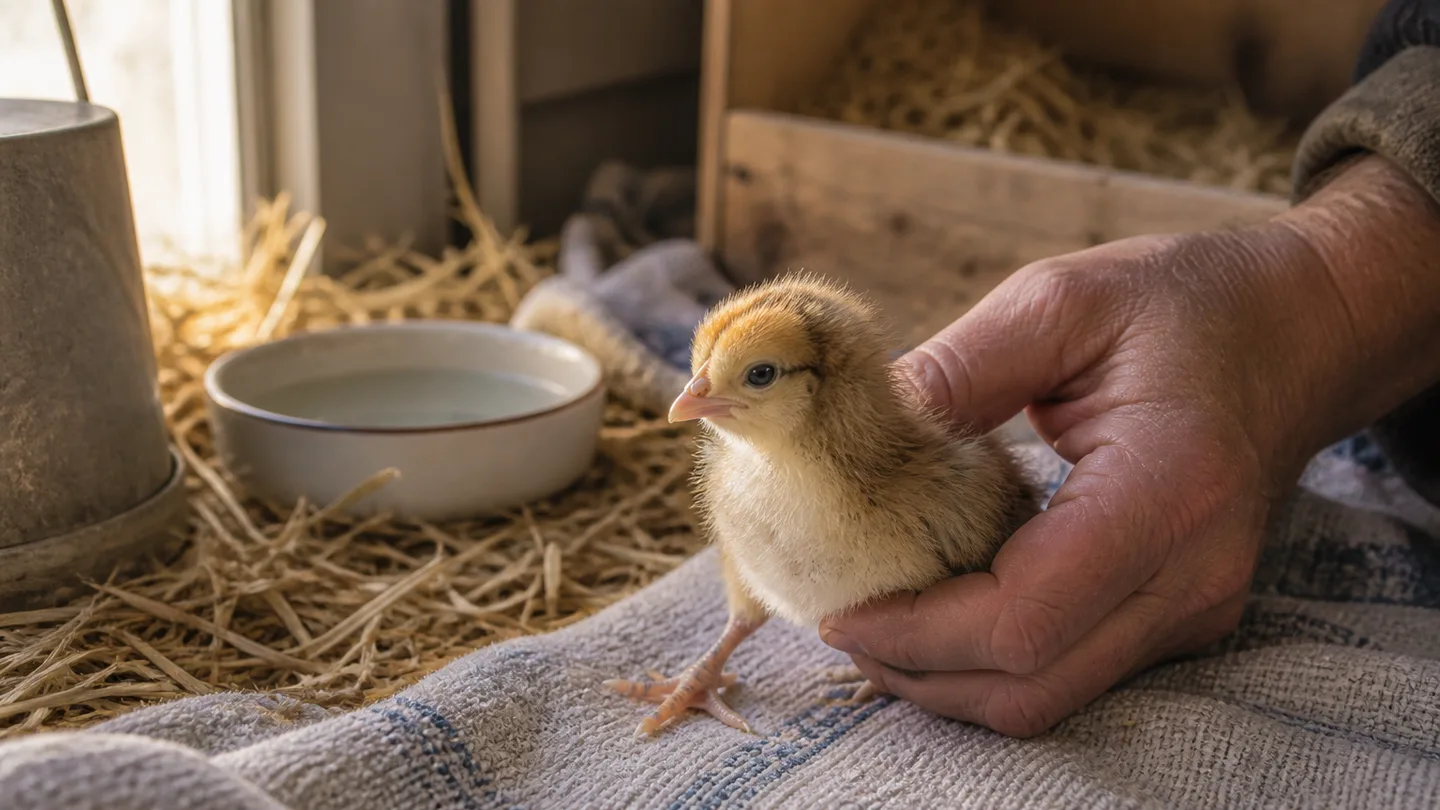
First, look at the stance—not just the leg
Wait until the chick is dry and warm enough to move normally. A newly hatched chick can look awkward for a short time after emerging, especially if it is tired from the hatch. Put it on a flat, non-slip surface and watch what happens when it tries to stand. With classic splay leg in chicks, one or both legs slide out to the side, the feet point outward, and the body stays low because the chick cannot push its legs underneath itself.
That pattern is different from several problems that need a more cautious response. Curled toes affect the foot, which may stay clenched even when the leg is positioned under the body. A hock that looks enlarged, hot, twisted, or displaced is not a simple footing problem. A leg that rotates backward, hangs oddly, or has blood, broken skin, or obvious swelling may have been injured during hatching. Do not try to straighten that limb with a homemade hobble.
A useful case log looks like this: the chick hatches around 7:00 a.m., is dry and alert by 9:00, then repeatedly rolls onto its side when both legs slide outward. The toes point away from the body, the hocks look similar, and there is no bleeding or swelling. That description gives you something to reassess. “The chick looks weak” does not. After the floor is corrected, you are looking for short, controlled steps and reliable access to feed and water—not a perfect stance in the first few minutes.
If the chick is bright, warm, and able to reach the drinker, a one- to two-hour observation period is reasonable while you correct the setup. Do not let “wait and see” run into the next day if the chick cannot stand, cannot reach food or water, is being trampled, or has a visible injury.
The floor and brooder temperature decide whether correction can work
Traction is the first correction. Use a dry surface that lets the chick’s toes grip, such as paper towel laid over a non-slip shelf liner with no loose threads. Replace it as soon as it becomes wet. Bare plastic, newspaper, and smooth cardboard let the feet skate away from the body. Loose material that catches toes can create a second problem while you are trying to fix the first.
For a newly hatched chick, set the warm zone at about 90–95°F (32–35°C) at chick level during the first week. That is a starting range, not a command to heat every part of the brooder equally. Leave room for the chick to move away from the heat. If you are unsure where to measure it, the guide to brooder temperature for chicks is useful because a reading at the wall or above the bedding can mislead you.
Keep shallow feed and water close enough that the chick can reach them without stretching across the floor. The drinker should be stable and difficult to climb into. Check for wet bedding, a cold draft across the floor, crowding from stronger chicks, and a heat source that leaves no cooler retreat. Chilling can reduce movement, while slick footing prevents the push that brings the legs beneath the body. Extra heat alone will not realign splayed legs.
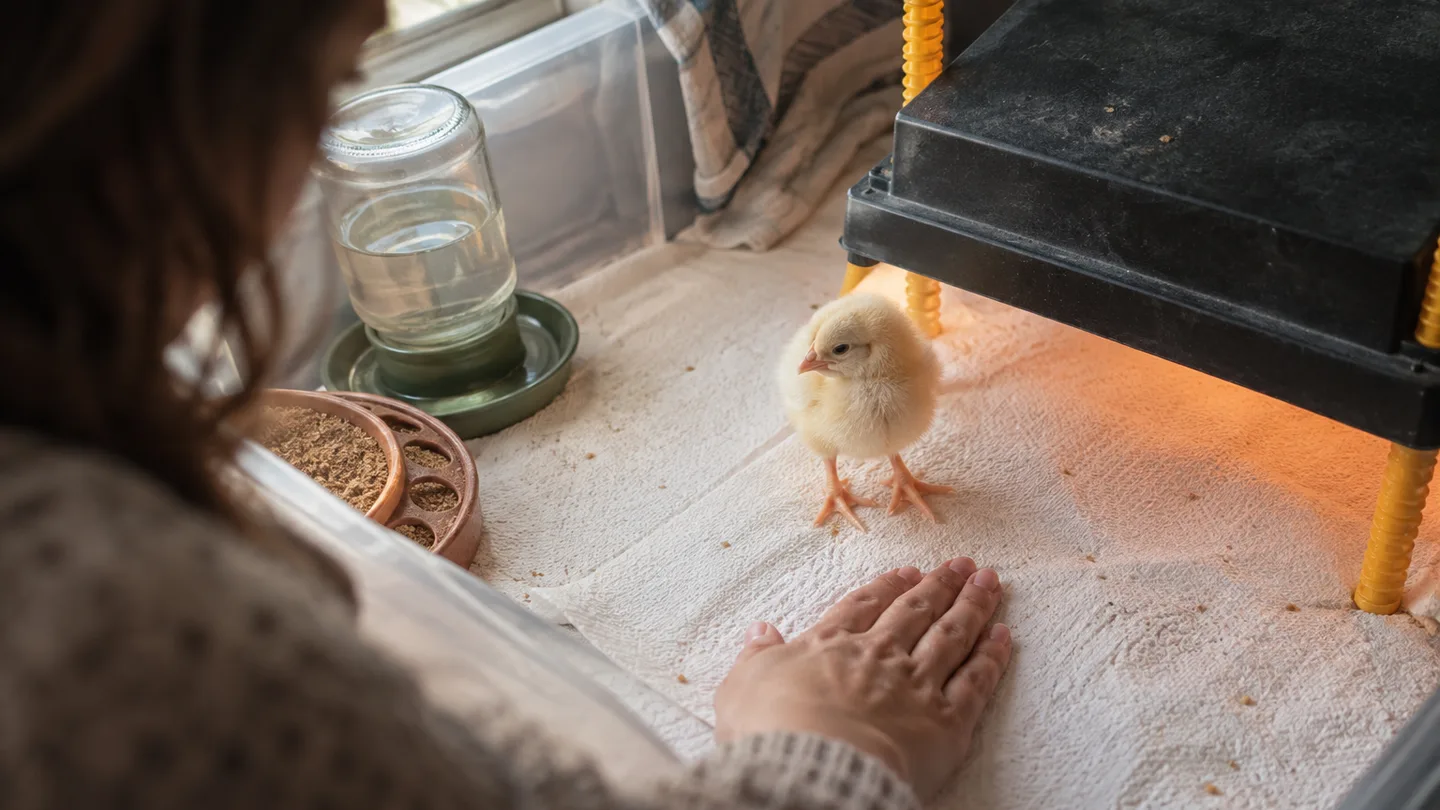
Before fitting any support, watch the chick take a few steps on the corrected surface. If the legs tuck closer simply because the toes can grip, keep the floor fixed and continue observing. If they still slide completely sideways, a temporary hobble may be appropriate when there is no sign of injury.
A temporary hobble: natural hip-width, checks every 2–4 hours
A hobble is temporary support, not a rigid splint. Its job is to stop the feet from drifting so far apart that the chick cannot practise standing. Fit it only after the chick is warm and the floor is usable.
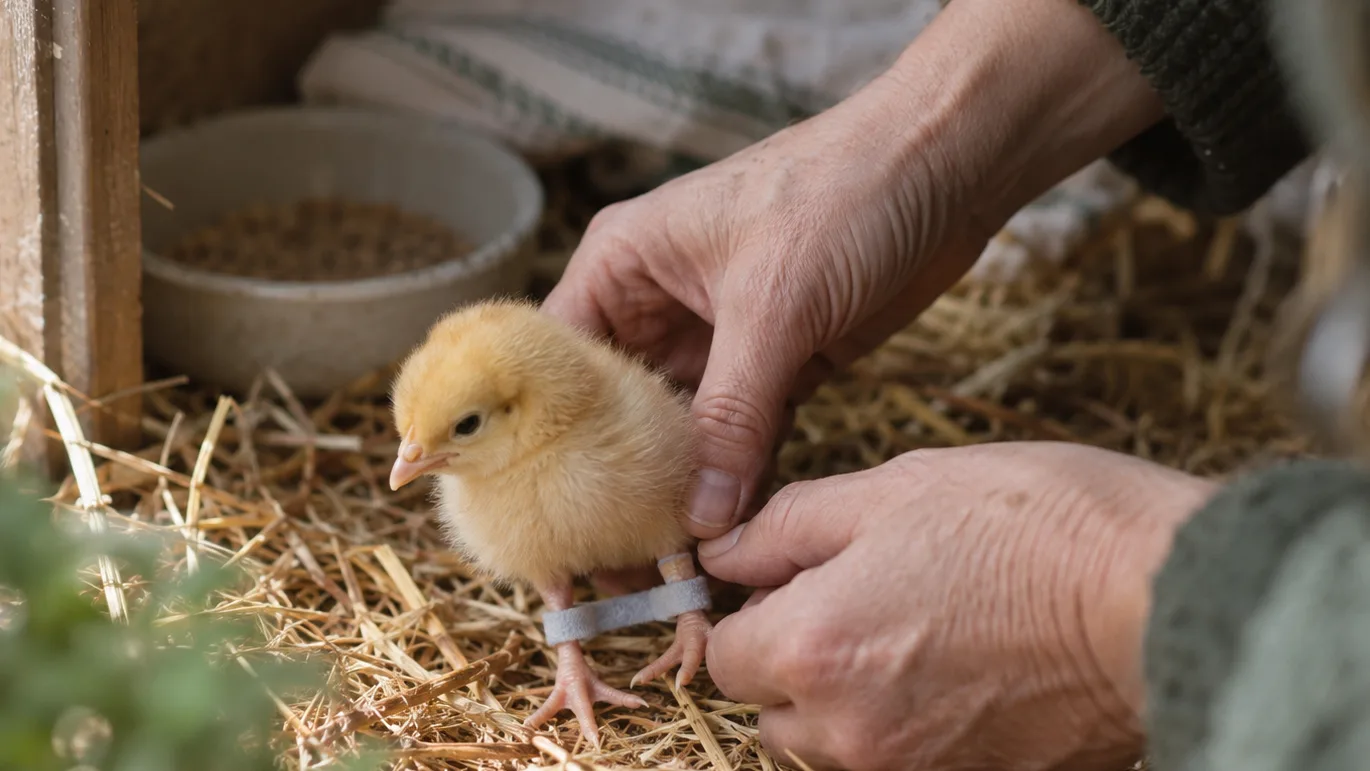
- Choose soft, light material. A small strip of flexible paper medical tape or soft non-stretch fabric can work if it does not drag on the legs. A purpose-made chick hobble is another option when you already have one. Avoid anything heavy, abrasive, elastic, or likely to fray.
- Set the width on the floor. Hold the chick upright with its feet resting naturally. The bridge should keep the feet under the body at the chick’s own standing width. For many standard newly hatched chicks, that may be roughly ½–1 inch between the feet, but breed, size, and the original leg position change the gap. Do not force every chick into the same measurement.
- Keep the attachment points low. Place the support below the hocks and above the feet, with the toes completely visible. Do not wrap adhesive directly across skin, a joint, or a swollen area. If tape is involved, make the bridge from the tape or fabric rather than tightening a strip around the leg.
- Test function immediately. Set the chick down and watch for small, normal steps. The legs should be guided inward, not pinned together. The chick must still be able to bend, sit, reach the drinker, and move away from the heat.
Do not use rubber bands, string, wire, or zip ties. They can tighten as the chick moves, trap a toe, or restrict circulation before you notice. Check both feet and the material every 2–4 hours. Look for slipping, rolling, cold or pale toes, swelling, trapped toes, or a chick that has stopped moving normally. If any of those appear, remove or refit the support straight away.
My practical rule for judging the fit is simple: function matters more than symmetry. A slightly uneven stance that lets the chick stand and walk is safer than a perfectly even-looking bridge that holds the legs too tightly. The support should help the chick use its legs, not do all the work for them.
The 2-, 6-, 12-, and 24-hour recheck
Do not put on a hobble and leave it until morning. The first day is a series of short checks because the chick is small, the material can shift, and the diagnosis may change once the bird is warmer and moving.
- At 2 hours: make sure the support has not slipped. Check that every toe is warm, normally colored, and free of the tape or fabric.
- At 6 hours: look for brief standing, short steps, and reliable access to food and water. Improvement means better function, not necessarily a normal-looking walk.
- At 12 hours: reassess the fit and the original assumption. If the legs still fly completely sideways, or the chick is becoming weak, stop repeating the same adjustment and seek advice.
- At 24 hours: try a supervised few minutes without support on the grippy floor. Decide whether the chick needs another short period of support, a refit, or professional assessment.
Take a baseline photo from above and from the side, then record each check. Notes such as “standing for five seconds and reached water” are more useful than “looks better.” If the chick rolls onto its side, cannot reach resources, or is being stepped on, place it in a protected section where it can still see and hear the other chicks. Reunite it when it can move reliably.
When the first-day plan changes: injury signs, slipped tendon, and vet care
Home correction is reasonable only for a warm, alert chick with a sliding stance and no obvious injury. Arrange same-day advice from an avian or poultry veterinarian for a swollen, hot, crooked, rotated, bleeding, or open leg; cold, pale, or blue toes; severe lethargy; inability to drink; or no meaningful improvement after careful footing and support.
An enlarged or displaced hock, a leg that twists backward, or one badly affected limb may point to a slipped tendon, fracture, dislocation, or another developmental problem. Those conditions can look superficially similar to splay leg, but repeated taping may delay the right treatment. Veterinary guidance on spraddle leg, slipped tendon, and other chick leg deformities is a better reference for those cases than a longer home experiment.
If two or more chicks develop the same stance, splay leg is not spreading like an infection. A shared slippery floor, hatch position, crowding, or another setup problem can affect several chicks, though. Review the incubator and brooder flooring, hatch conditions, feed quality, and breeder condition while contacting a vet or local extension office. Do not add concentrated vitamins or minerals by guesswork; poultry nutrition references covering chick and breeder vitamin and mineral deficiencies can help you decide what information to take to a professional.
Is splay leg in chicks contagious?
No. Splay leg is a positioning or development problem, not an infection that passes from chick to chick. If several chicks are affected, inspect what they share: the hatching surface, the brooder floor, access to warmth, and the quality and freshness of the feed.
Can a chick with splay leg stay with the other chicks?
Often, yes, if it can stand, reach food and water, and avoid being trampled. A weak chick may need a short protected period inside the brooder where the others can still see it. Separation is a safety measure, not a cure, so return the chick once it can move reliably and monitor the group.
Does splay leg always mean a vitamin deficiency?
No. Footing, hatch position, injury, and developmental problems are all possible contributors. Review the feed rather than adding supplements at random. If the problem affects more than one chick or does not improve with sound footing and gentle support, ask a poultry veterinarian or extension office for help.
Your next action this week is practical: photograph the chick’s stance now, prepare a dry non-slip brooder floor, and set reminders for the 2-, 6-, 12-, and 24-hour checks. For the wider setup around those checks, pair this plan with raising baby chicks for beginners.
Frequently Asked Questions
Is splay leg in chicks contagious?
No. Splay leg is not an infection that spreads, but a shared slippery floor or hatch-related problem can affect several chicks, so inspect the setup if more than one chick is affected.
Can a chick with splay leg stay with the other chicks?
Usually, if it can reach food and water and is not being trampled. A short period in a protected, visible section of the brooder may be safer when the chick is weak, with reunion once it can move reliably.
Does splay leg always mean a vitamin deficiency?
No. Footing, hatch position, injury, and developmental problems are possible contributors. Review feed quality and seek professional advice before adding supplements by guesswork.