How Much Feed Per Chick Per Day: A Week-by-Week Guide
Ten chicks can turn 1.4 kg of starter into a week-four planning number before you notice how much lands in the bedding. If you’re asking how much feed per chick per day, start with 8–12 grams in week 1 and plan toward 30–40 grams by week 6 for standard egg-type chicks eating complete dry starter.
That is a buying and checking range, not a ration to dole out. Broilers, bantams, heat, feed energy, treats and spillage can move it. The useful setup is free-choice feed plus a scale check, not a scoop that runs out at 6 p.m.
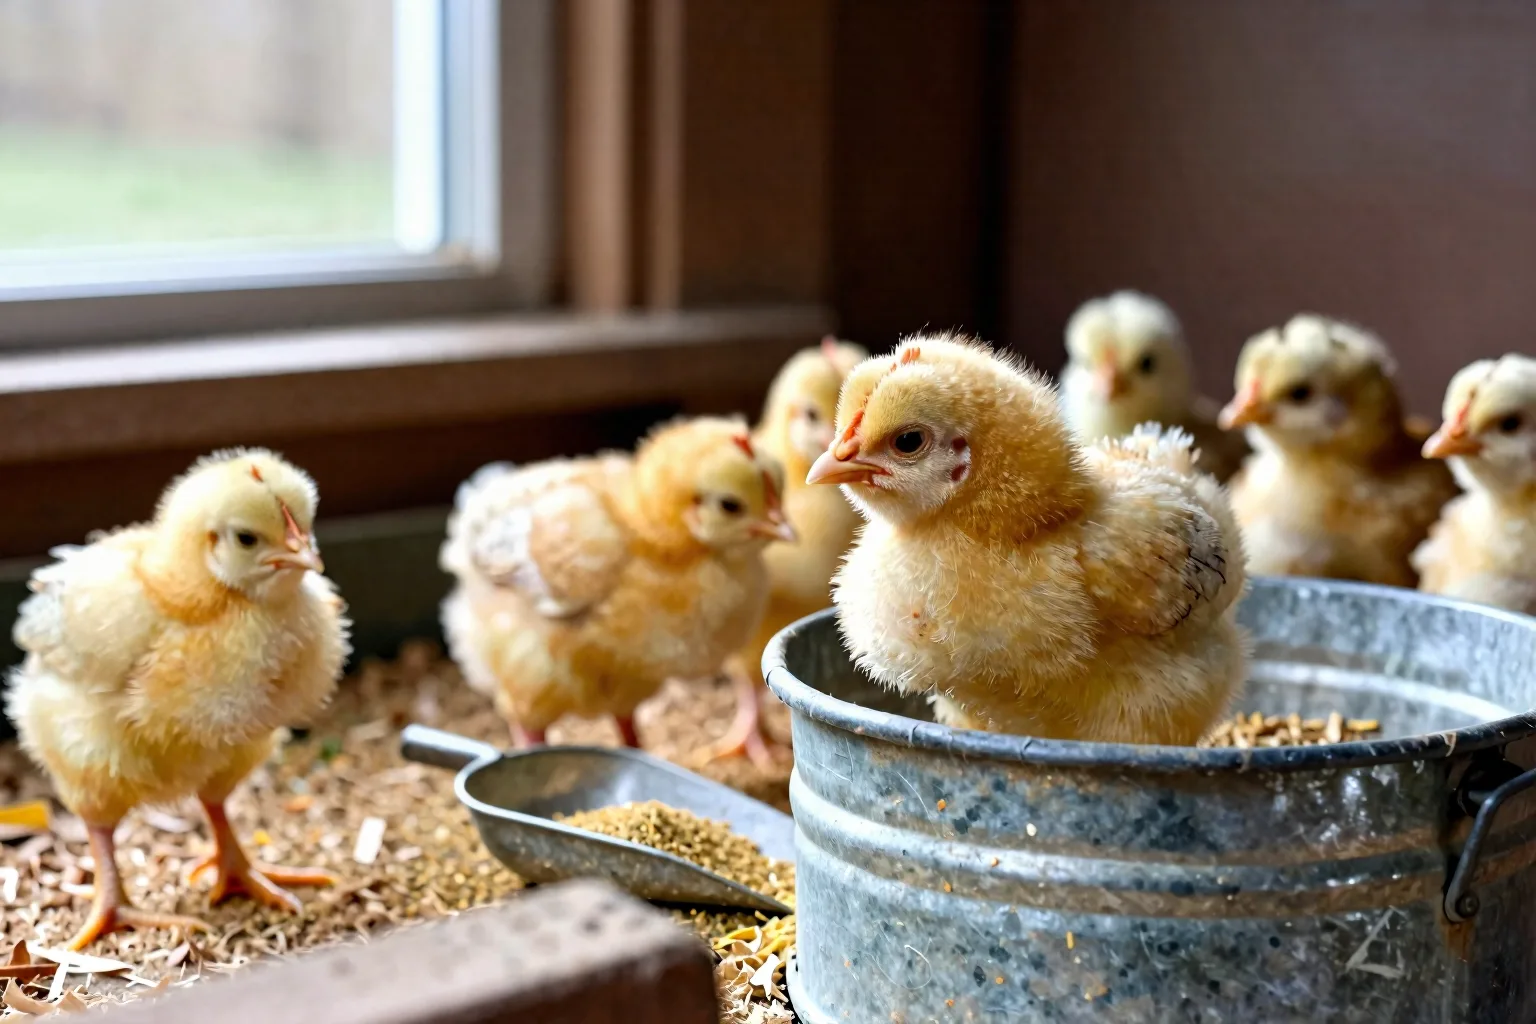
The quick answer: about 8–12 grams in week 1, rising to 30–40 grams by week 6
For standard laying-type chicks, use 8–12 g per chick per day in the first week. Increase that planning range to 12–16 g in week 2, 20–28 g in week 4 and 30–40 g in week 6. By week 8, a useful starting range is 40–50 g per chick per day if the birds are still eating starter.
These numbers assume complete dry chick starter, clean water and no substantial treats. They’re planning figures. They tell you roughly how much to have available and help you notice a sudden change. They aren’t a limit. Your chicks should be able to eat when they want.
A broiler strain can move above this layer-type guide. A bantam can sit below it. A hot brooder can reduce feed interest, while a cold or poorly arranged brooder can leave chicks huddled instead of eating. Treat the chart as a starting fence, not a rule that every chick must fit.
The week-by-week numbers: days 1 through 56
The table below covers the first 56 days. The seven-day total is for one chick. It uses the same daily range multiplied by seven, so you can scale it to your flock without guessing at bag usage.
| Age | Daily starter per chick | Seven-day total per chick |
|---|---|---|
| Week 1, days 1–7 | 8–12 g | 56–84 g |
| Week 2, days 8–14 | 12–16 g | 84–112 g |
| Week 3, days 15–21 | 16–22 g | 112–154 g |
| Week 4, days 22–28 | 20–28 g | 140–196 g |
| Week 5, days 29–35 | 25–35 g | 175–245 g |
| Week 6, days 36–42 | 30–40 g | 210–280 g |
| Week 7, days 43–49 | 35–45 g | 245–315 g |
| Week 8, days 50–56 | 40–50 g | 280–350 g |
Across eight weeks, those rows add up to about 1.30–1.736 kg per layer-type chick before waste. That sum is useful for planning, but it isn’t a promise about what will disappear from your feeder. A deep tray, lively chicks and loose crumble can make the bag empty sooner without putting all of that feed into their crops.
If you want a second comparison point, look at University extension guidance on chick and pullet feed-intake tables. Compare the age pattern and the feed assumptions. Don’t copy a number from a table that describes a different breed, feed or production goal.
One flock, one formula: convert grams into weekly feed
Use this calculation:
Daily grams per chick × number of chicks × 7 ÷ 1,000 = kilograms for one week.
For 10 chicks in week 4, the calculation is 20–28 g × 10 × 7. That gives 1,400–1,960 g, or 1.4–1.96 kg, before waste.
If your feeder leaves measurable spillage, add a planning buffer of roughly 5–15%. On that example, the amount to have ready becomes about 1.47–2.25 kg. Use the lower end when the feeder is tidy. Use the upper end only when you have seen clean, recoverable feed landing on the bedding.
Keep the feed calculation separate from the cost calculation. Bag sizes, starter prices and local brands change. Check current prices and package weights at your nearby feed store before you buy.
Leave starter available; use the daily number to check, not ration
Complete chick starter works best as a free-choice feed during this stage. Put out enough for every chick to reach it, then refill before the feeder stays empty. One measured scoop divided into breakfast, lunch and dinner makes the chart misleading. A chick that is blocked from feed for part of the day can eat less even when the total scoop looks correct.
Leave feed and clean water available overnight. Chicks may settle for long stretches, but they should not have to wait for morning if they wake and move around. In a crowded brooder, use more than one feeding point. Place them so a timid chick can eat without pushing through the busiest group.
As chicks grow, raise the feeder lip to about back height and watch what happens. The goal is an easy reach with less scratching. If half the crumble is being flicked onto the litter, changing the feeder position or design is more useful than buying a larger bag.
Remove feed that has become damp, caked or fouled. Fresh, dry starter is easier to eat and easier to measure. Keep waterers stable and close enough that chicks don’t cross a cold or obstructed part of the brooder to reach them.
Why your flock may not match the chart
Start with genetics. Broiler chicks are selected for rapid growth, so their feed demand can run above a layer-type planning row. Bantams have smaller bodies, so they commonly use less by weight. Do not apply a simple half-size multiplier to bantams. A smaller bird still needs a complete ration, and feeder waste can erase the apparent difference.
Then check temperature and access. Heat can suppress appetite. Cold conditions can keep chicks pressed under the warm area instead of walking to feed. Drafts, a heat source placed too far from the feeder, a slippery floor or one crowded feeding point can create the same pattern. If you’re unsure whether the brooder is arranged correctly, check Chick brooder temperature week by week alongside the feed record.
Feed energy and texture also matter. Two starter products can have different feeding directions, and mash, crumble and larger particles do not disappear from a feeder in the same way. Treats add another variable. They can make the feed bowl look less busy while supplying less of the complete ration.
A low number paired with weakness, poor growth, dehydration, persistent abnormal droppings or a chick sitting apart is not a cue to keep adding feed. Check warmth, water access and the bird itself, then contact a poultry veterinarian or local extension office promptly. Feed cannot correct every cause of poor intake.
Weigh the feed for three days and find your flock’s real baseline
A kitchen scale that reads in 1-gram steps, a clean container and a pencil are enough. Use the same equipment each time. Weighing one day’s feed is interesting. Weighing three consecutive days gives you a much better baseline.
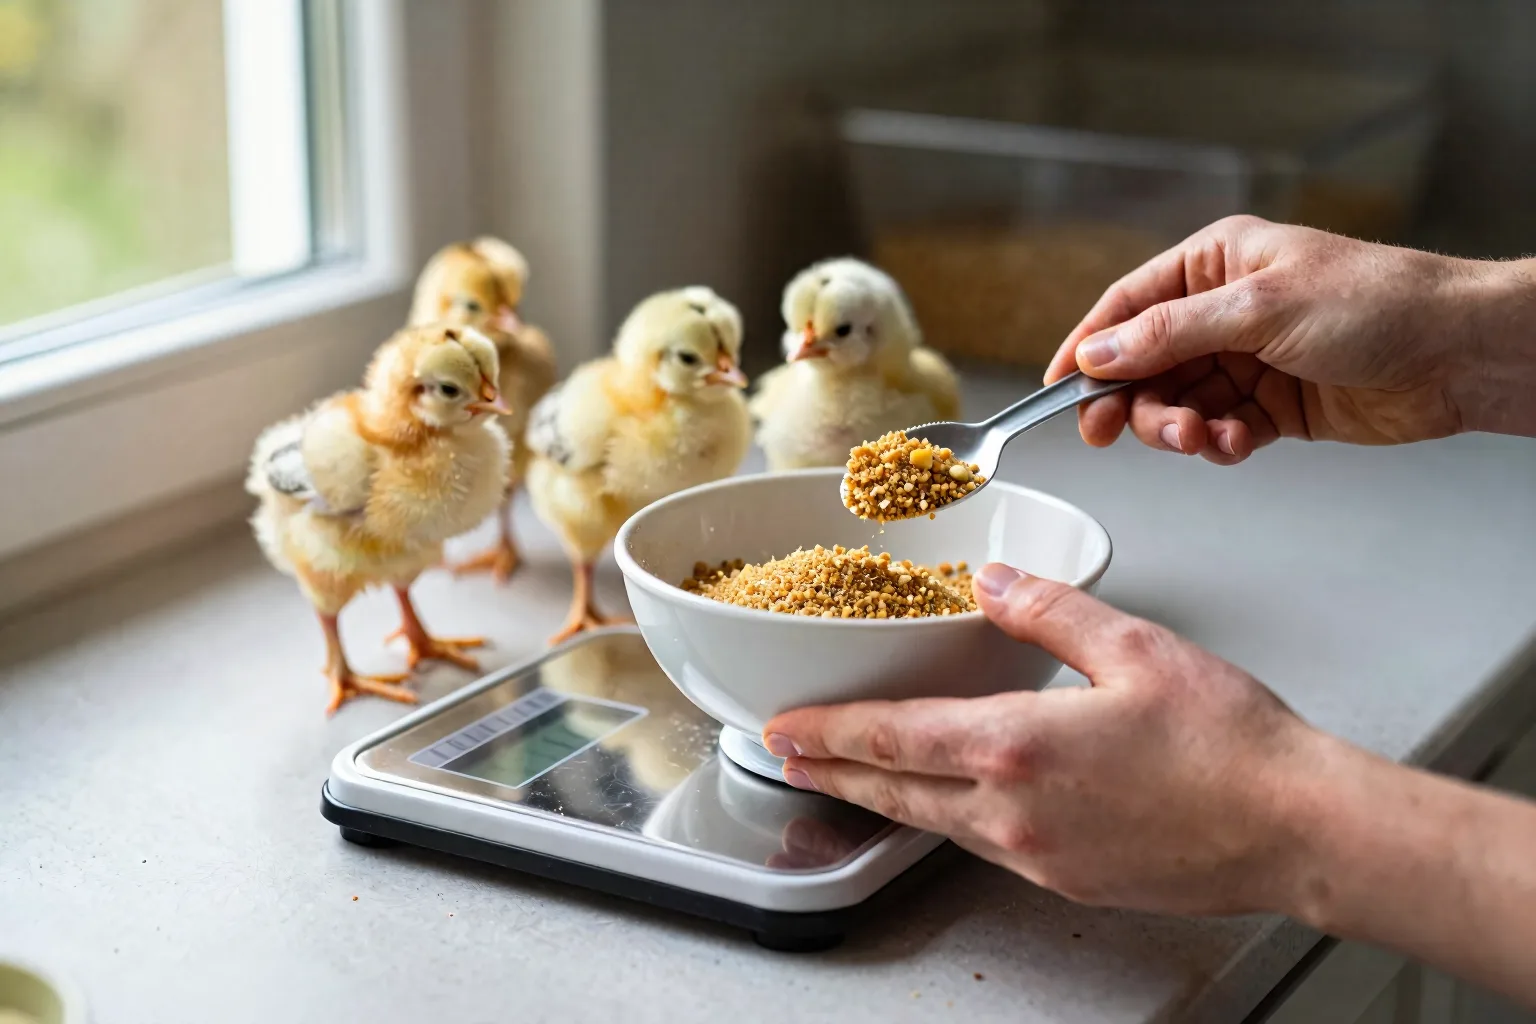
- Write down the chick count, age, starter type and brooder conditions.
- At the same time each day, weigh the feed you’re putting out.
- At the next check, weigh clean leftover feed in the feeder.
- Collect visible, dry spilled feed in a separate container and weigh it if you can.
- Subtract clean leftovers and recoverable spill from the amount offered.
- Divide the three-day total by the chick count and by three to get an average daily disappearance per chick.
That last number is feed disappearance, not proof of feed eaten. Crumble buried in litter may be wasted. Feed stuck to wet bedding should not be counted as nourishment. If you cannot collect the spill, record it separately rather than pretending it was eaten.
Here’s a useful example. A 10-chick flock in week 4 receives 250 g. The next morning, 38 g of clean starter remains and 22 g of dry spill is recovered. Estimated intake is 250 − 38 − 22 = 190 g, or 19 g per chick. One day below the 20–28 g planning range is not enough to diagnose a problem. If the three-day average stays low, inspect access, temperature, feed texture and chick condition in that order.
Starter is the main ration; treats and grit are exceptions
Keep a complete chick starter in the feeder. Crumble is usually the easiest form for newly hatched chicks to pick up, while a product with larger particles may increase sorting or waste in a small brooder. Follow the product’s feeding directions and nutrient statement rather than mixing several feeds to make your own formula.
Treats are unnecessary early on. Once chicks are established, a sensible house rule is to keep extras at around 10% or less of what they consume. Treat that as a ceiling, not a target. Greens, mealworms and kitchen scraps can displace balanced starter, and sticky or wet foods are harder to measure and easier to foul.
If chicks eat greens, whole grains or other foods that need mechanical grinding, offer chick-sized insoluble grit separately. Grit is not a substitute for calcium feed, and it is not the same product as soluble oyster shell used with laying hens. The two serve different jobs: grit helps break down fibrous or whole foods, while soluble oyster shell supplies calcium for eggshell production. Chicks do not need oyster shell added to their starter.
Do not use routine layer feed as the growing ration. Its formulation is intended for laying birds, not developing pullets. A practical transition window from starter to grower is around 6–8 weeks, but the feed label should decide the exact change. For a product-specific check, read the feed-label standards and nutrient statements for complete chick starter.
Medicated and unmedicated starter are separate product choices. Use the label, consider your flock health plan and ask a veterinarian about a disease concern. Don’t improvise a medication or alter the feed rate to compensate for one.
Empty feeder, scattered crumble or slow growth: read the clues in order
Look at the birds and the feed together. A feeder that is empty tells you less than an empty feeder surrounded by active, evenly growing chicks. A full feeder tells you little if one chick cannot reach it.
| What you see | Check first | Next action |
|---|---|---|
| Feeder empty; chicks active and similar in size | How long it stayed empty and whether feed is on the litter | Offer a little more and reduce the access or feeder waste causing the mismatch |
| Crumble scattered around the feeder | Lip height, tray depth and feeder position | Raise or adjust the feeder, then measure spill for three days |
| Chicks huddling or panting | Brooder temperature, drafts, heat-source position and route to feed | Correct the environment before changing the ration |
| Full feeder; one chick is isolated, weak, dehydrated or growing poorly | That chick’s condition, water access and droppings | Seek prompt veterinary advice rather than adding extra feed |
Use a weekly weight trend without forcing every breed into one generic target. Weigh each chick, or the same small sample, on the same day and in the same way. A flat trend, a widening gap between chicks or a chick that stops gaining deserves investigation. The useful question is whether growth is continuing for that bird, not whether it matches an arbitrary number meant for another strain.
For advice on poor intake, dehydration and early chick illness, use veterinary guidance on poor intake, dehydration and early chick illness and call a poultry veterinarian when the bird is deteriorating.
Make the next seven-day feed plan before you need it
Once a week, make this quick plan:
- Count the live chicks and write down their age in days.
- Choose the matching daily row in the chart.
- Multiply grams by chick count and seven.
- Add a 5–15% waste buffer only if your measurements justify it.
- Weigh one day’s offer and leftover, then repeat for three days.
- Check the starter label before the 6–8 week transition window arrives.
This week, put a container on a kitchen scale and record three days of offered feed, clean leftovers and visible spill. That single page will tell you more about your flock’s real chick feed amounts by week than an untouched scoop ever will. While you’re checking the brooder, review A practical brooder setup for the first six weeks, then add the running numbers to How much a backyard flock costs to feed each month so your chick plan becomes a flock budget.