Candling Eggs on Day 7: Fertile, Clear, or Late to Hatch
At the end of seven full days in the incubator, a viable chicken egg will often show branching blood vessels and a darker developing area. A clear egg may be infertile or may have stopped very early. An egg with no obvious veins may also be perfectly worth keeping if the shell is dark, the light is weak, or your setting date is off.
That’s why Day 7 candling eggs is best treated as a sorting check, not a final verdict. Count from the day you set the eggs, use a short and organised routine, and give uncertain eggs another look around Day 10.
Start with the calendar: what “Day 7” actually means
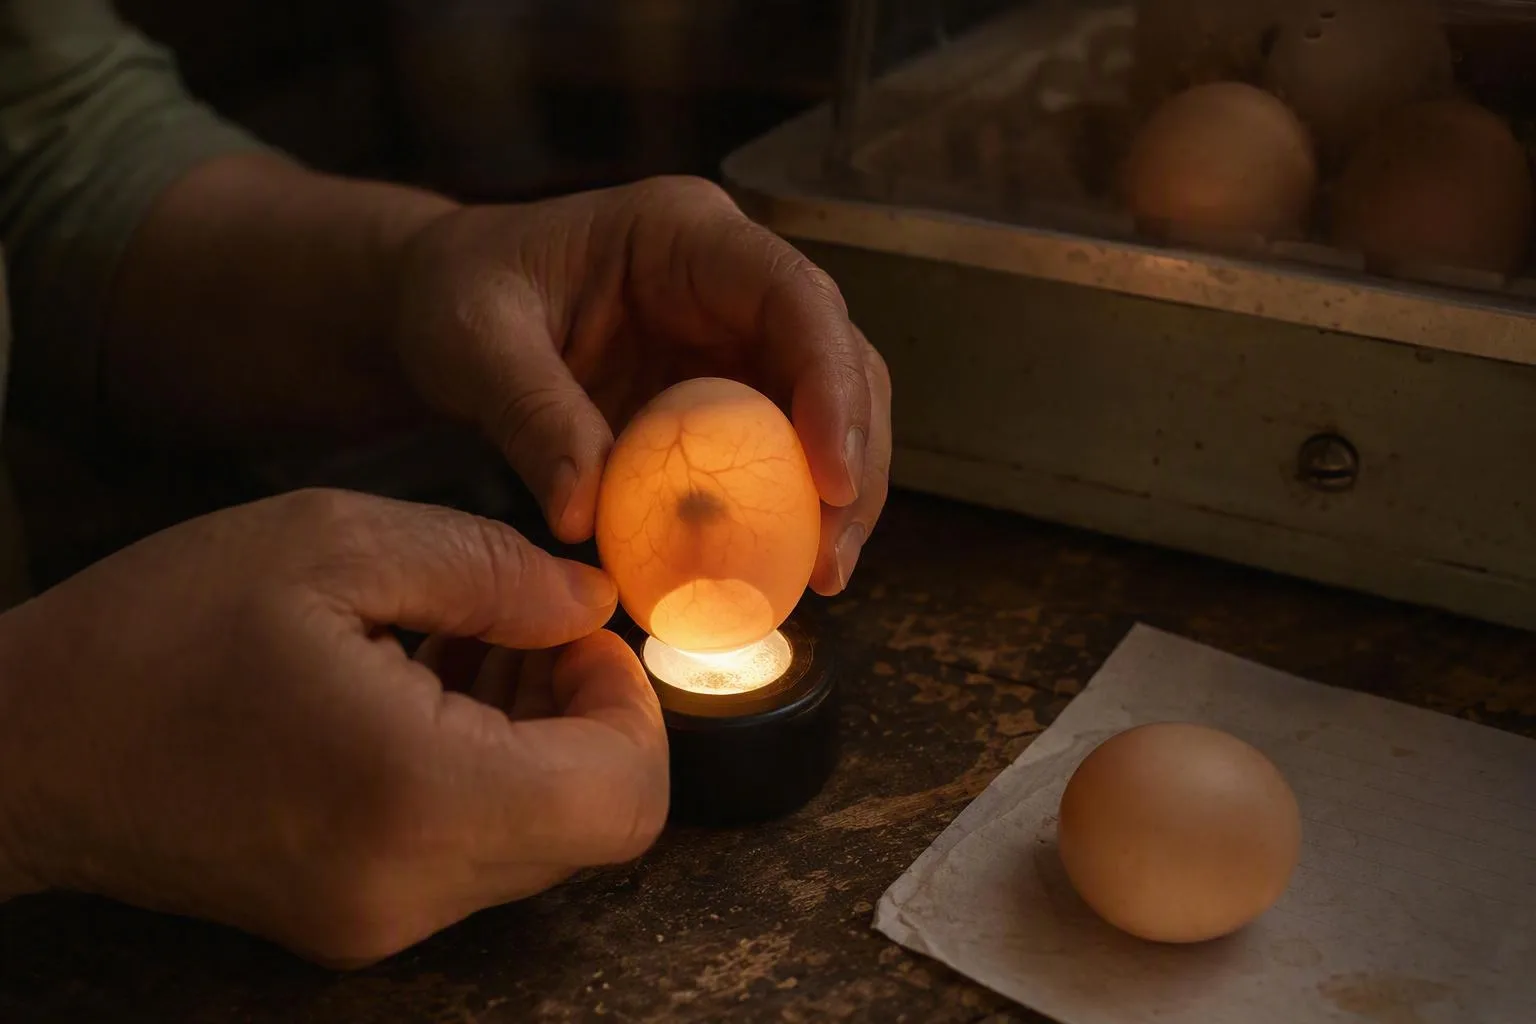
Your incubation calendar begins with the setting date. It doesn’t begin when you collected the egg. If twelve eggs went into the incubator on Tuesday at 6 p.m., seven full days have passed at 6 p.m. the following Tuesday. That is the useful point for a Day 7 check.
Some keepers call the setting day Day 1. Others call it Day 0. Either convention can work, but mixing them creates the sort of one-day error that makes a normal embryo look late. Write down the date and, if you can, the approximate time the eggs went in. Then use that same convention for every later candle.
For chicken eggs, the usual planning target is near Day 21. That is a calendar guide, not a promise that every chick will hatch at the same hour. Incubation temperature, temperature swings, egg handling, and the incubator’s design can move development earlier or later. Day 7 tells you more about whether development is underway than about the exact hatch date.
Duck, quail, turkey, and other species don’t share the chicken timetable. If you’re incubating mixed species, keep separate calendars. The word “Day 7” has meaning only alongside the species and the setting date.
Think of the first candle as three possible calls:
- Continue: you can see a vessel pattern and a developing dark area.
- Recheck: the view is too poor or ambiguous to support a discard decision.
- Remove: you have a clear blood ring, a leak, or another definite problem.
That simple distinction prevents a common mistake. A difficult-to-see egg is not automatically a non-developing egg.
A dark room and a five-minute candling routine
Prepare everything before you open the incubator. You need a focused egg candler or a strong flashlight, a pencil, your notes, and a small empty carton or towel-lined tray. The room should be as dark as you can make it. A bright kitchen makes a weak shell view look even weaker.
My working rule is conservative: if I can’t confidently distinguish “clear” from “I can’t see through this shell,” I mark the egg for a later check. I don’t turn uncertainty into a discard. That rule is less dramatic than making a quick call, but it protects developing eggs from a poor light or a badly timed inspection.
- Set up the light first. Turn off nearby lights. Test the candler against an empty or known-clear egg if you have one. If the beam is broad and spills around the shell, cup your hand around the light and egg to improve contrast.
- Open the incubator only when ready. Don’t lift the lid and then spend several minutes looking for a pencil. Have your numbering system written down first.
- Lift one egg at a time. Hold it with clean, dry hands. Place the light against the broad end, where the air cell sits. Start with the egg upright, then tilt it gently if you need to follow the vessels.
- Rotate slowly. Roll the egg a small amount between your fingers. Don’t shake it, spin it quickly, or tap the shell. You’re looking for a pattern that moves with the contents, not a dramatic performance.
- Record what you actually saw. Write the egg number, shell colour, and one short note such as “veins,” “clear,” “ring,” or “uncertain.” A pencil is a practical choice for shell marking because it avoids putting wet ink on the shell.
- Return it promptly. Put the egg back in the same position and close the incubator. A prepared small-tray inspection can fit into roughly five minutes, but speed should not make you careless. The goal is a brief interruption, not a tray sitting on the counter while you troubleshoot.
Dark brown, blue, olive, or heavily speckled shells may show less detail. Pigment and shell thickness block more light. Use a brighter, narrower beam and inspect from the broad end. You may see only a dark mass and a few vessels. That is still different from a uniformly bright egg.
Keep your hands steady rather than trying to find a perfect angle. If the egg is hard to read after a few gentle adjustments, record “uncertain” and move on. Repeated handling rarely creates useful information. A second look after several more days usually does.
What a normally developing egg shows at Day 7
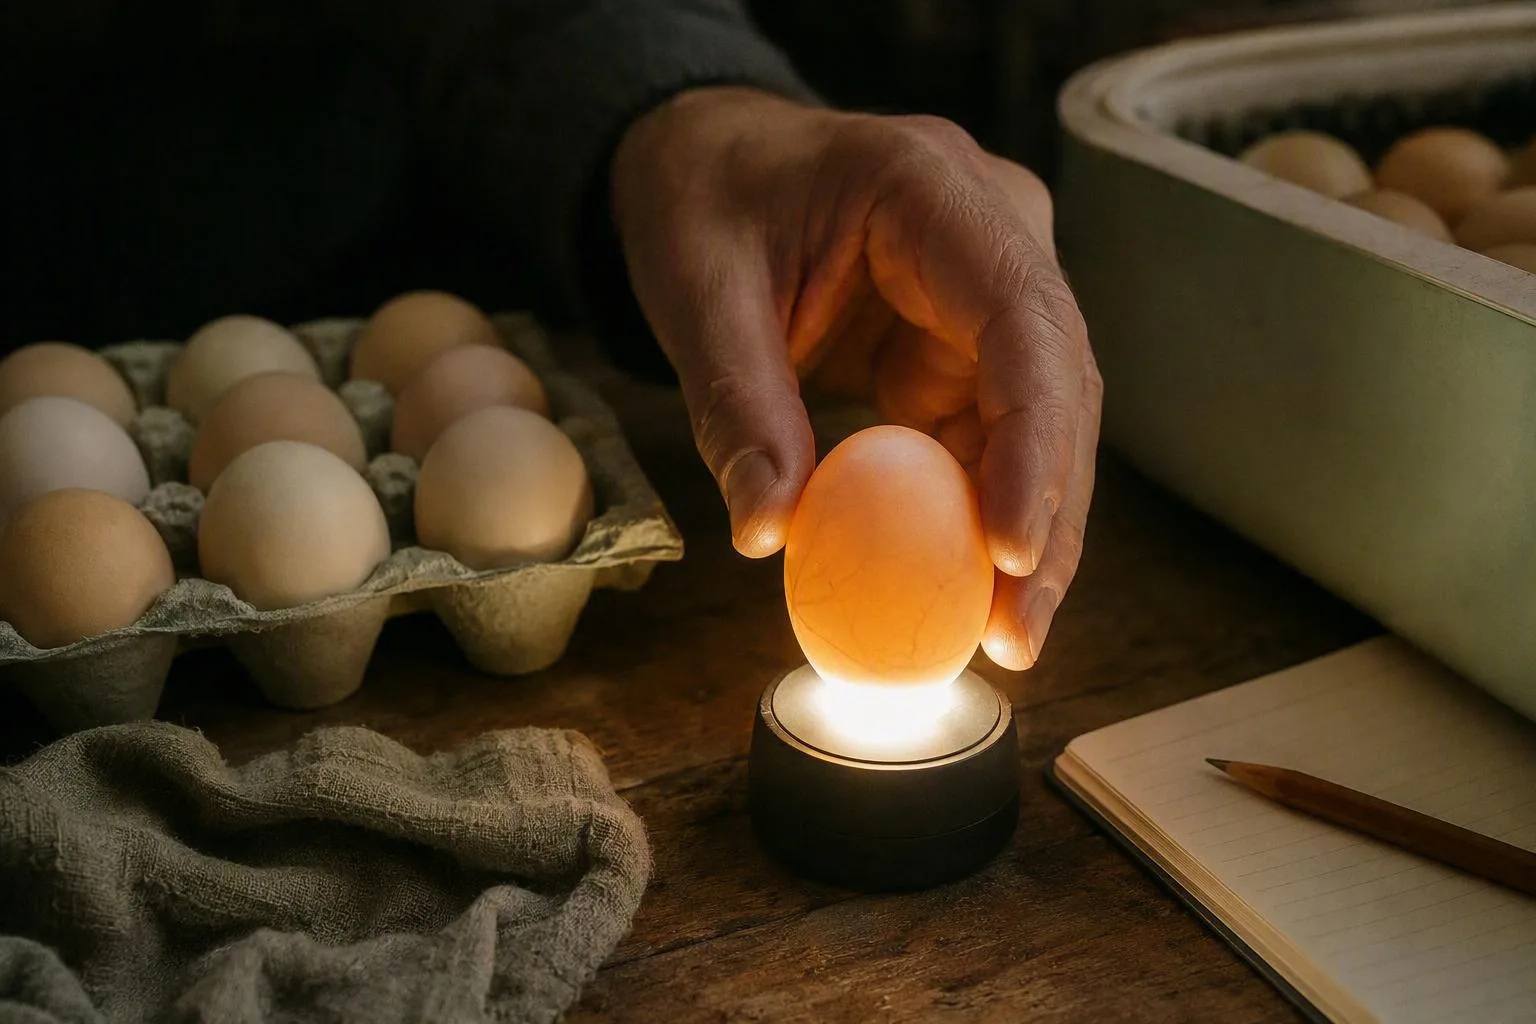
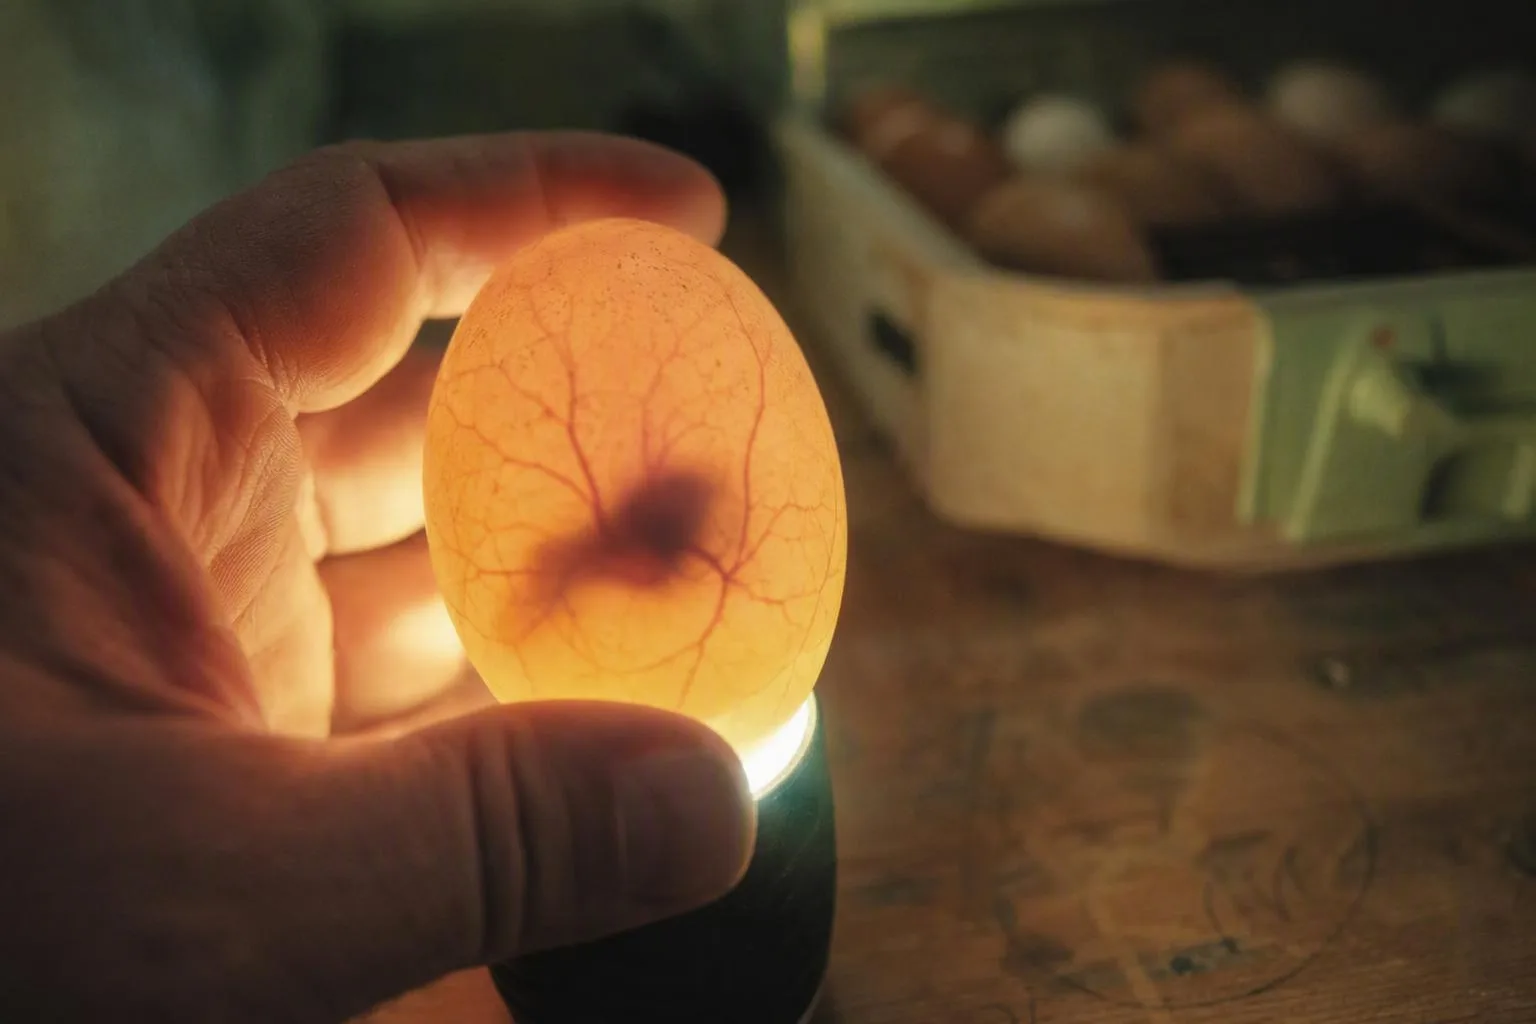
At Day 7, look for a pattern rather than a perfect chick-shaped picture. The most useful sign is a network of fine blood vessels spreading from a darker centre. Depending on the shell and the strength of your candler, the embryo may look like a small dark spot, a shadow, or a denser area where several vessels meet.
You may also see:
- Branching vessels. They should look like lines spreading outward rather than one clean red circle.
- A darker central area. The developing contents create more shadow than a clear, undeveloped egg.
- A visible air cell. It appears at the broad end as a clear pocket. Its outline may be easier to see than the embryo itself.
- Movement. You might catch a twitch or shift. It’s useful when seen, but a short candle is not a movement test. No movement during a quick inspection does not prove that development has stopped.
A good Day 7 view supports continued incubation. It does not prove that the egg will hatch, that the chick will be healthy, or that the hatch will happen exactly on Day 21. Development can stop after this check. The candle is a snapshot.
Here’s a practical example. Suppose you set a tray of twelve chicken eggs and, on the seventh full day, see clear branching vessels in nine eggs. Two dark-shelled eggs show only a vague shadow. One egg remains bright from end to end under a strong beam. Record nine as continuing, two as uncertain, and one as clear. Don’t make the two uncertain eggs share the one clear egg’s label just because they were in the same tray.
The distinction matters because your eyes are interpreting light through a curved, imperfect shell. Speckles can mimic shadows. A dark shell can hide vessels. A flashlight that looks powerful in your hand may lose useful brightness when pressed against the shell. The question is not “Can I see a chick?” It’s “Can I see evidence of organised development?”
A developing egg may also look different from its neighbour because of shell colour, embryo position, or the angle of the air cell. Compare each egg with its own earlier note rather than demanding that every egg look identical.
I prefer a written note over a memory such as “that one looked good.” Once several eggs are out and the room is dark, details blur together. Numbering the eggs gives Day 10 and Day 14 something to compare with.
Clear, blood-ringed, or hard to read? Use this call
Most Day 7 decisions become easier when you separate three different situations: no visible development, visible evidence that development stopped, and a poor view. They can look similar in a hurry, but they don’t call for the same action.
| What you see | What it may mean | Practical call |
|---|---|---|
| Bright and fairly uniform under a strong light | Often infertile or failed very early, especially when the setting date and light are reliable | Record it as clear. If the view is not fully convincing, recheck before removing. |
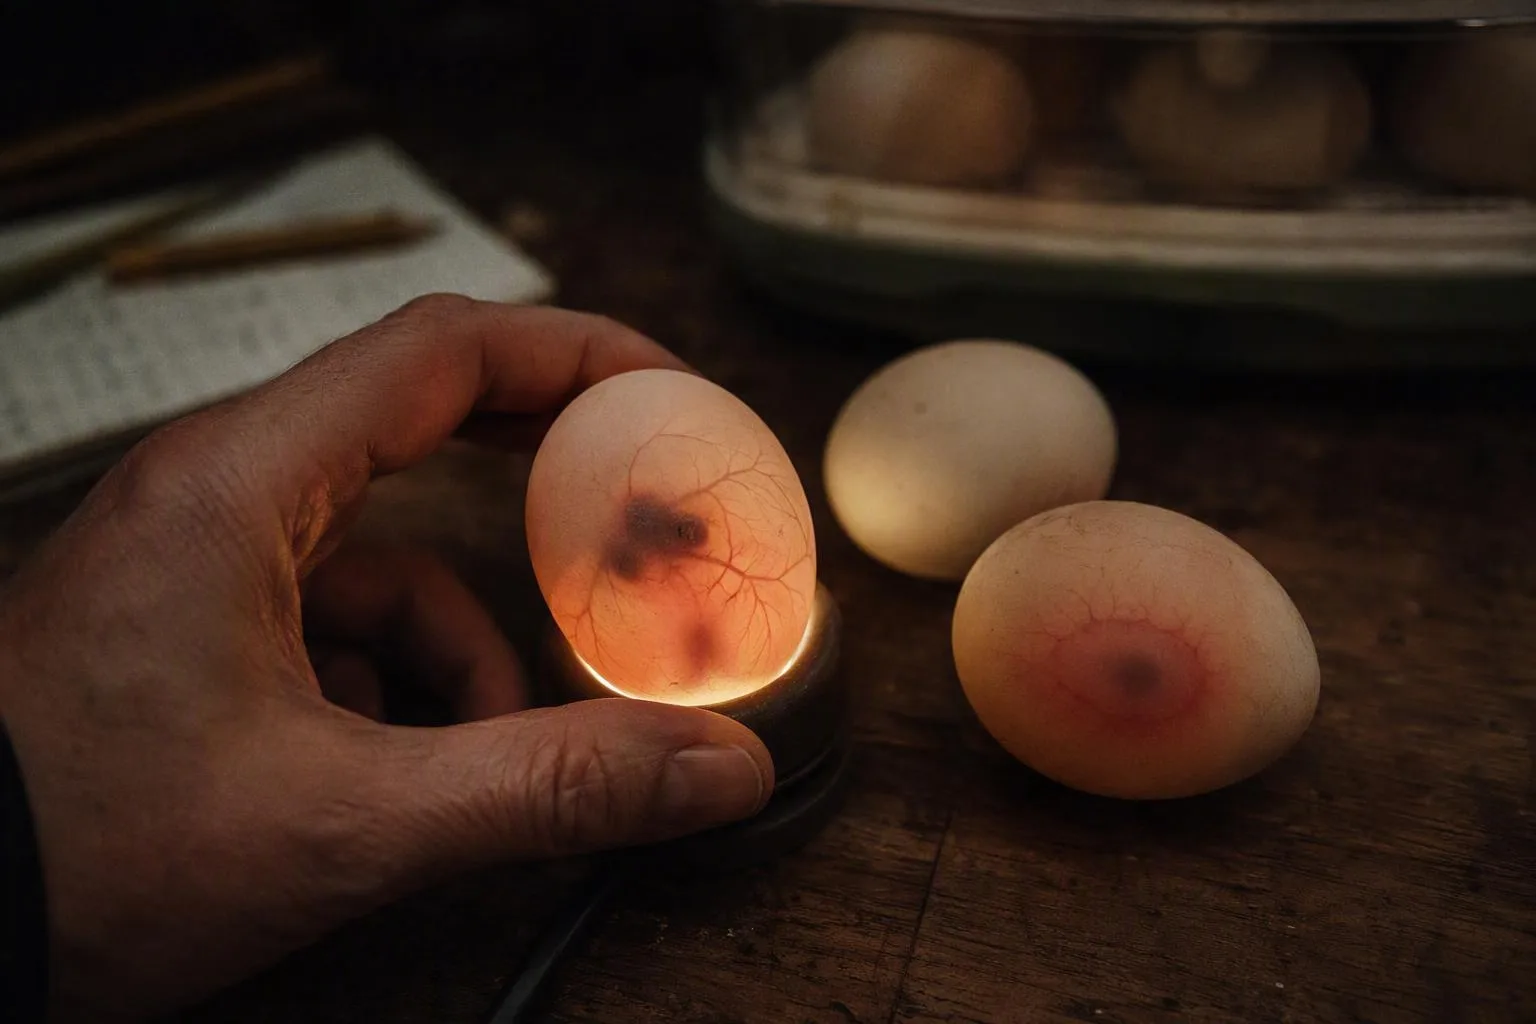
| A red line or ring around a darker centre | An embryo appears to have stopped and the vessels have collapsed into a ring | Confirm the view, then remove the egg from the incubator and handle it as waste. |
| A dark mass, weak shadow, or a few indistinct lines | Development may be present, or the shell and light may be hiding the detail | Mark it uncertain and candle again after more development. |
| A cracked, leaking, or foul-smelling egg | The shell or contents are no longer safely contained | Remove it promptly with clean gloves and follow your incubator and local waste guidance. |
A blood ring is not the same thing as an infertile clear egg. A clear egg has no obvious developing structure under the light. A blood ring suggests that development began and then stopped. You may see a red circular line, sometimes with a darker spot inside and fewer living-looking vessels radiating outward.
Don’t crack an uncertain egg open over the incubator. That turns a viewing problem into a contamination problem. If a confirmed blood ring is removed, keep it away from your kitchen eggs, wash your hands, and follow the cleaning instructions for your incubator. If an egg is leaking, act sooner rather than waiting for the next scheduled candle.
The hardest call is usually a dark egg that shows a vague shadow but no clear vessel network. In that case, check the broad end, reduce room light, improve the seal around the candler, and try once more. If the view still isn’t decisive, use a pencil mark such as U3 for “uncertain, egg 3.” That mark is a better record than a confident guess.
There is one exception to the patience rule: a smell or leak is not an ordinary uncertainty. A damaged egg can soil the incubator and nearby shells. Remove it without shaking it, clean according to the equipment instructions, and don’t put it back in the kitchen.
No obvious veins yet does not always mean “late”
If you see no obvious vessels on Day 7, don’t immediately raise the temperature or declare the egg dead. First ask whether the calendar, the equipment, and the view are trustworthy. “Late to hatch” is not a diagnosis you can make from one poor Day 7 candle.
Start with the setting date. Someone may have counted from collection, purchase, or the day the eggs were delivered. If the whole tray looks behind, a calendar mistake is a sensible first check. If one egg looks different while the rest show normal vessel patterns, shell opacity or an egg-specific problem becomes more plausible. That is a troubleshooting order, not a claim about what happens most often.
Next, check temperature. Lower-than-intended incubation temperatures can slow embryo development. Uneven heat can make eggs in different parts of the same incubator look out of step. A controller showing a target number doesn’t prove that the air around every egg matches it.
Use an independent thermometer at egg height if you have one, and compare its reading with the incubator display. Follow the incubator manufacturer's instructions for your model. Forced-air and still-air machines may use different measurement points and settings, so copying a number from another machine can create a new problem rather than solve the first one.
Also consider the light. Dark or thick shells can hide a vessel network that would be obvious in a pale shell. A weak flashlight, a bright room, or a poor seal between the light and shell can produce a false “clear” call. Eggs that were stored cold before setting may also make the early calendar less straightforward, particularly if your recorded setting time is uncertain.
Keep the normal temperature, humidity, and turning routine while you investigate. Don’t turn up the heat to force a catch-up. The reasoning is simple: if the thermometer is wrong or the incubator is already warmer at egg level than the display suggests, adding heat can push development past the intended range. Correct a verified equipment problem according to the manual. Don’t chase a shadow with a dial.
Then re-candle around Day 10. Three more days can turn a vague shadow into an obvious dark centre and a visible vessel pattern. If the egg is still completely unclear, record that uncertainty and use the later check rather than making a decision based on one poor view.
Record Day 7, then let Day 10 and Day 14 settle the question
Make your notes useful for the next inspection. For each egg, record:
- the egg number and shell colour;
- the setting date and approximate time;
- whether you saw vessels, a dark area, a blood ring, or only a shadow;
- whether the air-cell outline was visible;
- your next action: continue, recheck, or remove.
At the next check, you’re looking for change. Around Day 10, a developing egg should generally be easier to read than it was several days earlier. The dark area should occupy more of the egg, and the vessel pattern may be more obvious. By Day 14, much of the egg can appear dark, with the air cell standing out at the broad end. Shell colour still affects how much detail you can see.
These are expected patterns, not a demand that every egg match a photograph. If a previously veined egg now looks unchanged, has a ring, or begins to leak, reassess it. If an uncertain egg now shows clear vessels, move it into the continuing group. Your notes make that comparison possible.
Routine daily candling is usually a poor trade for a small home hatch. You gain little from checking an egg before development has had time to change, while every opening creates another interruption to the incubator environment. Candle at a few useful checkpoints instead: the early development check, a later confirmation, and any inspection your equipment instructions specifically call for.
Once lockdown begins, routine candling is generally avoided. Opening the incubator can disturb the stable temperature and humidity you’re trying to maintain during hatch. Follow your model’s instructions, and open only for a genuine need rather than curiosity.
How long can eggs stay out during candling?
Keep each egg out briefly and return it to stable incubation as soon as you’ve made your note. Don’t leave a whole tray on the counter while you write, search for a brighter light, or troubleshoot the incubator. Prepare first, inspect second.
Can you candle eggs during lockdown?
Routine candling is usually not worth opening the incubator during lockdown. Follow the incubator manufacturer's instructions for that phase. If there is a genuine equipment problem or a leaking egg, deal with the problem carefully rather than treating lockdown as an absolute ban on every necessary intervention.
Can you eat an egg that has been incubated for seven days?
I wouldn’t return an egg that has spent seven days in an incubator to your kitchen. Keep it out of your food supply and follow local food-safety guidance for disposal. An incubated egg belongs in the hatch project, not back in the breakfast carton.
Your next action this week is small: write the setting date and time on the incubator, number the eggs in pencil, and set a Day 10 reminder. Mark every poor view as uncertain rather than clear. For the wider temperature, humidity, and turning plan, start with incubating chicken eggs; if the hatch succeeds, your next practical job is brooder temperature for chicks and raising baby chicks week by week.
Frequently Asked Questions
How long can eggs stay out of the incubator during candling?
Keep each inspection brief and return the egg to stable incubation promptly; avoid leaving an entire tray out while you write notes or troubleshoot equipment.
Can you candle eggs during lockdown?
Routine candling is usually avoided once lockdown begins because opening the incubator can disturb temperature and humidity; follow the incubator manual and reserve opening for a genuine need.
Can you eat an egg that has been incubated for seven days?
Do not treat an egg that has spent days in an incubator as a food egg; discard it according to local food-safety and waste guidance instead of returning it to the kitchen.