Raising Baby Chicks Outside: Age, Temperatures and Setup
Week one starts near 95°F at chick height. Outdoor sleeping starts much later, and not because a calendar flips. You can raise baby chicks outside from arrival if they live in a dry, predator-secure outdoor brooder with a reliable warm zone. Moving indoor chicks outside is a separate, gradual job. Tonight’s low, feathering, wind, and access to shelter decide the move.
Outside is a location. Brooding is a temperature and safety system. Keep that distinction in mind and the decision becomes much less mysterious.
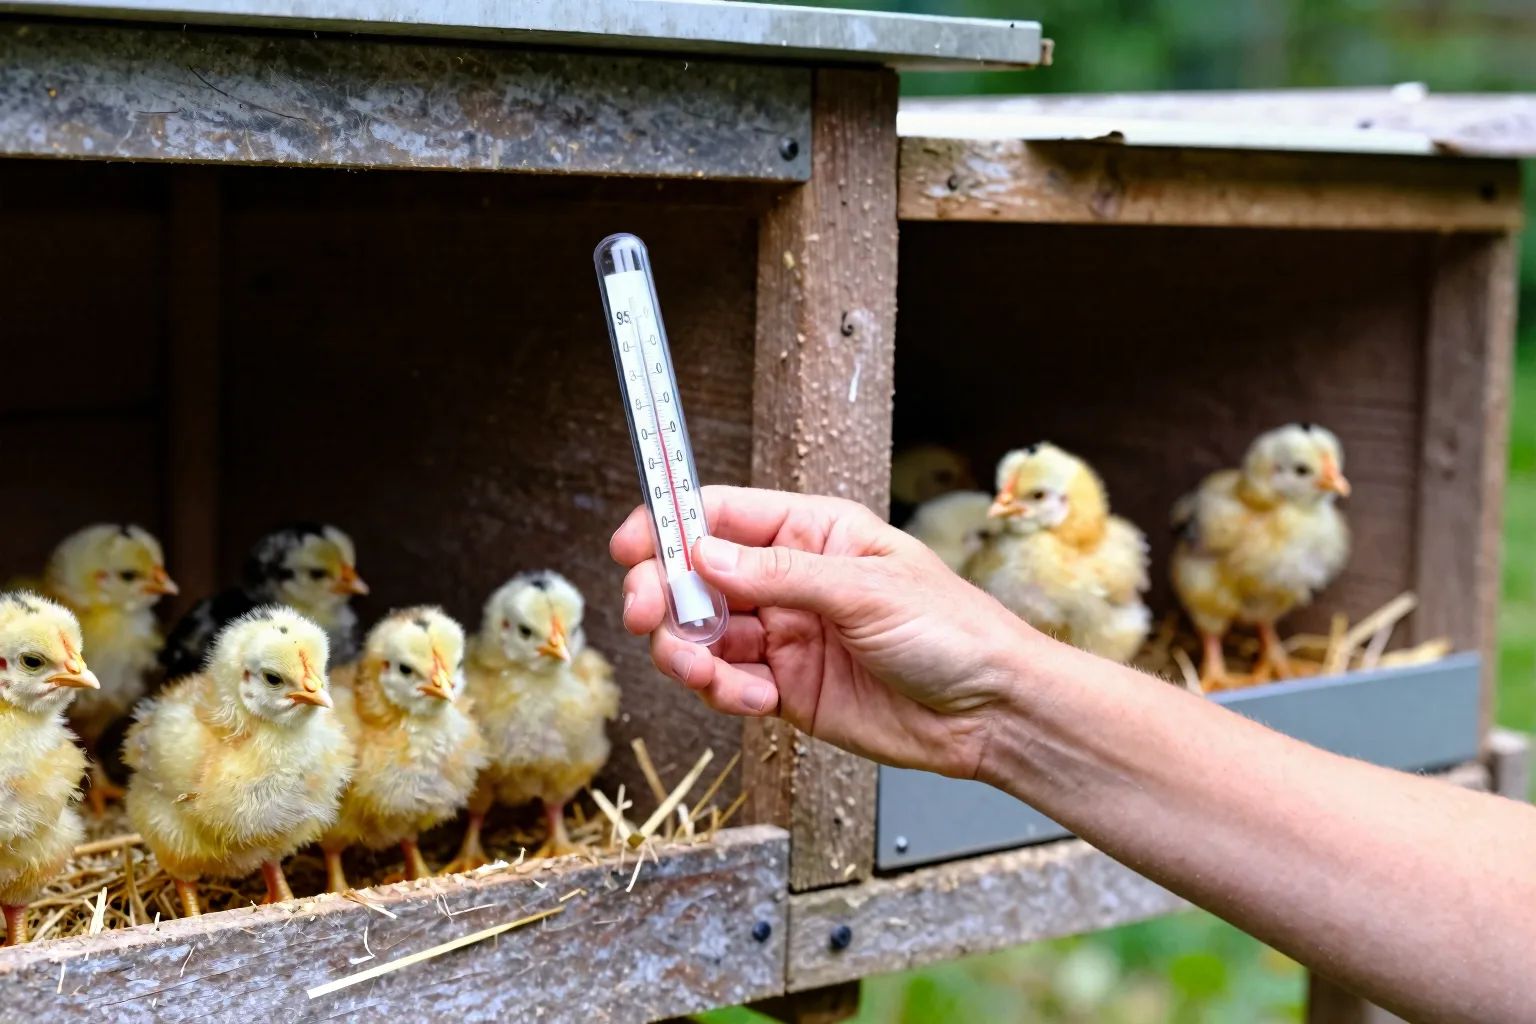
Week 1 starts near 95°F; outdoor readiness starts with tonight’s low
There are three different decisions hiding inside “raising baby chicks outside.” First, you might brood chicks outdoors from the day they arrive. Second, you might take indoor chicks outside for short daytime visits. Third, you might let feathered youngsters sleep in a permanent coop. Those are not interchangeable.
An outdoor brooder can work from arrival because it supplies the warm, dry microclimate the chicks need. A loose trip into the run cannot do that. A permanent coop may offer shelter but still be too cold, damp, exposed, or difficult to heat safely.
Before moving chicks outdoors, check four things:
- Feathering: the breast and back are filling in, not just the wings and tail.
- Forecast: the next night is dry and reasonably stable, without a sudden cold snap or driving wind.
- Warmth: a thermometer confirms a reachable warm zone at chick height.
- Security: the brooder has a roof, tight mesh, dry flooring, and a latch you trust.
If one answer is no, delay the move or repair that part of the setup. A chick’s age can guide your planning, but it can’t inspect a wet floor or find a draft.
Feathers, not birthdays, set the first move date
Newly hatched chicks are covered mostly in down. During the first week, they rely heavily on an external heat source. Wing and tail feathers become obvious next, while the breast and back can remain thinly covered for longer. That is why a chick may look “feathered” from above while still losing heat quickly from its underside.
As a working rule, around four to five weeks is often the stage when lively chicks can begin getting outdoor time in good weather, while some still have thin breast or back feathering and need substantial heat. Many standard egg breeds approach full body feathering by roughly six to eight weeks. A small-bodied or slow-feathering breed, a late-season hatch, or a small group in a cold climate may need protection longer.
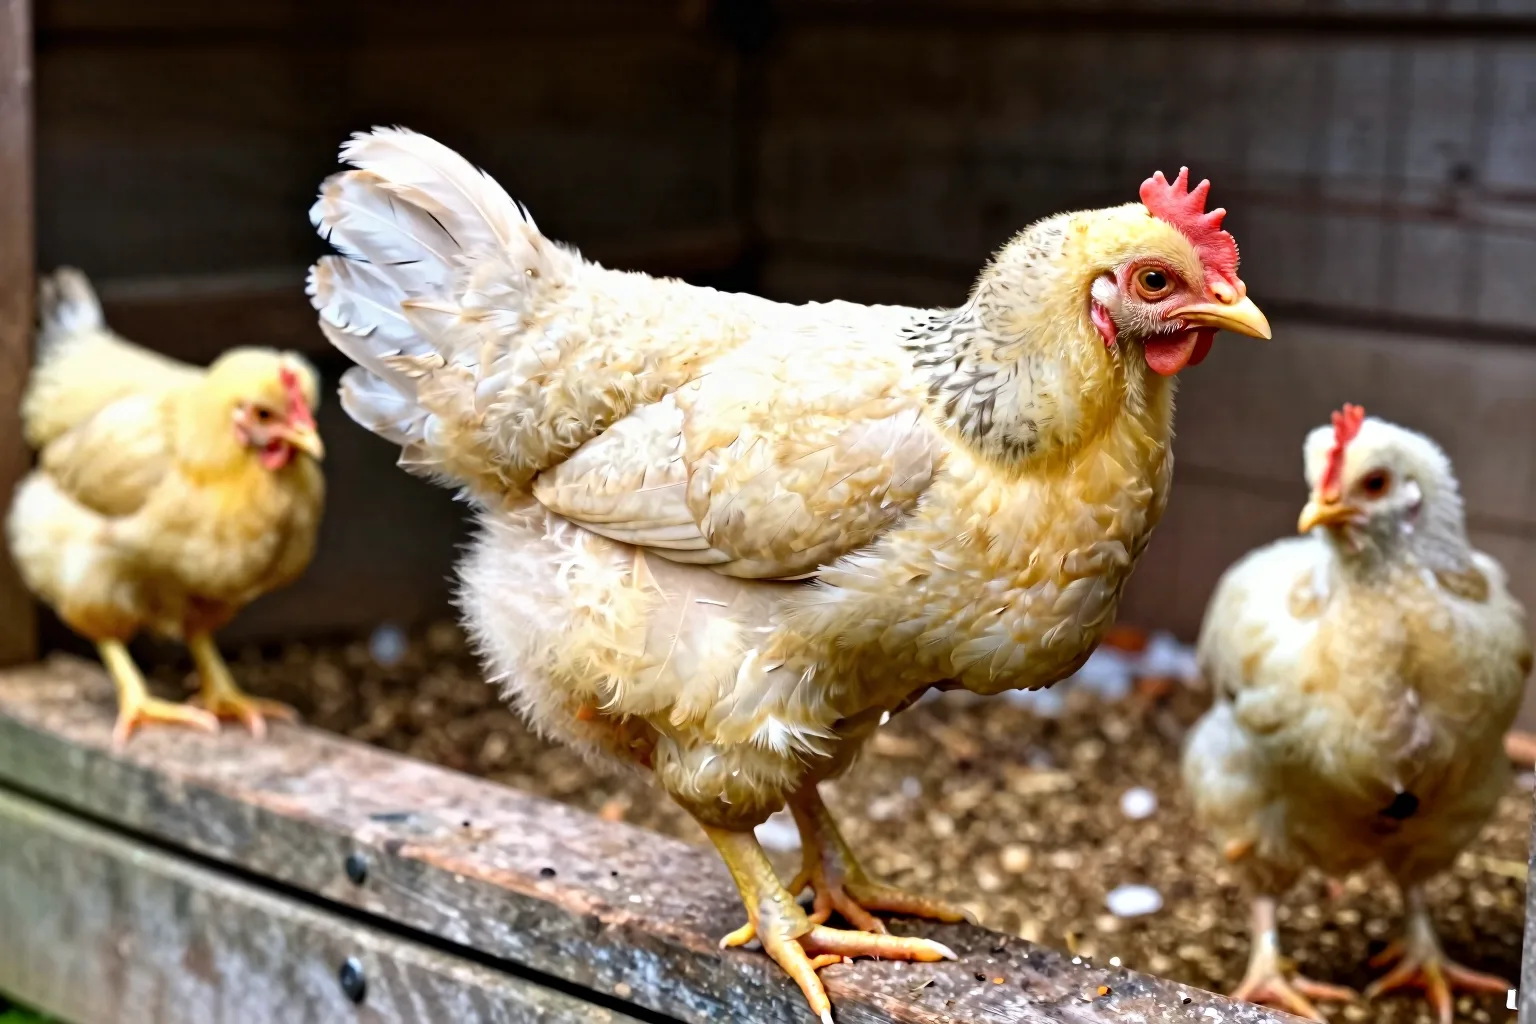
Use this physical checklist instead of treating six weeks as a promise:
- Most of the chest, back, and thighs are covered with feathers rather than soft down.
- The chicks are active, eating, drinking, and resting normally.
- They move away from warmth and return to it without frantic huddling.
- They have a dry shelter where wind cannot blow directly across the floor.
- The forecast gives you time to observe them before the first overnight test.
Flock size changes the margin. A group of twelve shares body warmth more effectively than three, but twelve also soil bedding and crowd feed and water faster. Don’t lower the heat target for a large group or raise it blindly for a small one. Give every chick a way to choose its own distance from the heat.
Build one warm zone: 95°F in week one, then about 5°F less each week
A useful starting schedule is about 95°F in week one, then roughly 5°F less each week: about 90°F in week two, 85°F in week three, 80°F in week four, 75°F in week five, and near 70°F by week six. Stop reducing the target if the chicks are not ready to leave heat, and don’t force them to stay at a lower setting just to follow the calendar.
Measure at the height of the chicks, near the edge of the warm zone. A thermometer fixed high on an outdoor wall can read comfortably while the floor is cold. A probe placed directly under a lamp can read hotter than the space the chicks actually use. The small detail matters: crouch down, place the sensor where a chick’s body sits, and check both the warm end and the cool end.
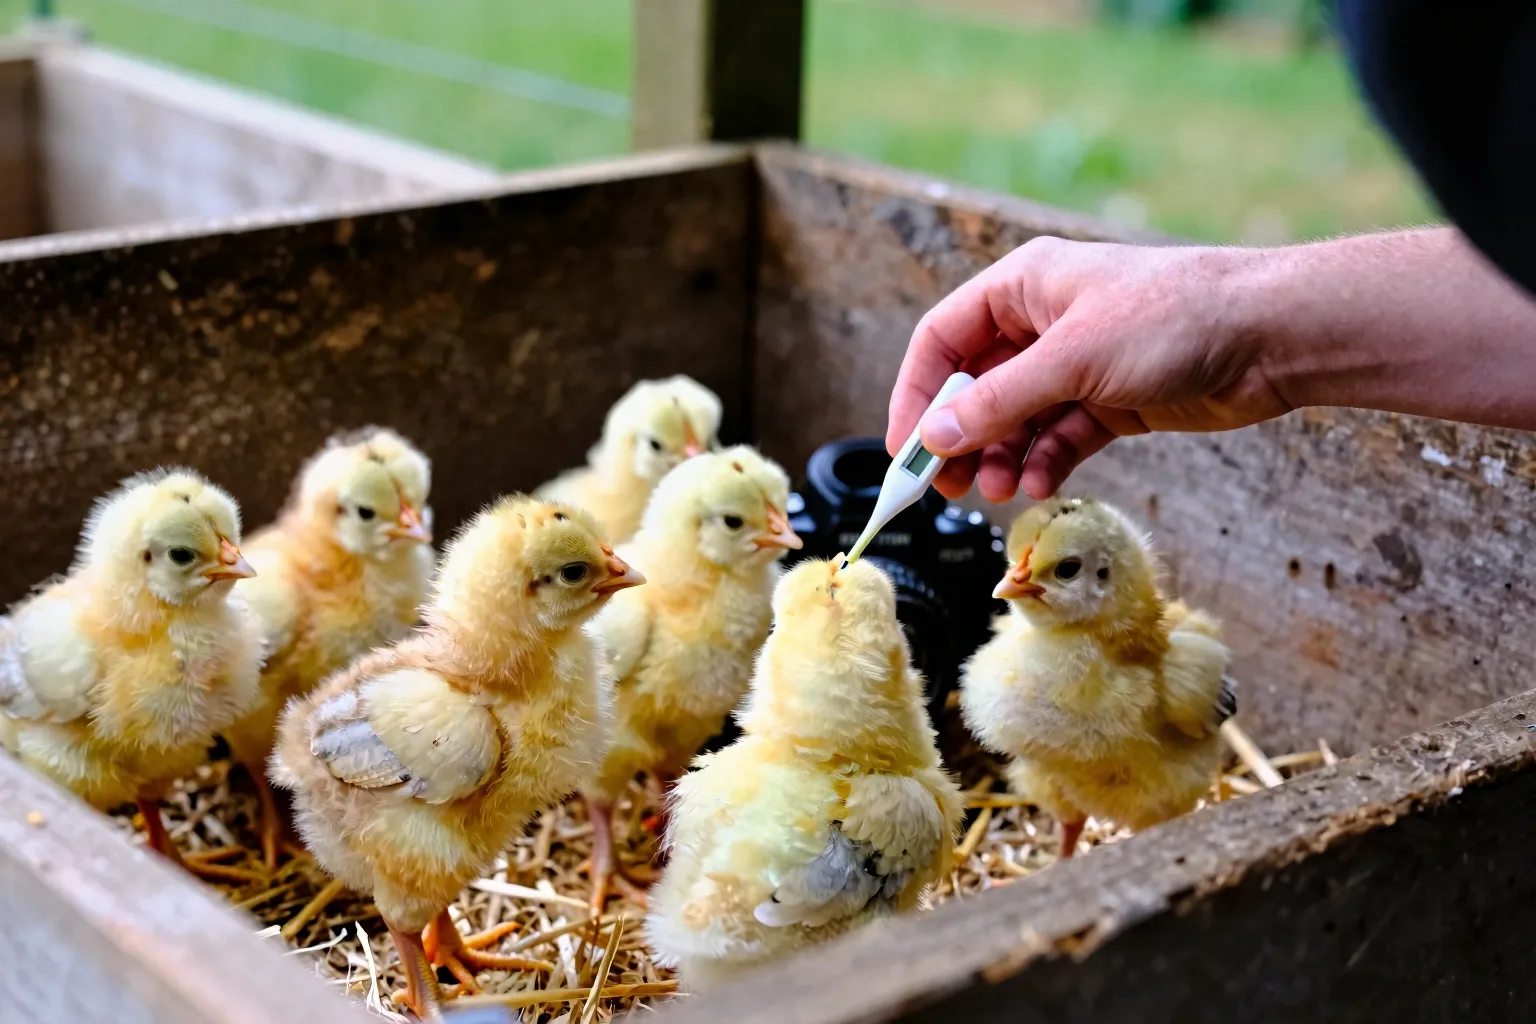
The brooder should have a gradient. Put warmth at one end and leave enough unheated floor for the chicks to step away. A whole shed does not need to be held at brooder temperature if the warm zone is correctly sized, dry, and reachable. That arrangement saves energy and lets the birds correct for small changes in the weather.
A brooder plate can provide a sheltered heated surface, while a lamp warms the air and nearby objects. Whichever system you use, follow the heater’s own mounting instructions. Keep cables away from water, bedding, and pecking beaks. Mount lamps with a secure support that doesn’t depend on a single clamp, and make sure the warm area cannot be tipped or buried. Check your heater’s own instructions and a local extension office if you want a second opinion.
Test the system empty. If you can’t hold the intended warm zone through a cool night without constant adjustment, the setup isn’t ready for chicks.
The outdoor brooder checklist: roof, mesh, floor, and ventilation
Space is part of temperature control. Start with at least 0.5 square feet per chick, then work toward about 1 square foot per chick by six weeks. Extra room helps in hot weather and gives you more time before crowding, wet bedding, and fouled water become problems.
For a six-chick order, a 2-by-2.5-foot floor gives 5 square feet at arrival. By six weeks, a 2-by-3-foot floor gives 6 square feet. That is a practical example, not a reason to build a narrow box. A wider floor makes the warm-to-cool transition easier for every chick to use.
Build the enclosure as if a climbing, reaching predator will test it at night. Cover reachable walls and the roof with secure 1/2-inch hardware cloth. Fasten it to a rigid frame rather than relying on loose staples. Use a solid, dry floor with bedding that gives footing and can be replaced quickly. Keep the roof waterproof. Add a windbreak on the weather-facing side, but leave high ventilation openings so damp air can escape.
Ventilation above chick height is different from a draft across chick height. If you can feel moving air on the floor where the chicks sleep, block that path. If the air smells damp or condensation forms overhead, improve the upper vent instead of sealing the brooder tight.
- Rigid frame and roof
- 1/2-inch hardware cloth on exposed sides and top
- Solid floor, dry bedding, and a spare bag stored nearby
- Stable chick feeder and waterer
- Thermometer with a probe that can sit at floor level
- Secure latch, protected power cable, and a dry windbreak
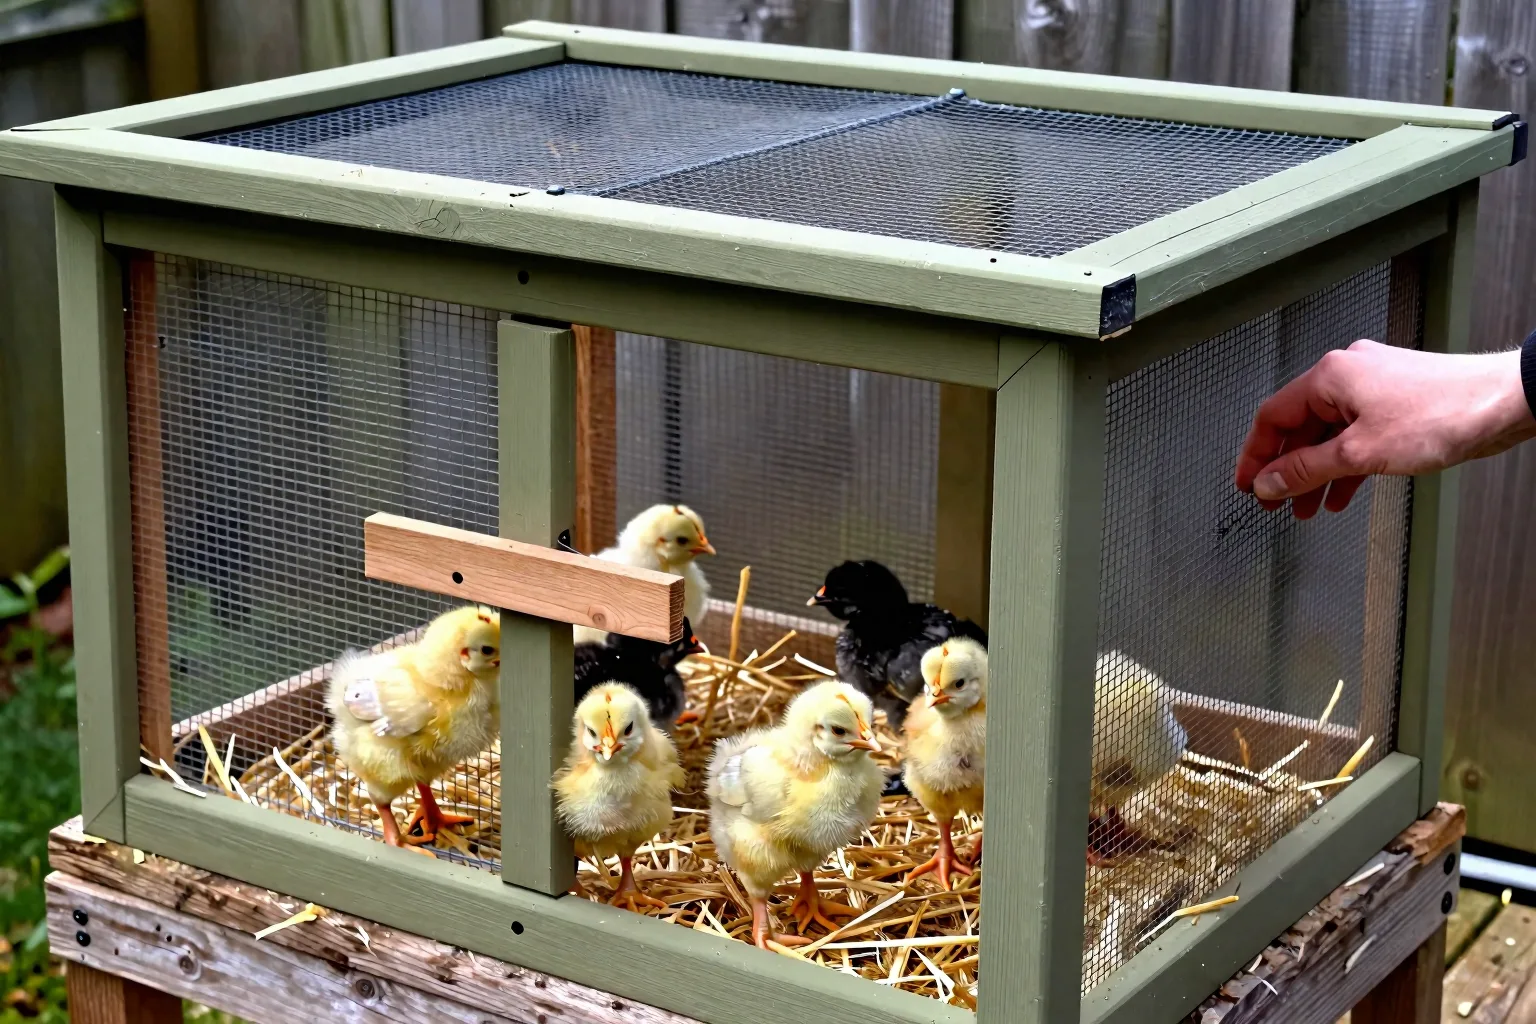
Run a 24-hour test before the chicks arrive. Turn on the heat, check the temperature at chick level, spray or hose the outside to find leaks, inspect every mesh edge, and open and close the latch in the dark. Watch what happens when the waterer tips. The goal is not a perfect-looking box. It is a brooder that remains warm, dry, ventilated, and closed when you are not standing beside it. For a fuller parts list, see Chicken brooder setup: bedding, heat source, feed, and water.
Keep food and water boring, reachable, and clean
Use a complete chick starter, commonly around 18–20% protein, and follow the product label for the age and type of bird. A complete starter is a steadier base than a diet built around scratch, kitchen scraps, or treats. Layer feed is made for laying birds, so it isn’t the default ration for young chicks. The change to grower and later layer feed belongs in a separate plan; What to feed pullets from chick starter to layer feed covers that handoff.
Put feed and water in the coolest usable part of the brooder, away from the heat source but not in a draft. Shade the waterer outdoors. Raise it just enough to reduce scratching bedding into it, while keeping it easy for the shortest chick to reach. Check it in the morning and evening, and check again after rain, a spill, or a hot afternoon.
If chicks receive only complete starter, extra grit usually adds little. If you begin offering treats or allow regular foraging, provide chick-sized grit according to the feed or poultry-care instructions. Wash your hands after handling chicks and before preparing food; government food-safety guidance for backyard poultry is a sensible reference for household hygiene.
Your twice-daily check is simple: feed present, water clean, bedding dry, warm zone working, chicks active.
A three-step move: warmest hours, full days, then overnight
For chicks that started indoors, begin with a short outing during the warmest, driest part of the day. Thirty to sixty minutes is enough for the first test. Keep the outdoor brooder or a heated carrier right beside the activity area so they can return to warmth instead of being carried through a long, cold transition.
Repeat on suitable days and extend the outing once the chicks remain active, keep eating and drinking, and use the warm area normally. Move to full daylight hours only when the shelter stays dry and the chicks can reach heat without competition. Test overnight last. They should be well feathered, the brooder should be secure, and the forecast should be stable enough that you can check them early the next morning.
Chicks already living in a correctly heated outdoor brooder don’t need a separate introduction to “outside.” They still need gradual heat reduction. If they huddle tightly, peep persistently, or stop eating during a change, check the thermometer and drafts first. If they pant or avoid the warm area, reduce heat or improve the cool end. Don’t solve every transition problem by adding more heat.
Rain and wind change the plan faster than the calendar
There is no useful universal outdoor minimum temperature for every chick and every enclosure. A dry, calm day can be easier to manage than a warmer day with rain blowing through mesh. Wet bedding pulls heat away from feet and bodies. Wind strips warmth from the brooder faster than a still thermometer reading suggests.
When a cold snap arrives, add a dry windbreak outside the mesh, keep upper ventilation open, and confirm the warm zone with the thermometer at chick height. Check that the heat source still has power and that the chicks can get away from it. If the enclosure cannot hold a dry, stable gradient, move the brooder to a more protected location.
An improvised heat source is not a substitute for fire-safe construction. Don’t put an unsecured heater beside loose bedding and hope supervision will cover the risk. Before adding winter equipment, read Should you heat a chicken coop in winter? The answer for a chick brooder depends on a small, controlled warm zone, not on heating every cubic foot of a shed.
Use chick behavior as your live temperature gauge
Thermometers set the starting point. Behavior tells you whether the chicks can actually use the setup.
| What you see | What to check first | Next action |
|---|---|---|
| Tight huddle under heat with loud, persistent peeping | Cold floor, draft, failed heater, or blocked access | Check chick-level temperature and remove the draft before changing the target. |
| Chicks avoid the heat, pant, or hold wings away | Warm zone too large or too hot | Increase the cool area and reduce heat according to the heater instructions. |
| Quiet, active chicks spread through the available space | Warm and cool areas are both reachable | Keep observing; this is the behavior you want from a working gradient. |
| One chick is isolated or weak while the flock acts normally | Individual illness, injury, dehydration, or failure to thrive | Check that chick separately and seek professional advice rather than overheating the flock. |
A flock-wide pattern points you toward the brooder. One weak chick does not prove the whole brooder is cold. Look for pasty droppings blocking a vent, inability to stand, marked lethargy, breathing trouble, severe diarrhea, or an inability to reach water. Bloody droppings can have serious causes and are not a safe home diagnosis.
For those signs, or for a chick that is rapidly worsening, contact an avian or livestock veterinarian rather than relying on a brooder adjustment alone. Keep the bird warm, dry, and easy to observe while you arrange help. Don’t start a medication or guess a dosage from a general internet post; use a product label and professional direction.
The handoff to a permanent coop happens at feathering, not at six weeks
Many chicks can move from an outdoor brooder to permanent housing around six to eight weeks when they are fully feathered, active, and able to handle the expected night conditions. That window can stretch in a cold season or with a slower-feathering breed. The coop must be dry, predator-secure, and sized for adult birds, not just for the youngsters on moving day.
For a confined flock, plan roughly 3–4 square feet of indoor space and 8–10 square feet of run space per adult bird. Six future hens therefore need about 18–24 square feet inside and 48–60 square feet in the run. Check How much space do chickens need in a coop and run? before committing to a small prefab house, because crowding arrives quickly after the birds look ready to leave the brooder.
Continue an appropriate grower ration until the feed label and the birds’ laying stage call for a change. This week, measure the brooder floor, secure the mesh and latch, place the thermometer at chick height, and run the setup through one overnight forecast before moving birds. If it fails, fix the enclosure first. Then use Chicken brooder setup: bedding, heat source, feed, and water as your final first-week check.